
Add your Website to your Project
Add the Show Website Element by drag and drop the output of the previous element. Select Show Webite from the Menu, which appears when you drop the output. In the sidebar you will see an input field where you can enter the URL (link to your website) of your website. Your website must communicate via HTTPS. HTTP is not supported. Your browser will tell you whether your website communicates in encrypted form (via HTTPS):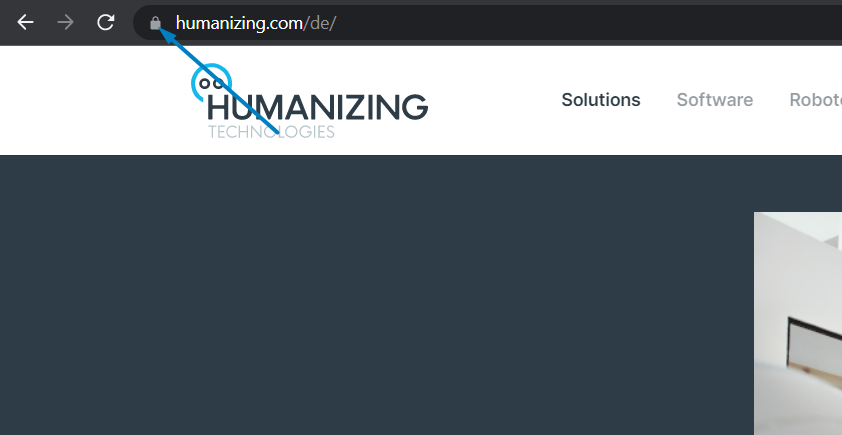
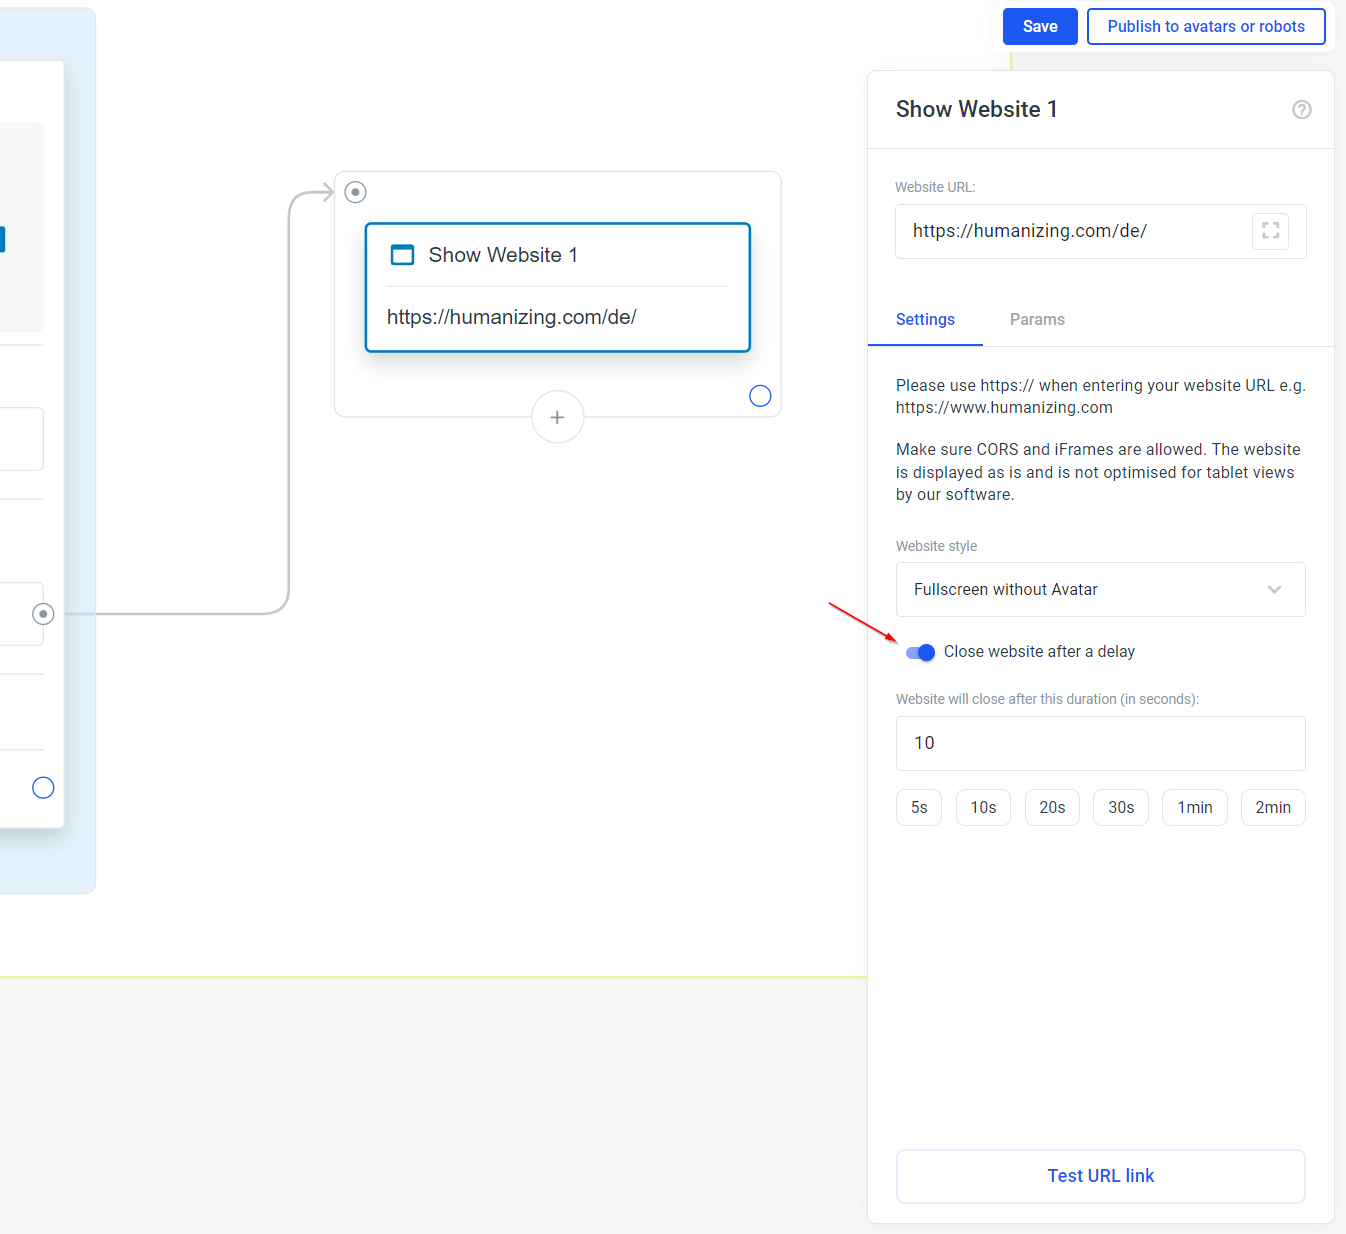
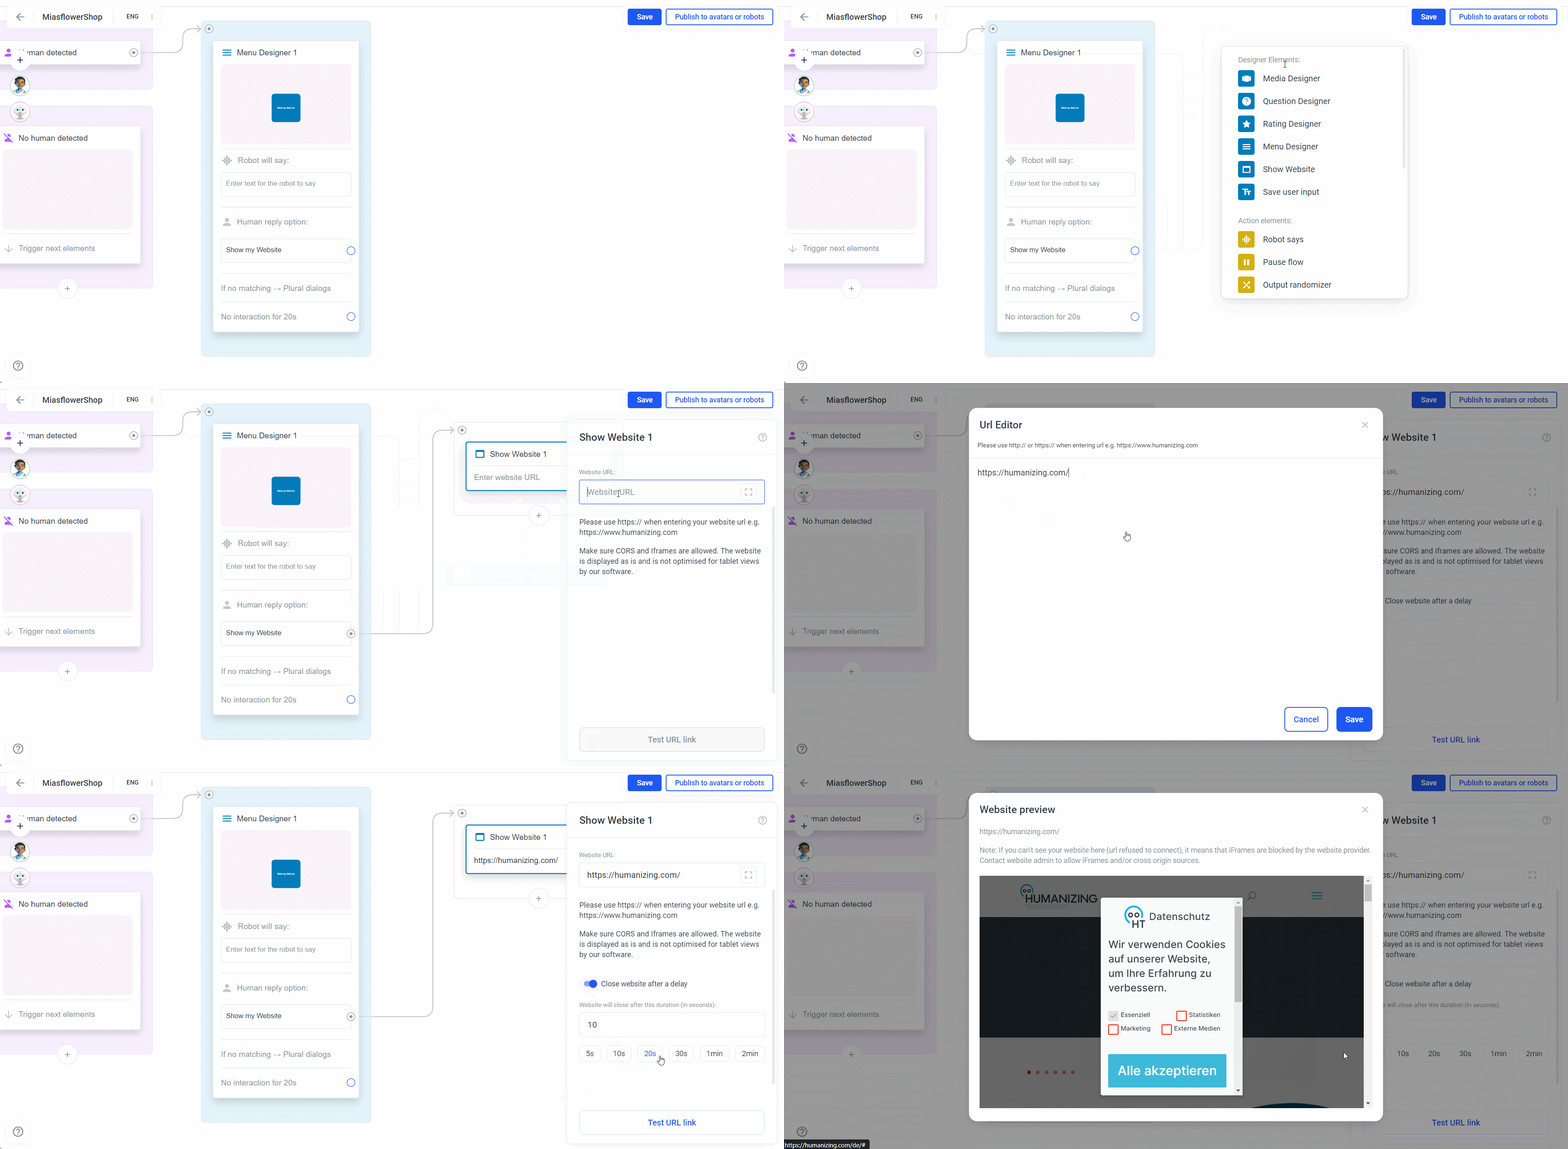 Activate the switch and select a time when the website should be closed automatically:
The User will always have the option to close the Website with a small x button in the upper right corner.
Activate the switch and select a time when the website should be closed automatically:
The User will always have the option to close the Website with a small x button in the upper right corner.
Check if the website is embeddable
There are websites that prohibit you from embedding. In this case, we cannot display the website. You can test whether your website allows the display by clicking on the “Test URL link” button.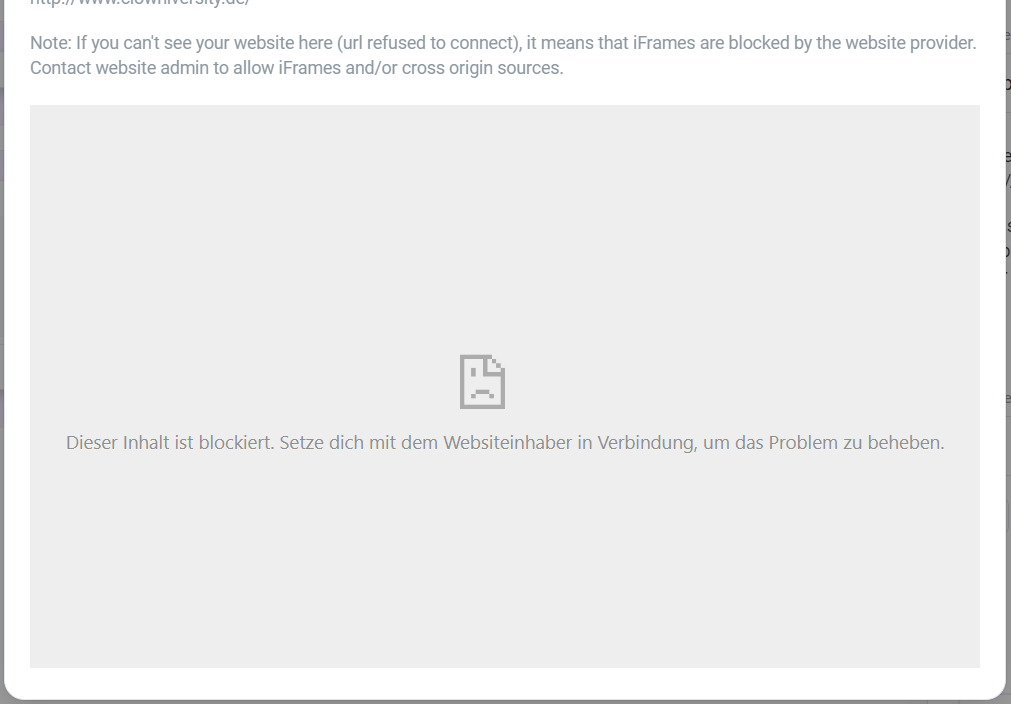
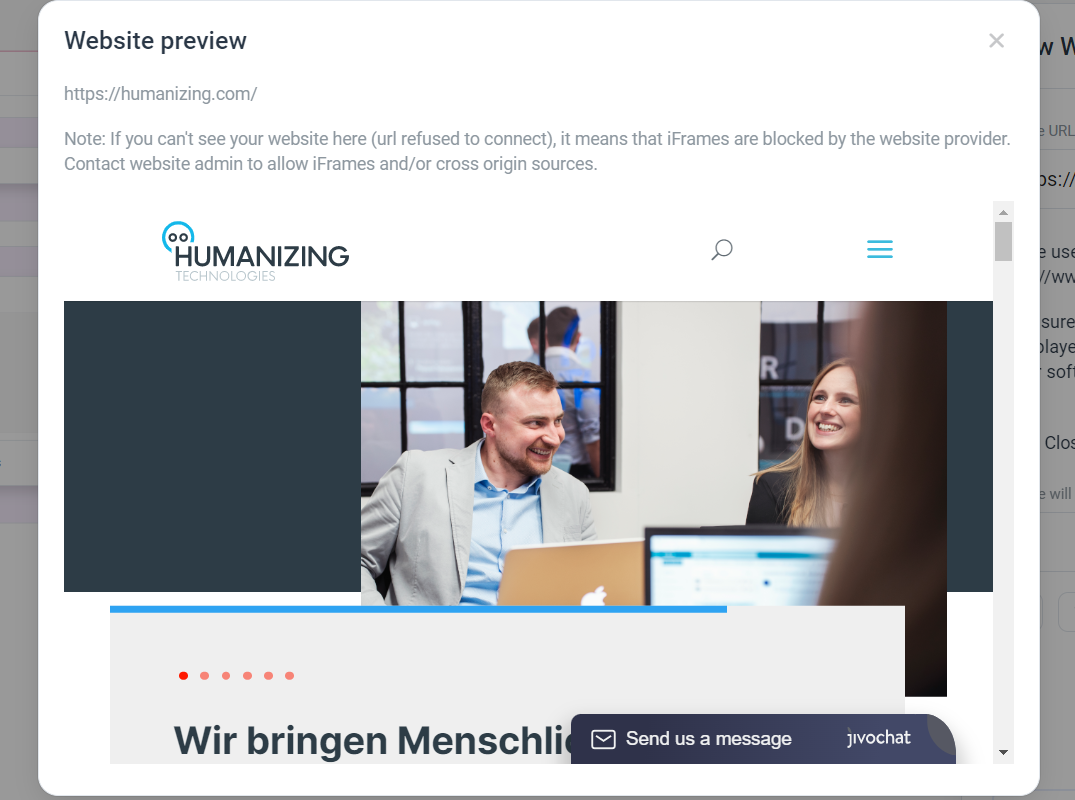
Tips for embedding a YouTube video
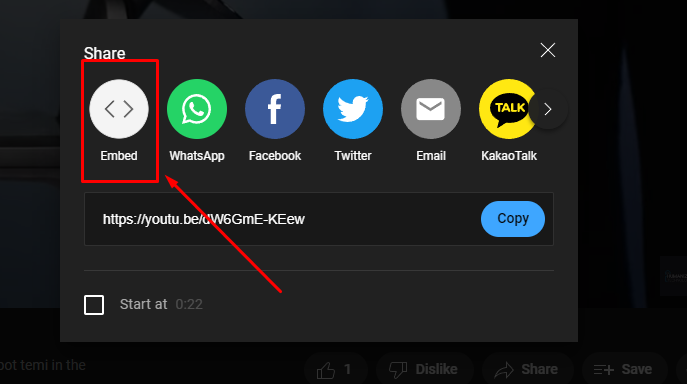
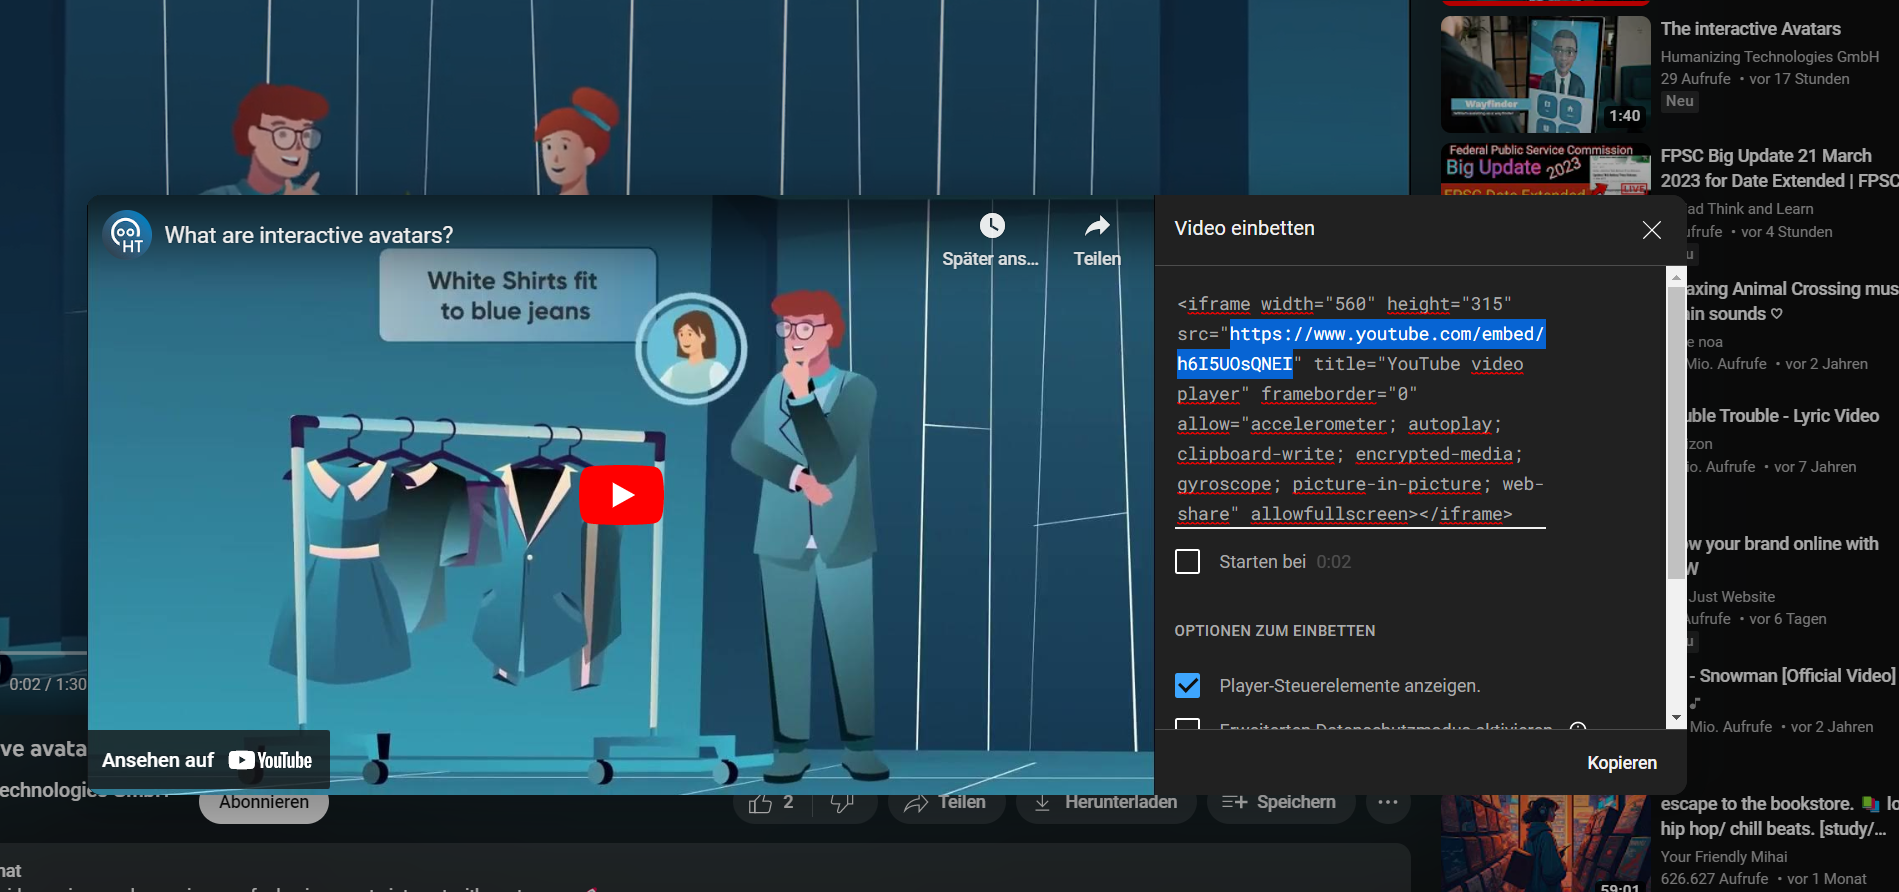
To embed YouTube videos, you cannot use the link of the video, but you can use the embed link. Navigate to the YouTube video you want to embed and click the Share button below it.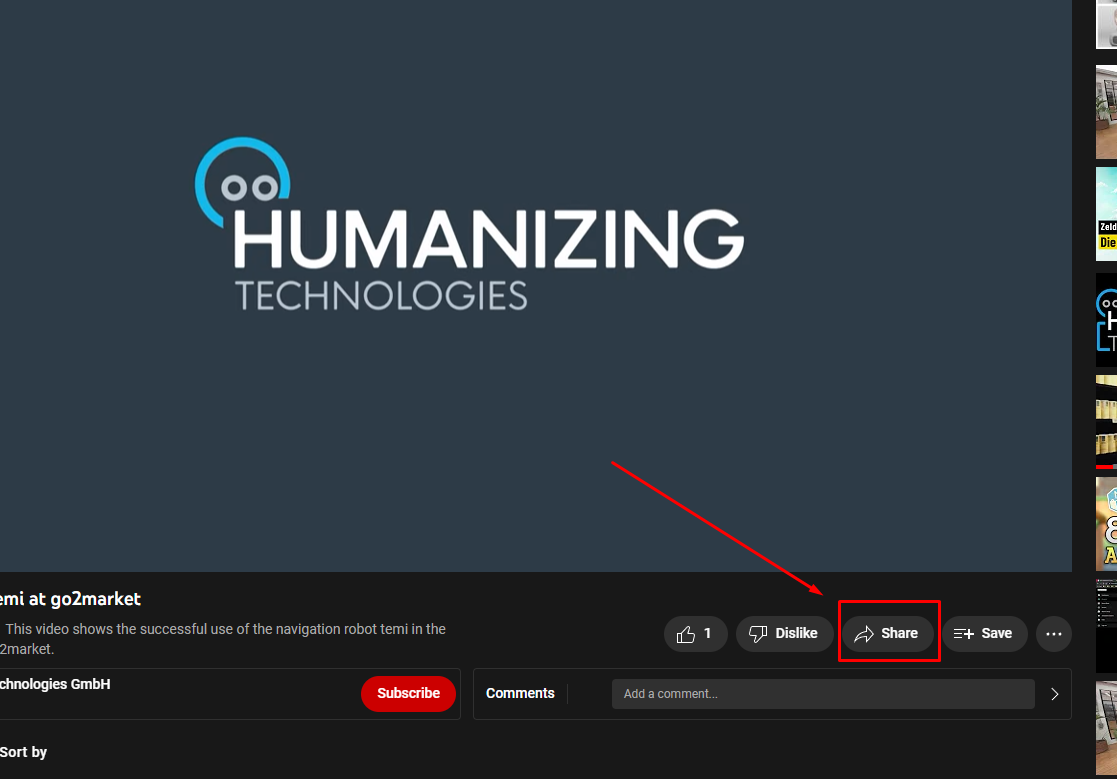.png) Click on “Share” and then “Embed”
**
Click on “Share” and then “Embed”
**
.png) **
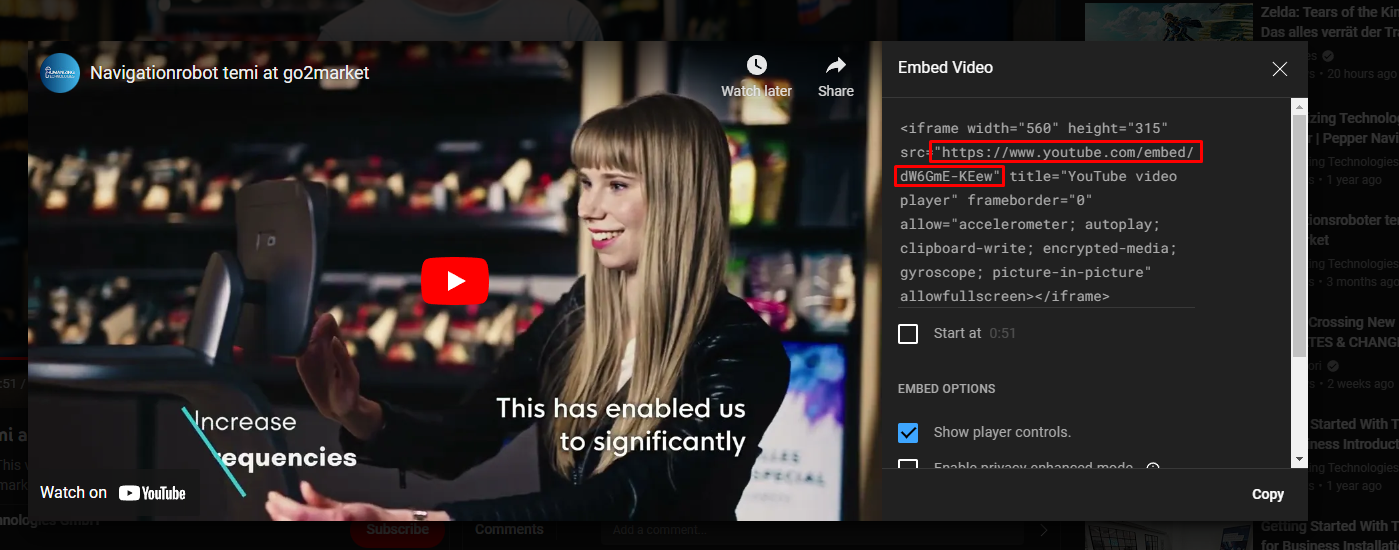
and copy the link from the code shown:
**
and copy the link from the code shown:
.png)
Play YouTube video on autoplay
Autoplay works when you add?autoplay=1&mute=1&enablejsapi=1 to the URL.
Here’s an example:: https://www.youtube.com/embed/h6I5UOsQNEI?autoplay=1&mute=1&enablejsapi=1
To get the right link for the iFrame, follow the steps above (click Share in YouTube, then Embed and copy the link).
Change the link to the website dynamically
Instead of the URL of your website, enter #ATTRI/myWebsite in the input field. You can then change the variable myWebsite at runtime with the Set Userattribute & Variables element.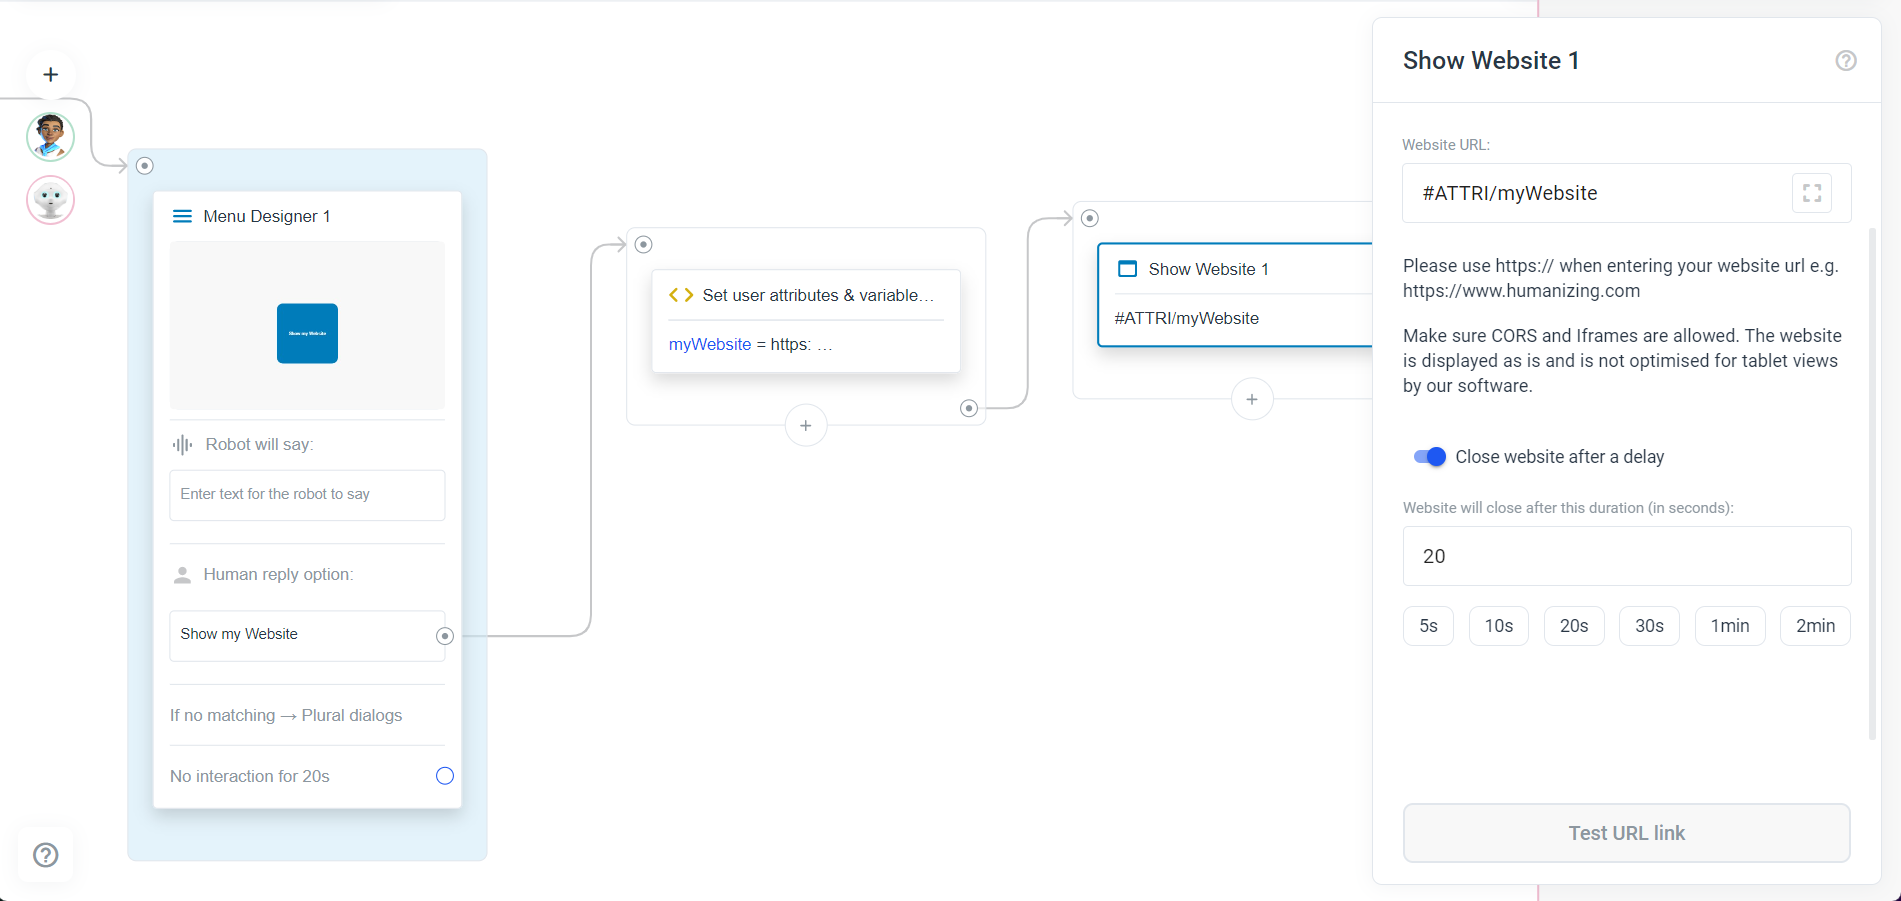
Change the style of how the website is displayed (avatar only)
When you add the Show Website element to an **avatar frame **and click on it to display the sidebar, you will see the three options: Settings, Attributes and Params.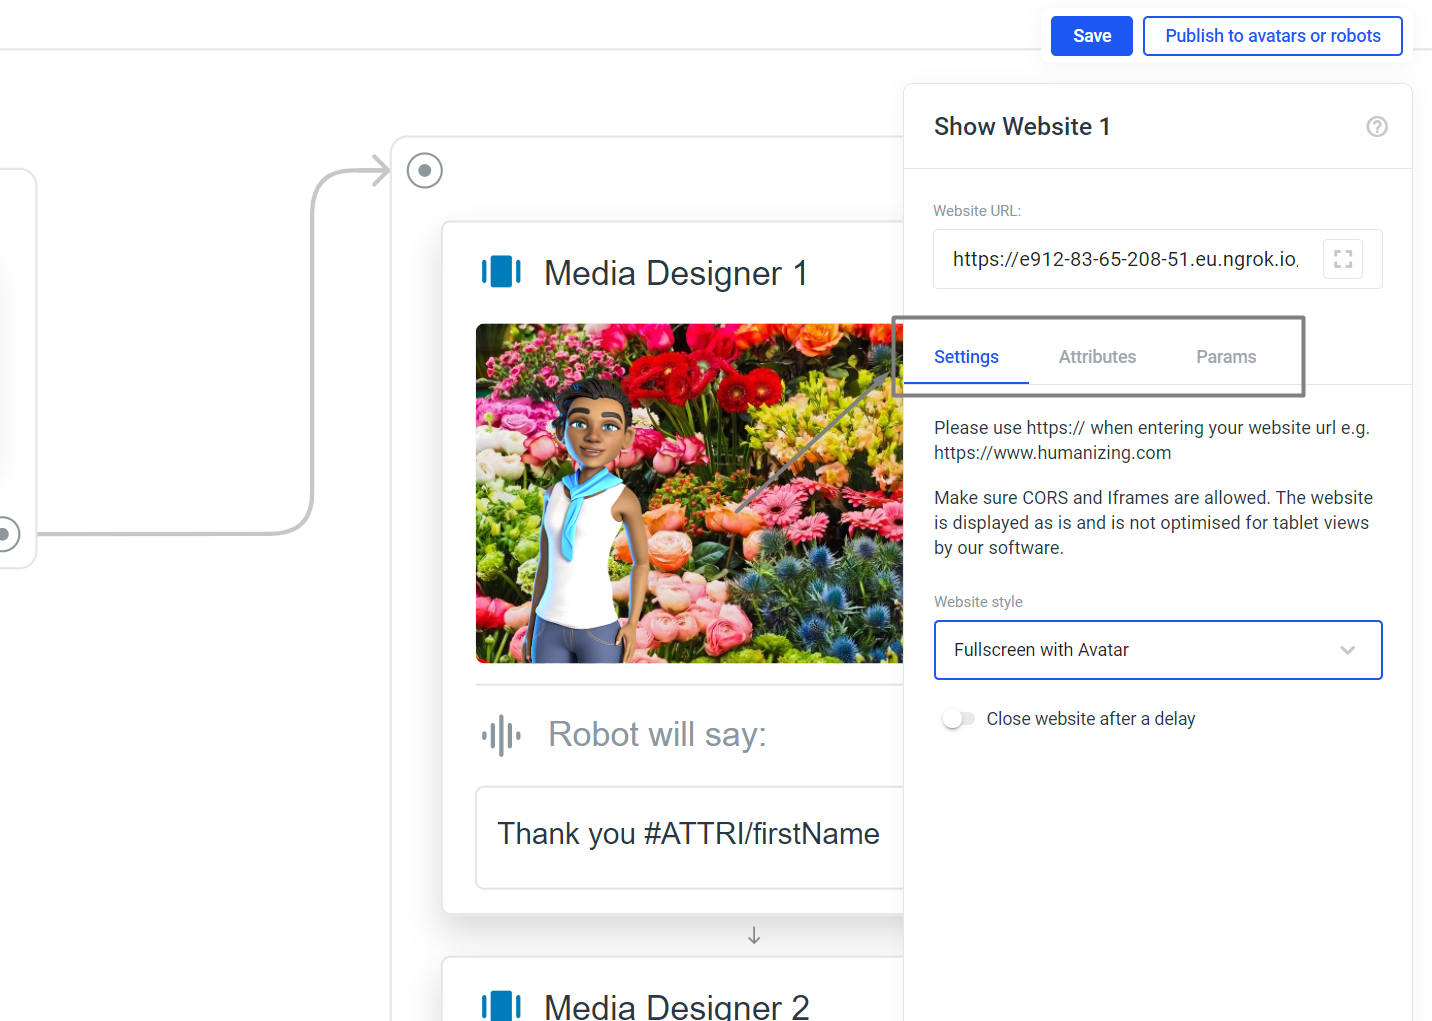 In the settings you will find a drop-down menu where you can select how the website should be displayed:
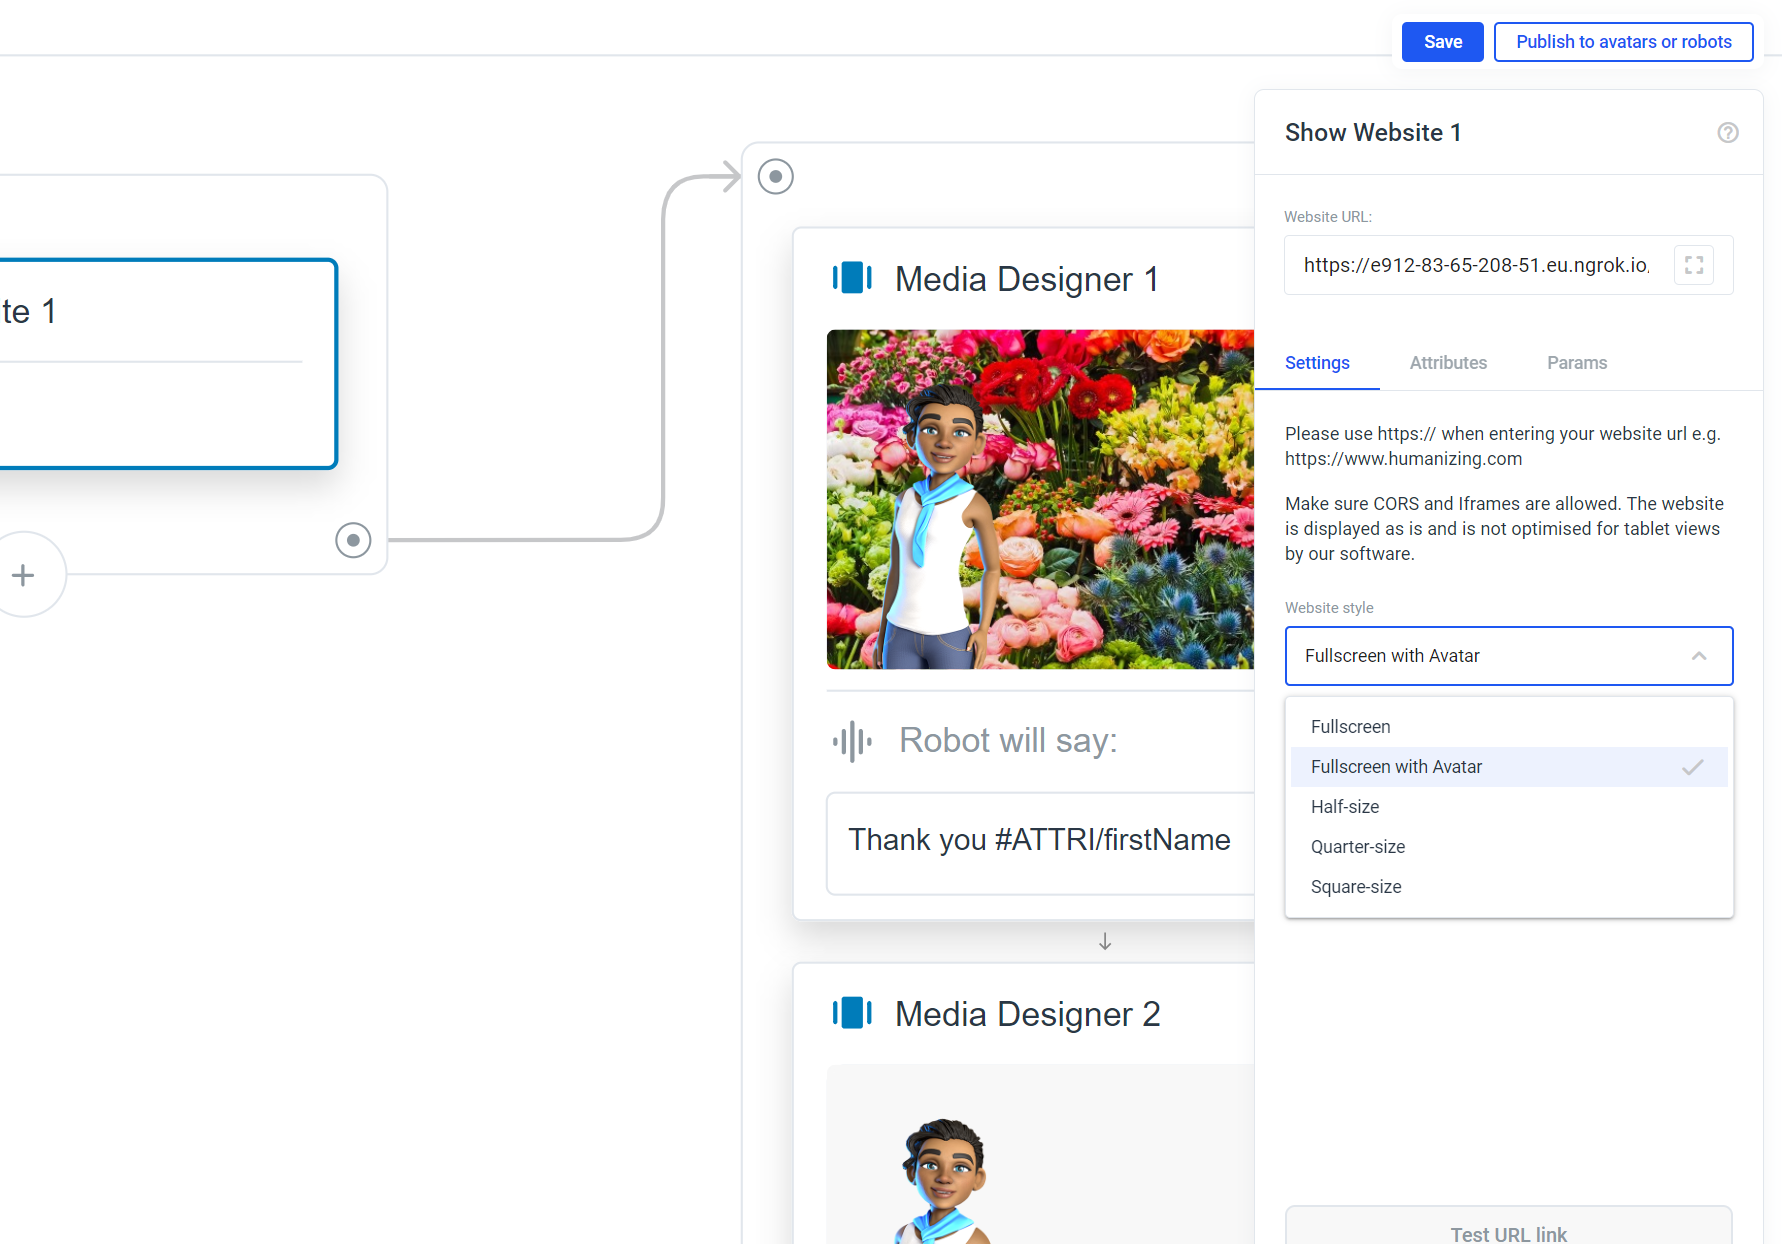
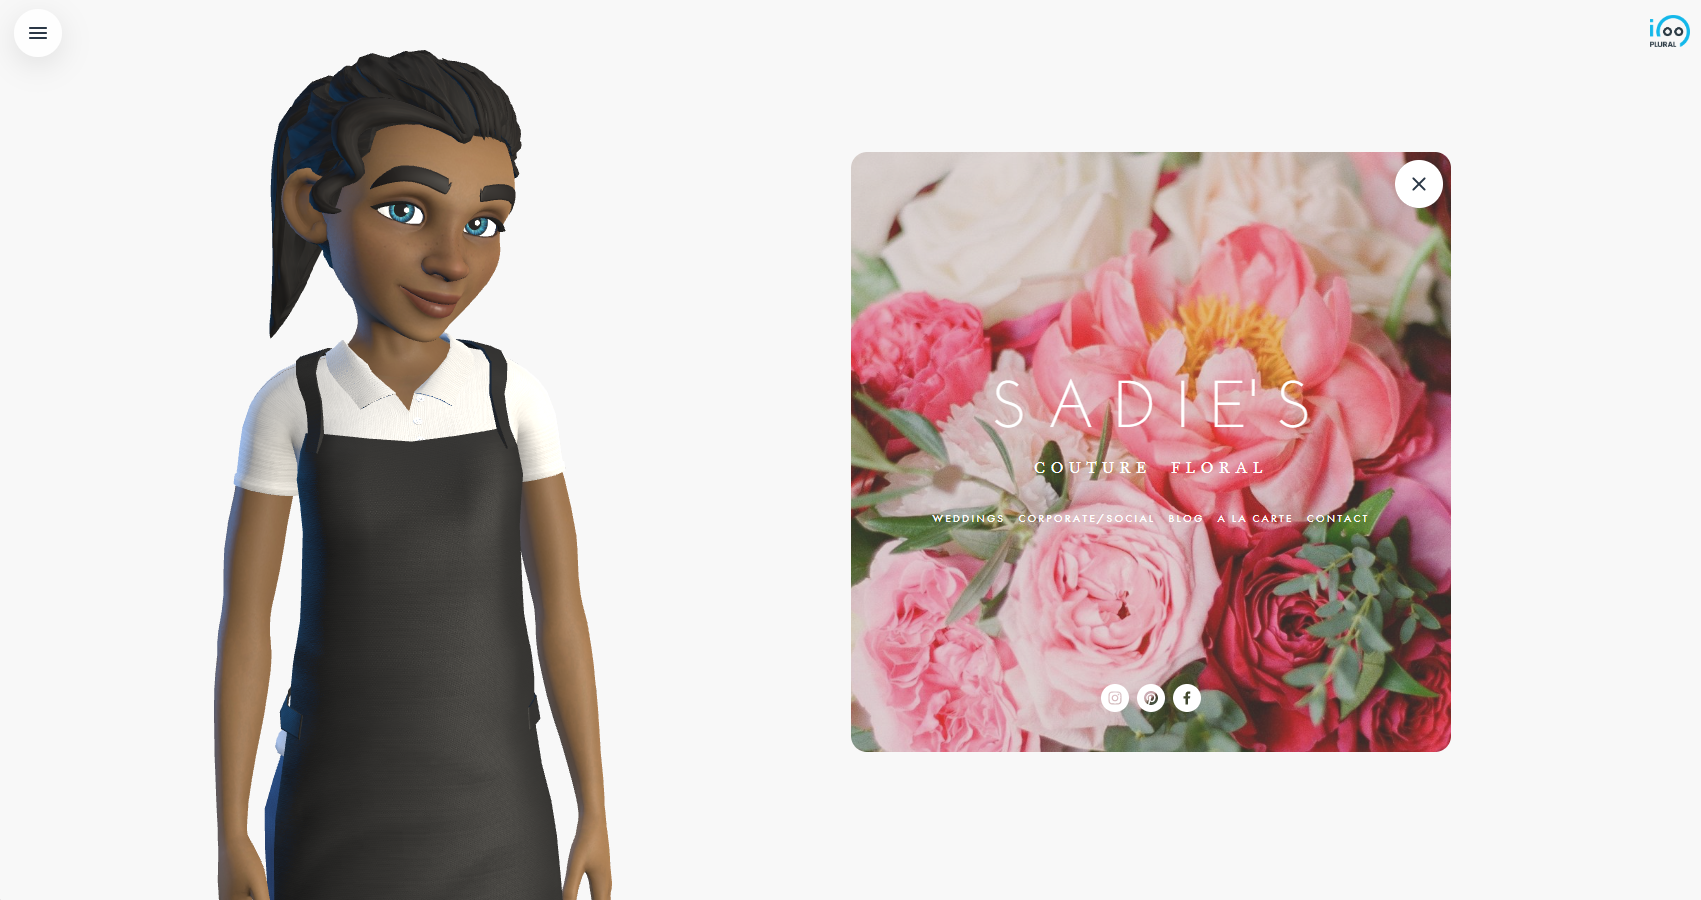
Below we show you what the style will look like:
Fullscreen: **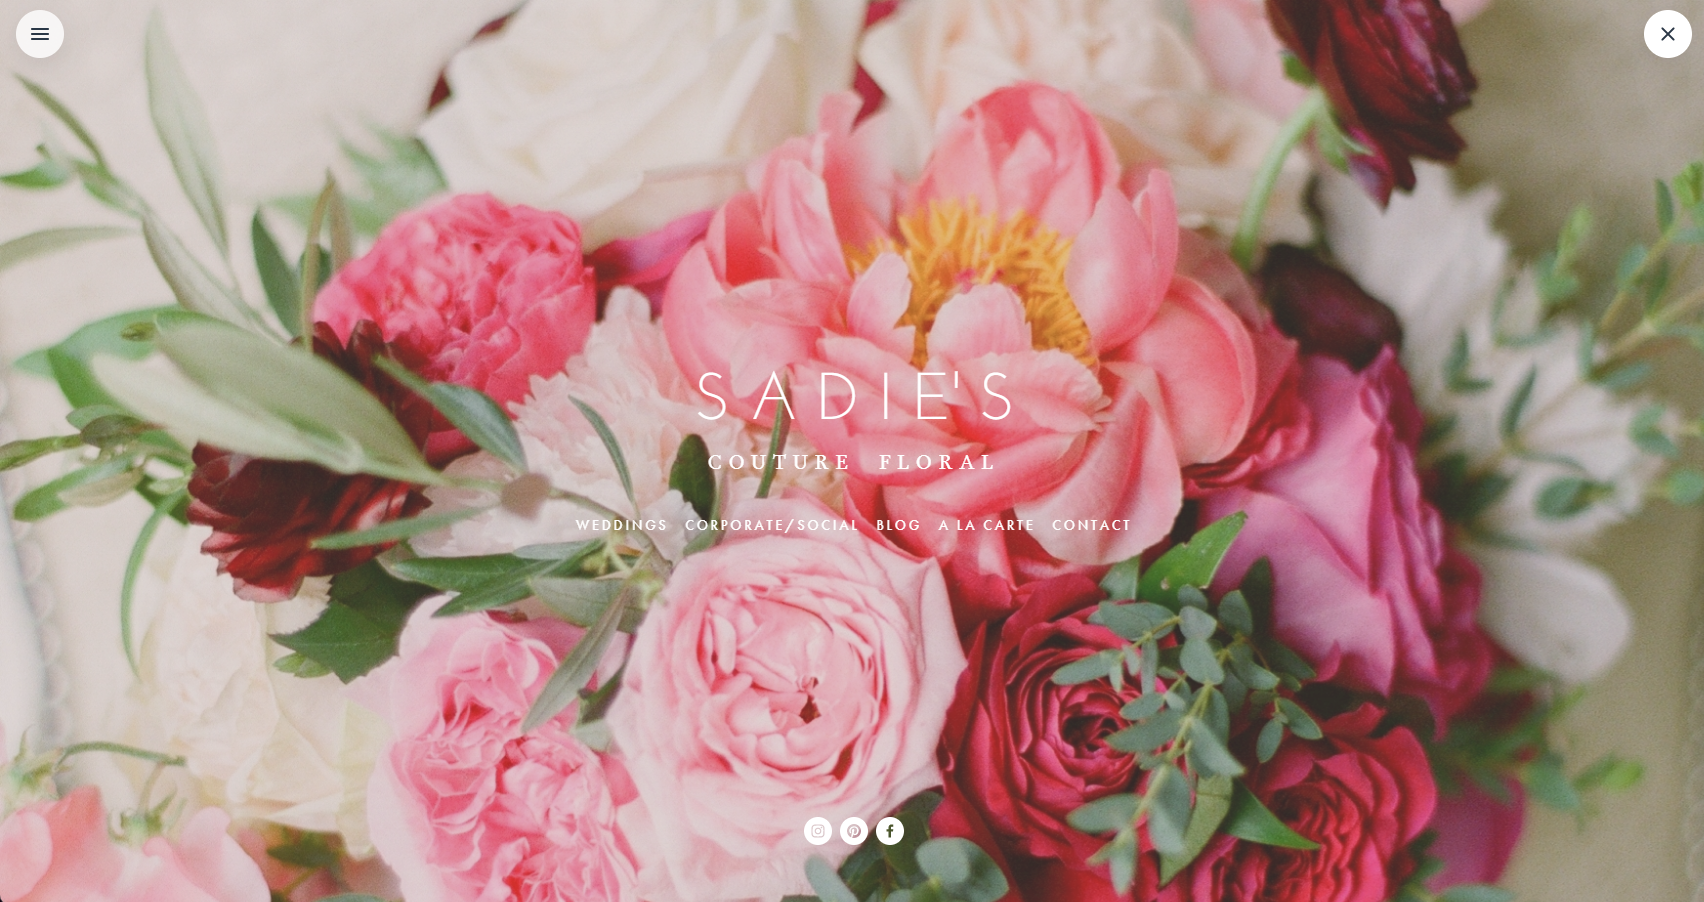 **
Fullscreen with Avatar:
**
Fullscreen with Avatar:
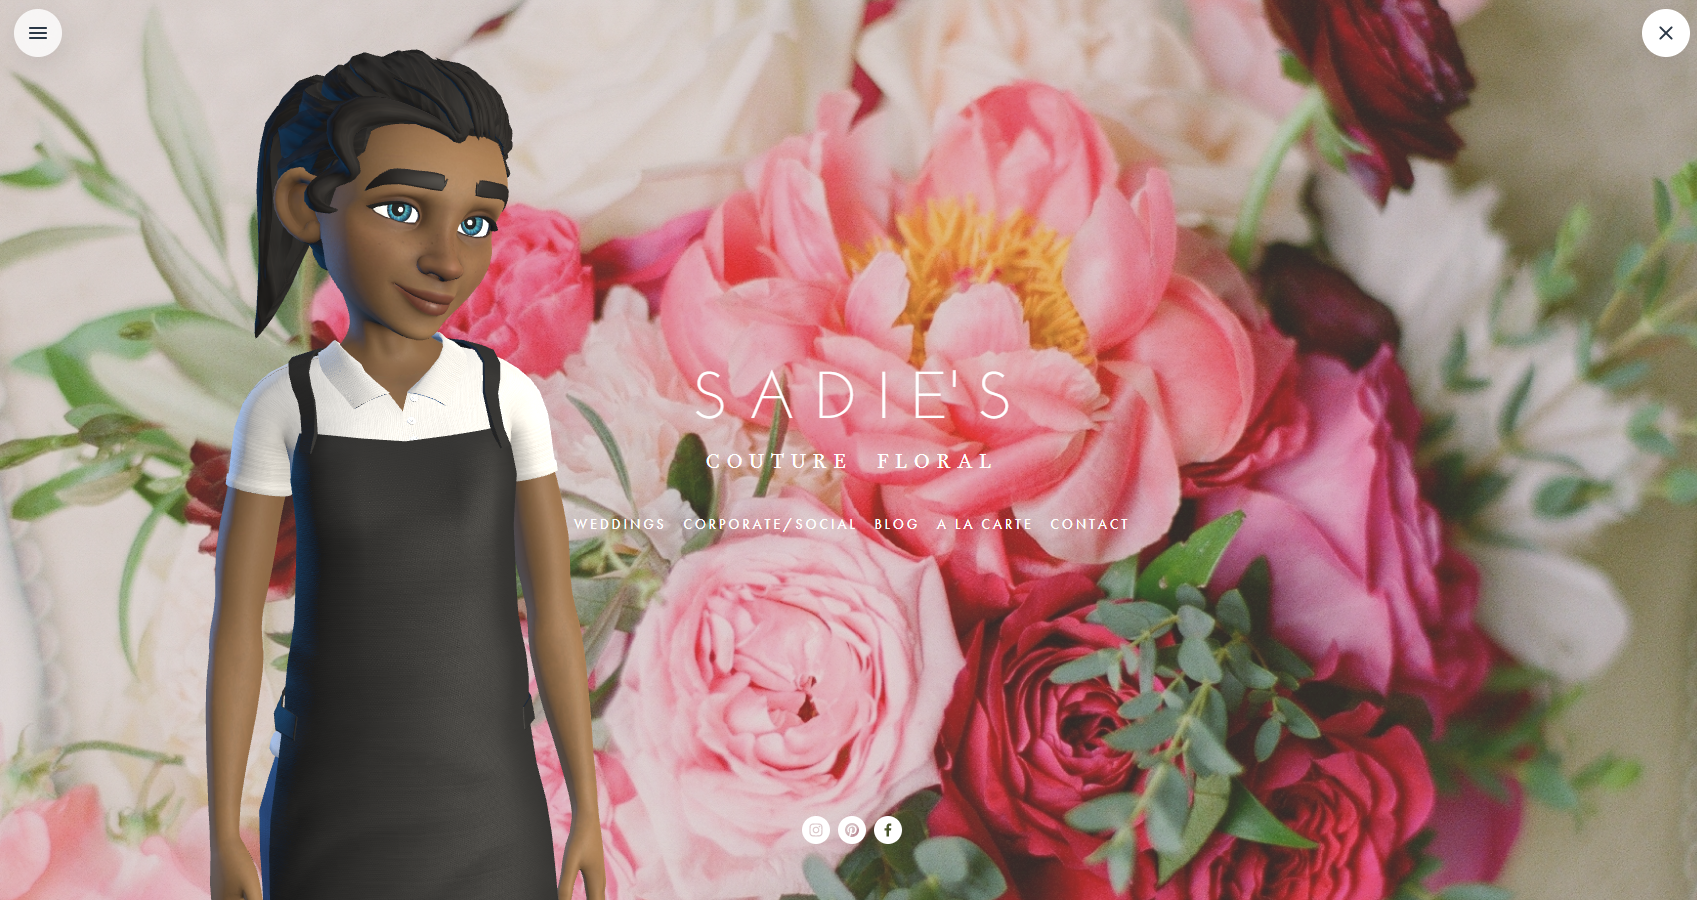 Half-size:
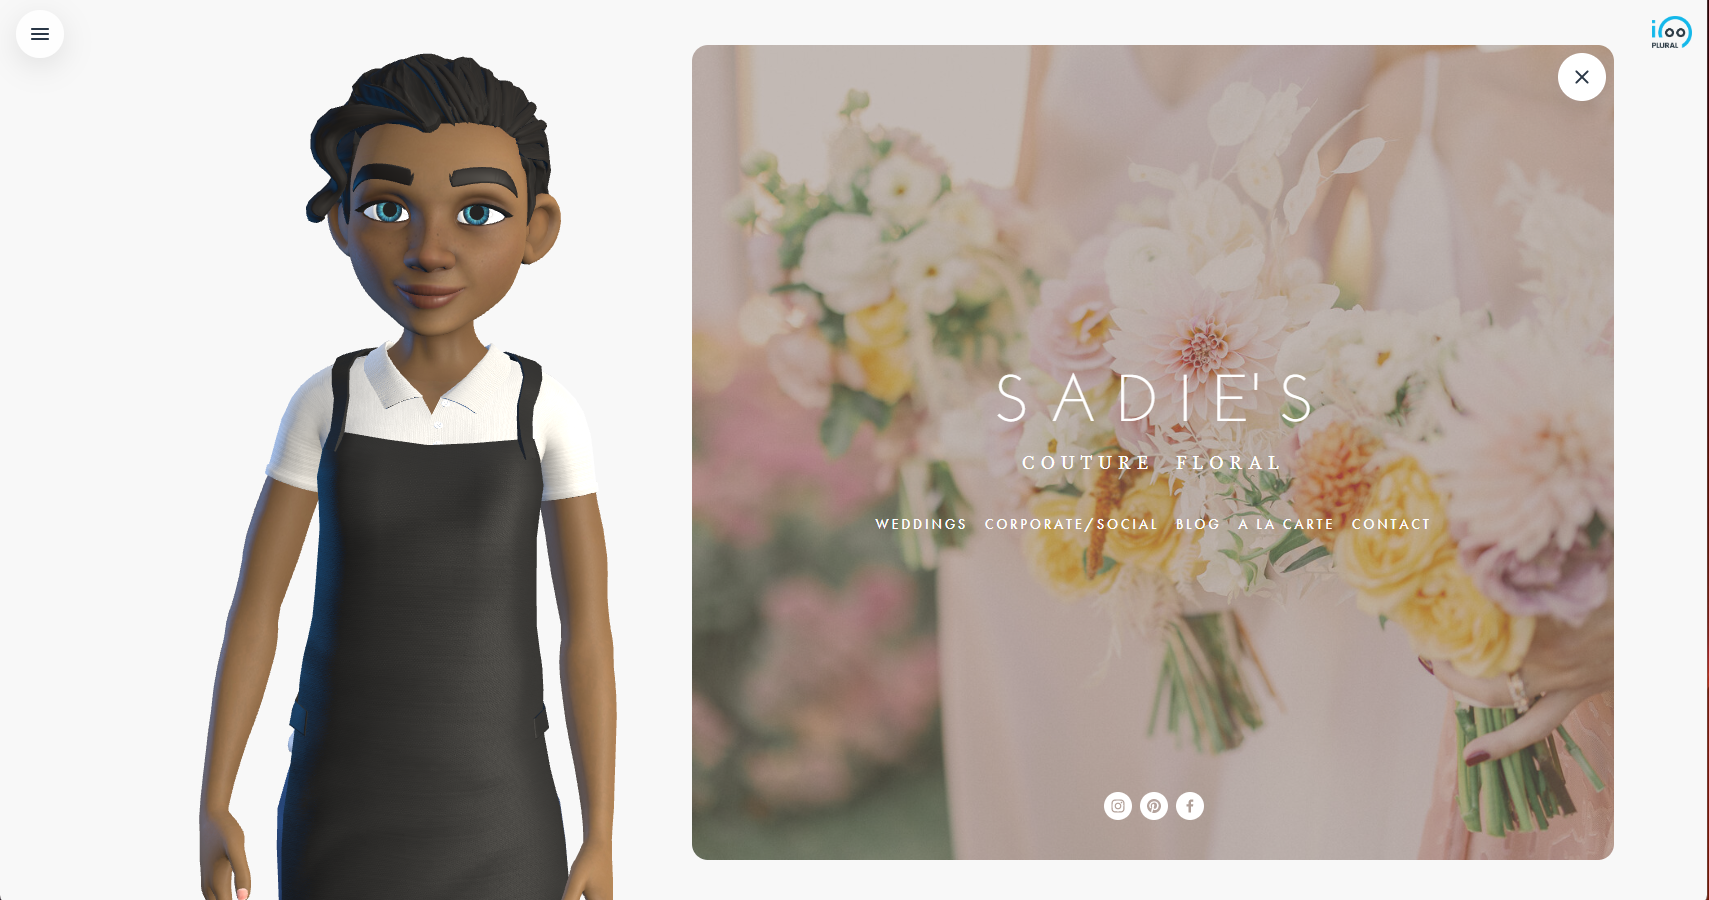 Quarter-size:
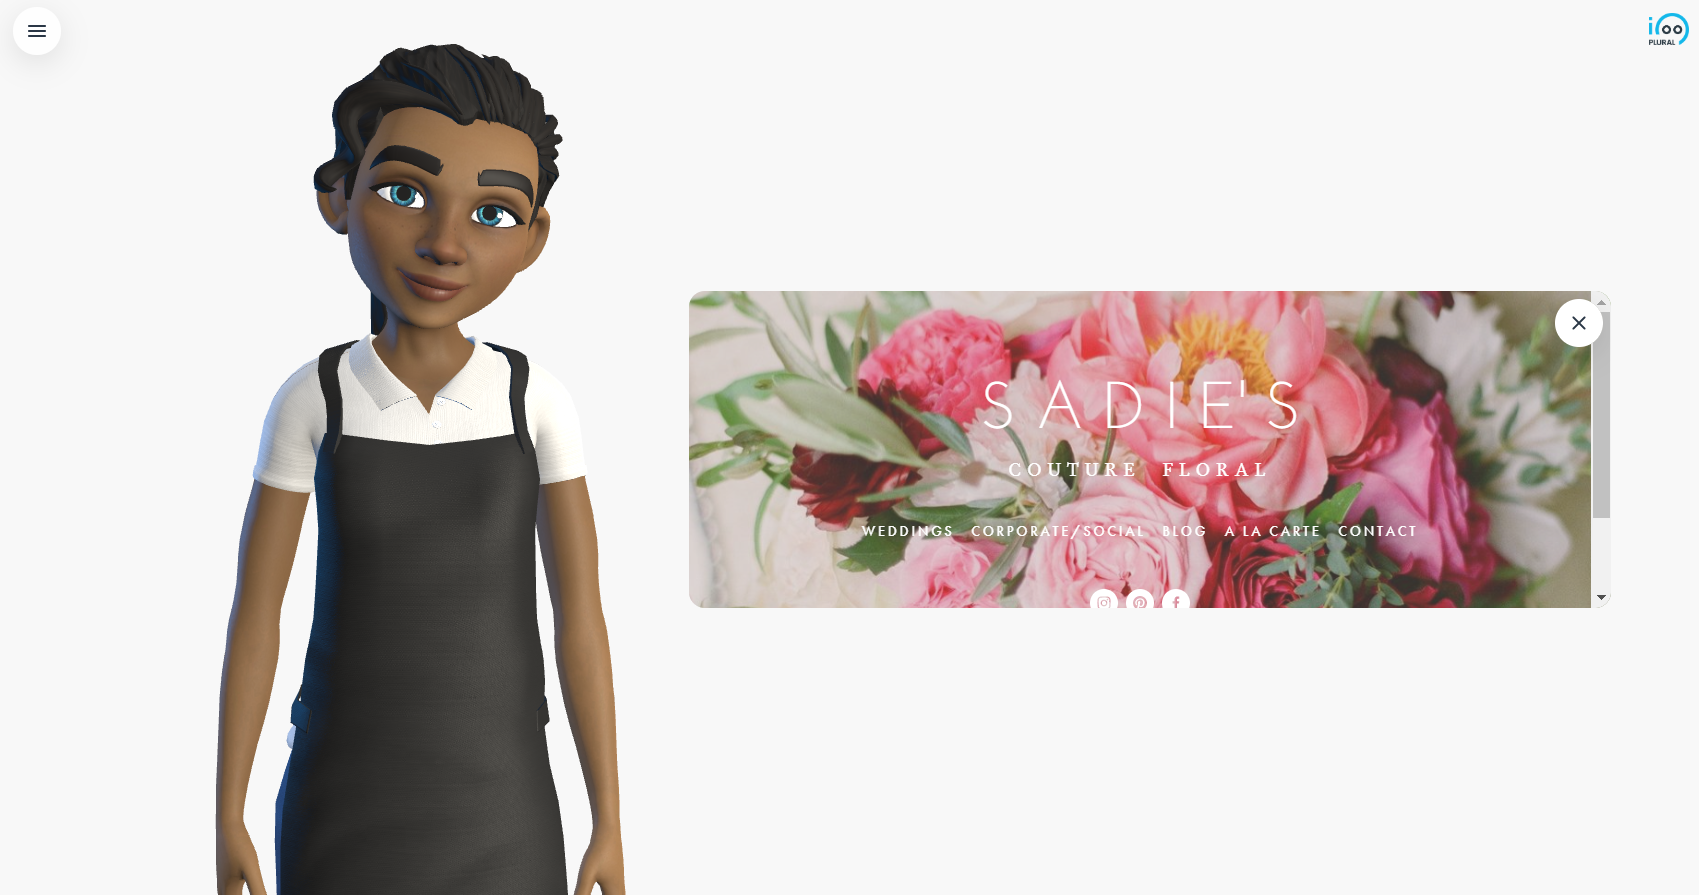 Square-size:
Add communication between Avatarproject and your website (avatar only)
Access to source code or the ability to program a website is recommended. As well as basic knowledge of Javascript.Communication from plural to the embedded website
In Plural switch to Params: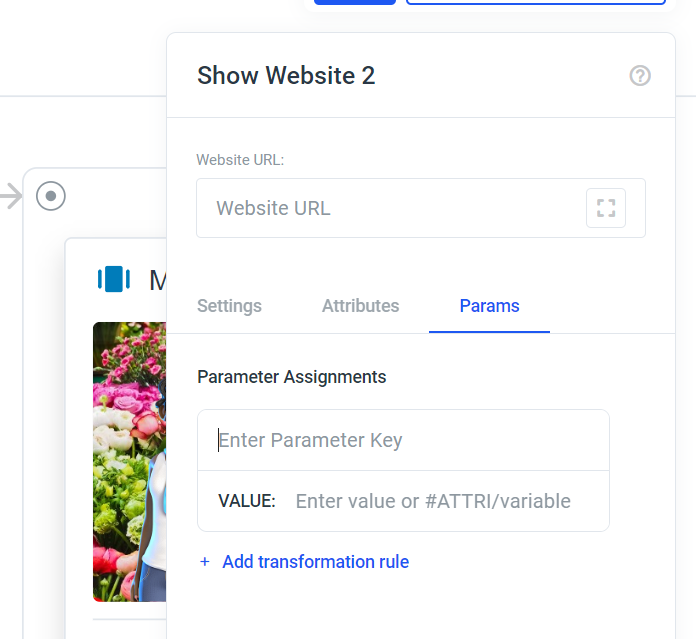 Here you have the option to add parameters. These are appended to the URL of the embedded website. You can simply enter a string or you can use the #ATTRI/attributeName, whereby attributeName must be set in your project beforehand.
Here is a completed example:
Here you have the option to add parameters. These are appended to the URL of the embedded website. You can simply enter a string or you can use the #ATTRI/attributeName, whereby attributeName must be set in your project beforehand.
Here is a completed example:
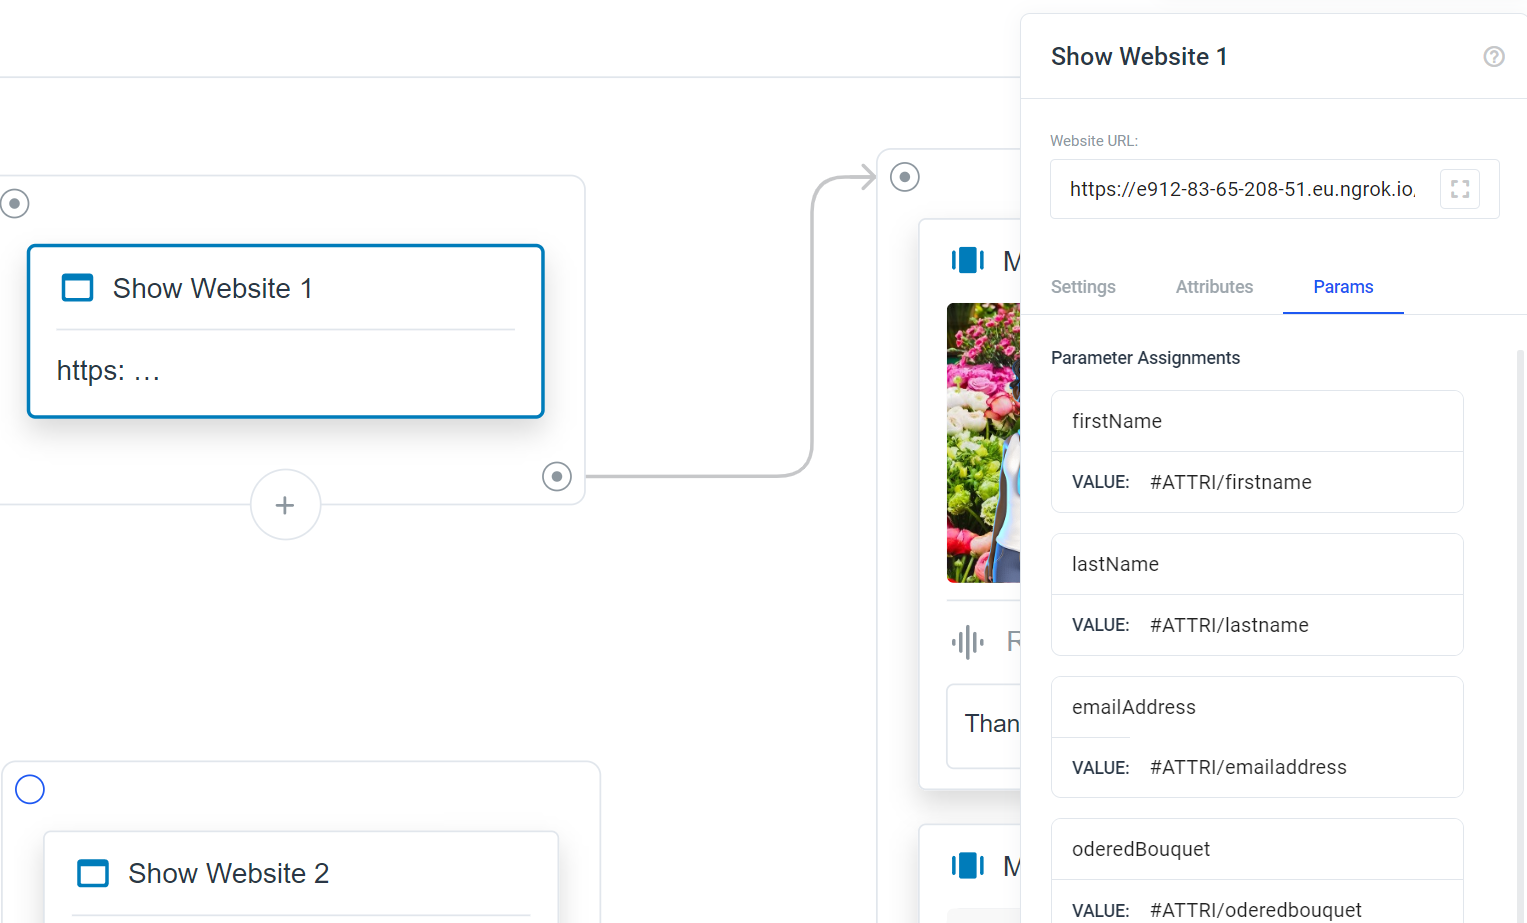 In the JS script code of the embedded website, you can pass through and use the parameters:
getURLParameters() function returns an object with the keys and values of the URL parameters.