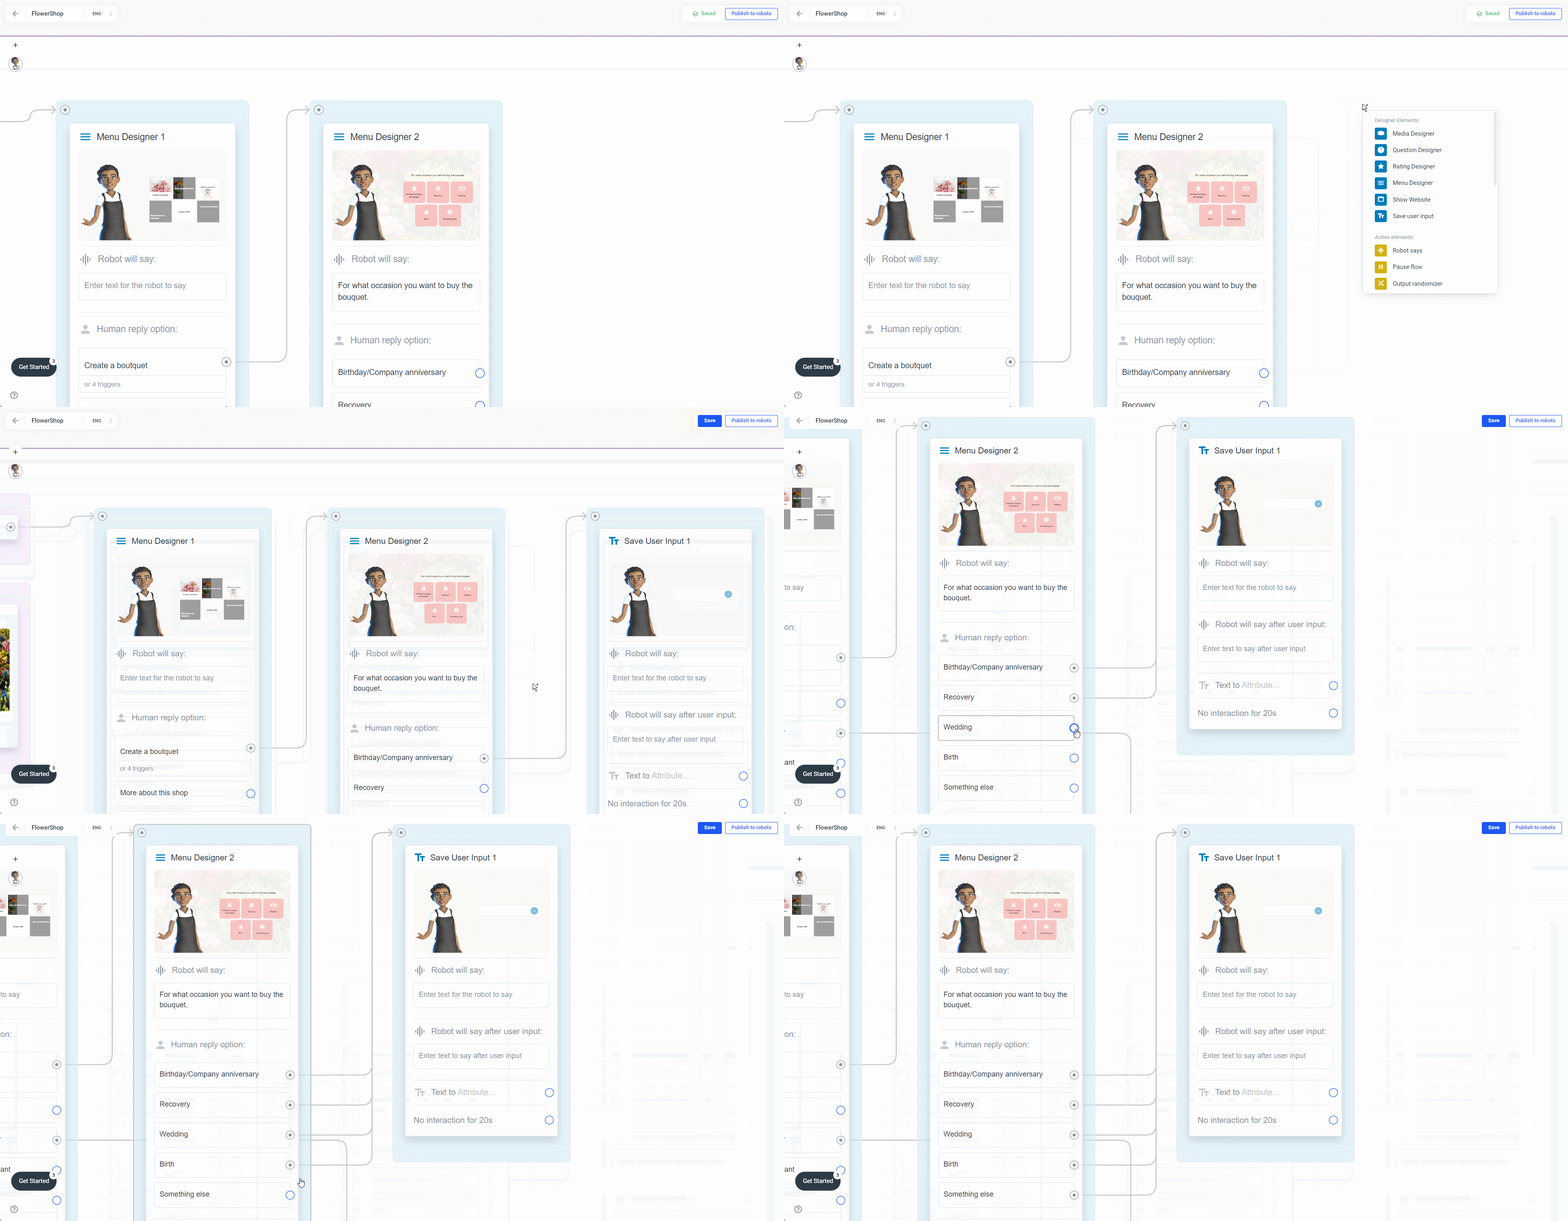
The editor of the Save User Input element
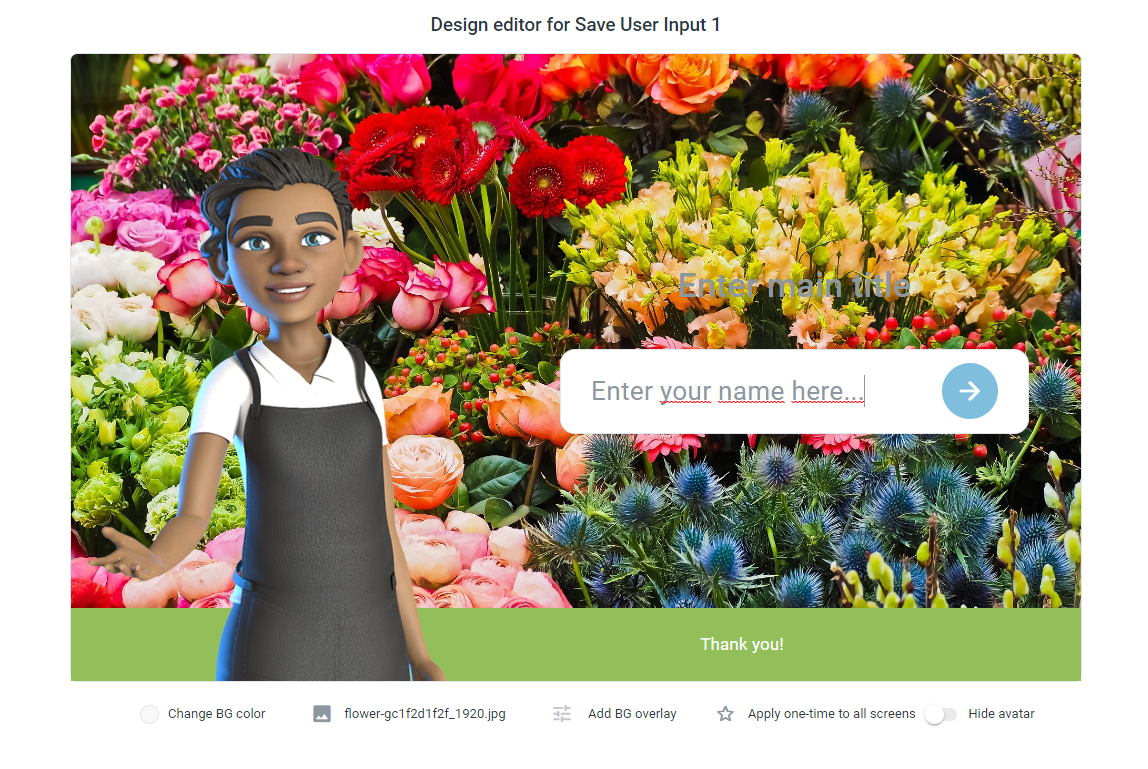
What you can do here:- add a title, a sample text (which is displayed in the text input field) and an acknowledgement (which is displayed after the user enters the input)
- change the font, font color and alignment of of the title
- add a background image or change the background color
- if you use an image as a background you will also have the option to add an overlay
- change the background color of the thank you note
- with Apply once to all screens you can apply the background color or images to all screens in your projects
- and last but not least you can hide the avatar
Add Speech
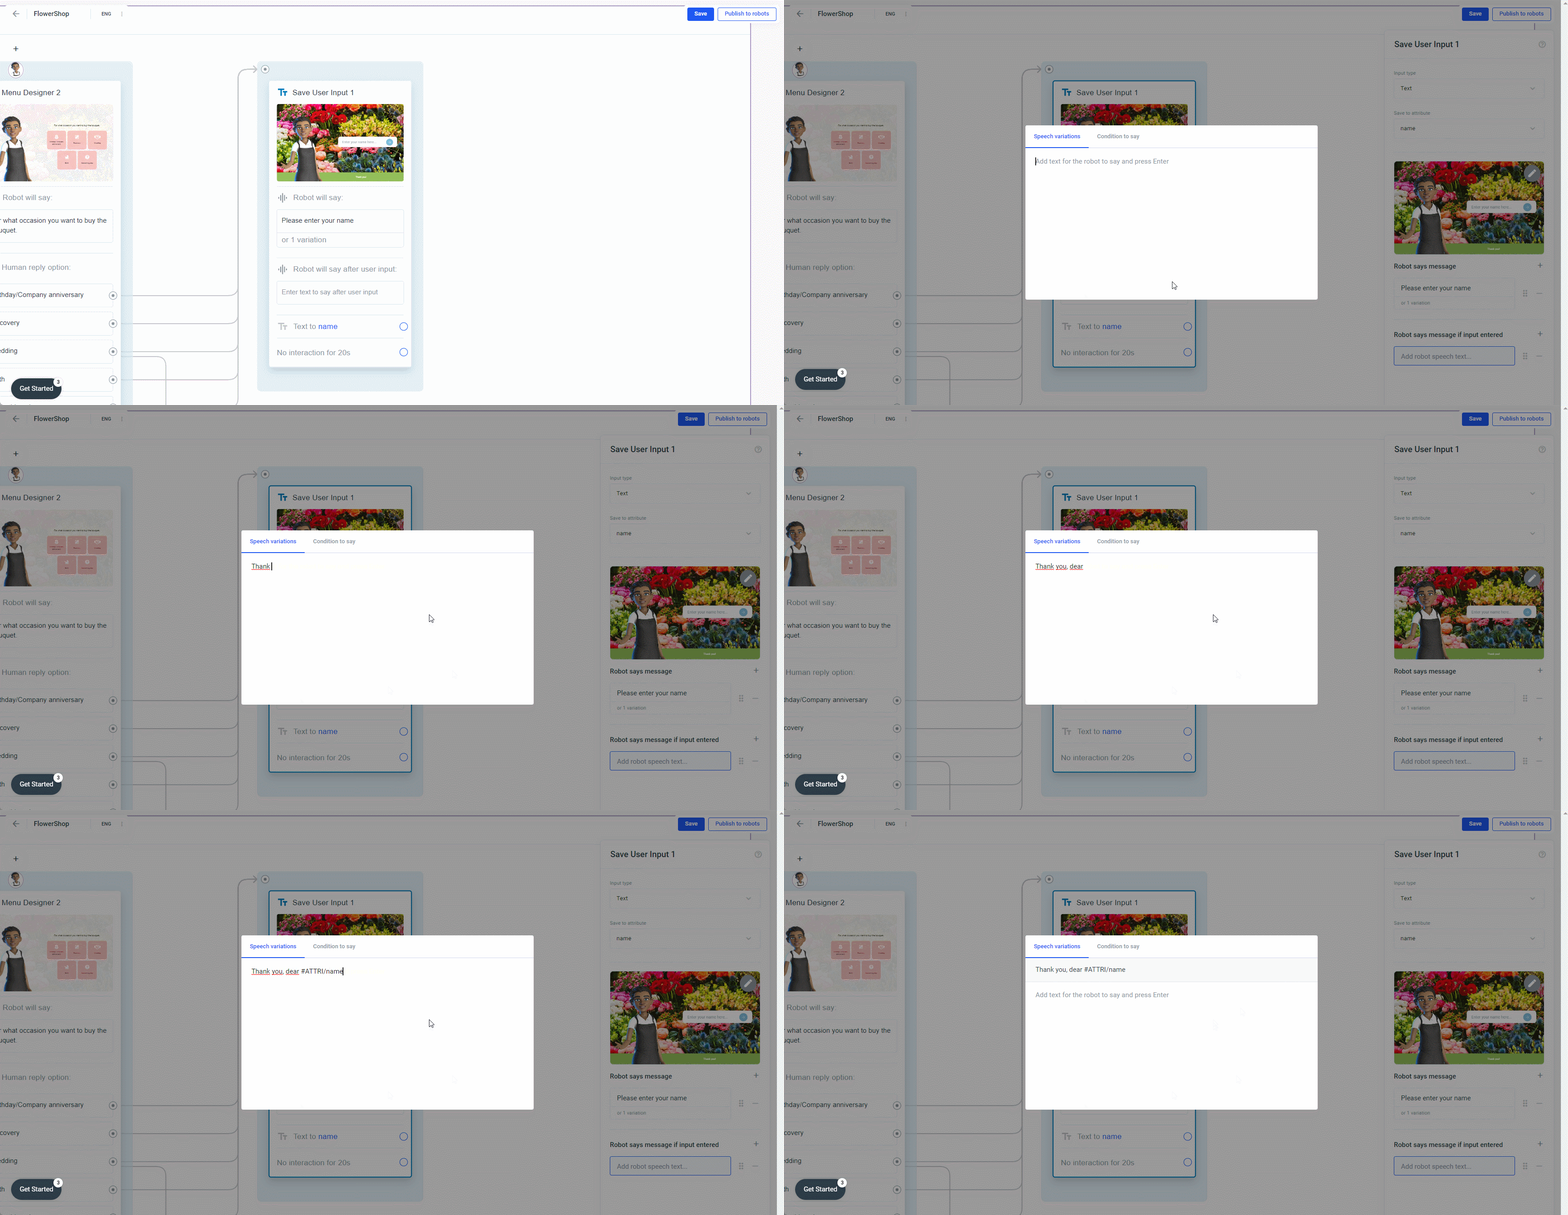
Close the editor by clicking _Save _if you want to save your changes, or the back arrow if you want to discard your changes.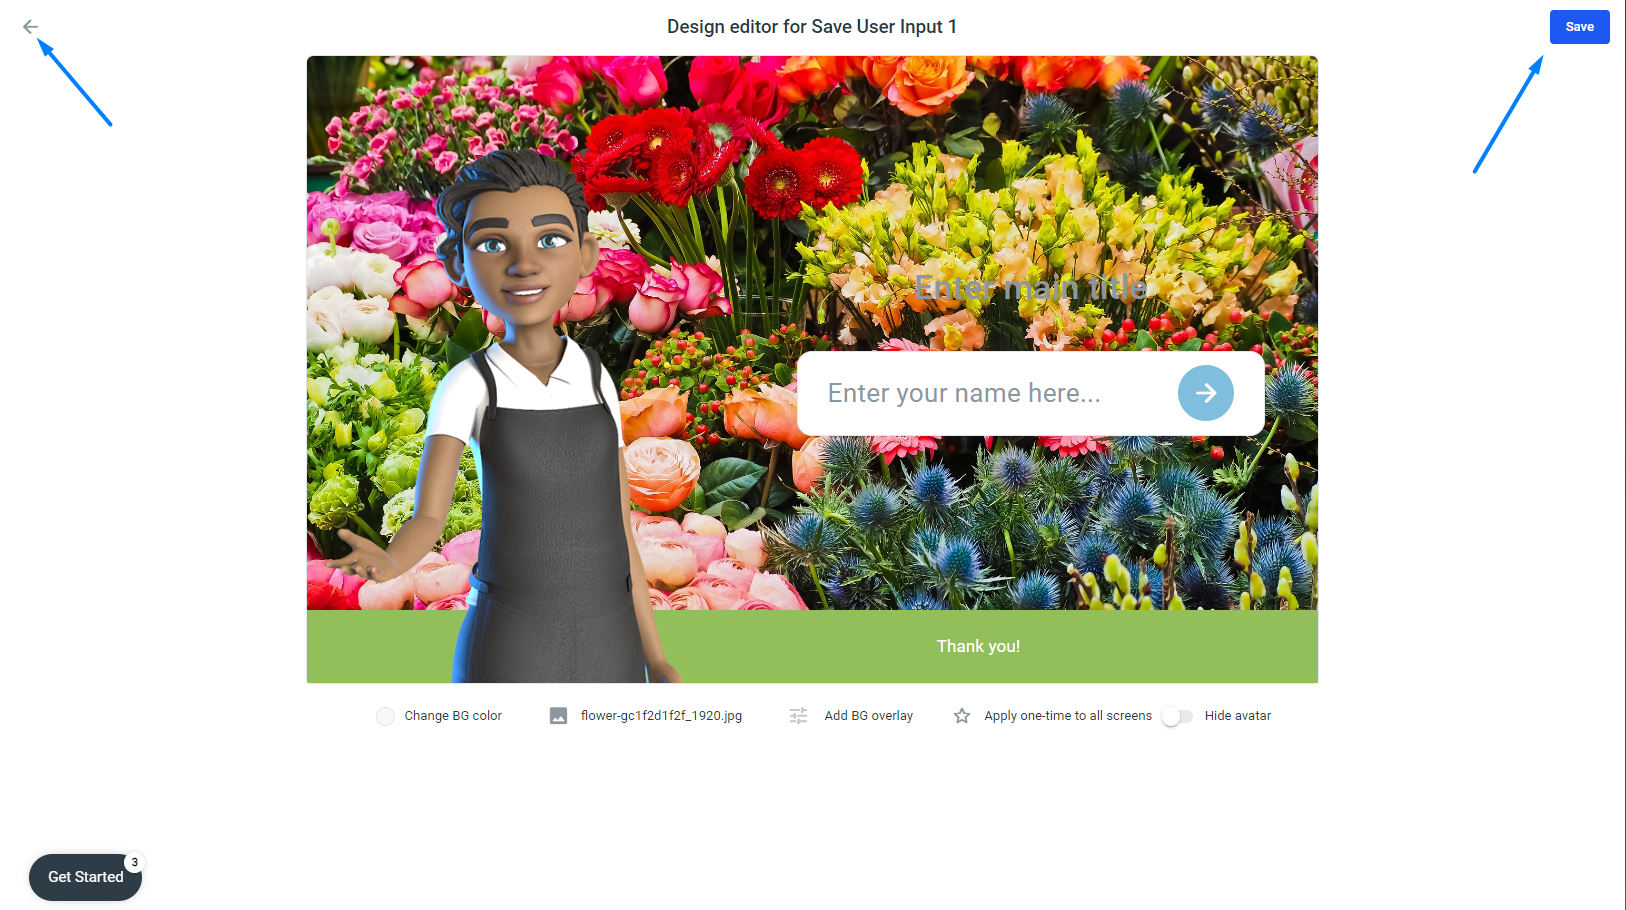 Now click the Enter text you want the robot to say box to open the avatar/robot speech text input field, and type the text you want the robot or avatar to say while it displays the Save User Input element.
Variations make your avatar/robot more intelligent and alive and also your project more interesting for the user.
Now click the Enter text you want the robot to say box to open the avatar/robot speech text input field, and type the text you want the robot or avatar to say while it displays the Save User Input element.
Variations make your avatar/robot more intelligent and alive and also your project more interesting for the user.
Capture the input and store it in a variable
To do this, open the sidebar by clicking once on the Save user input element. Here you can change the type of the input (Text, Phone number, Email, Number, Time, Date, Time and Date, Dropdown and Canvas) and you can enter a variablename (e.g. name) in which the input will be stored: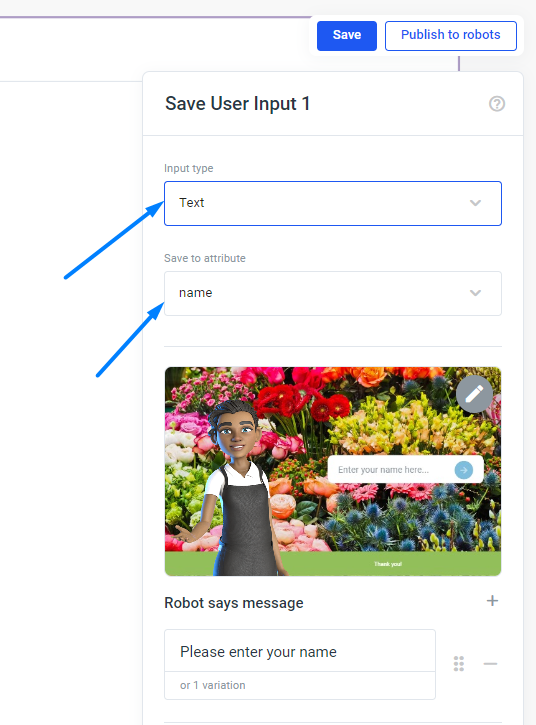
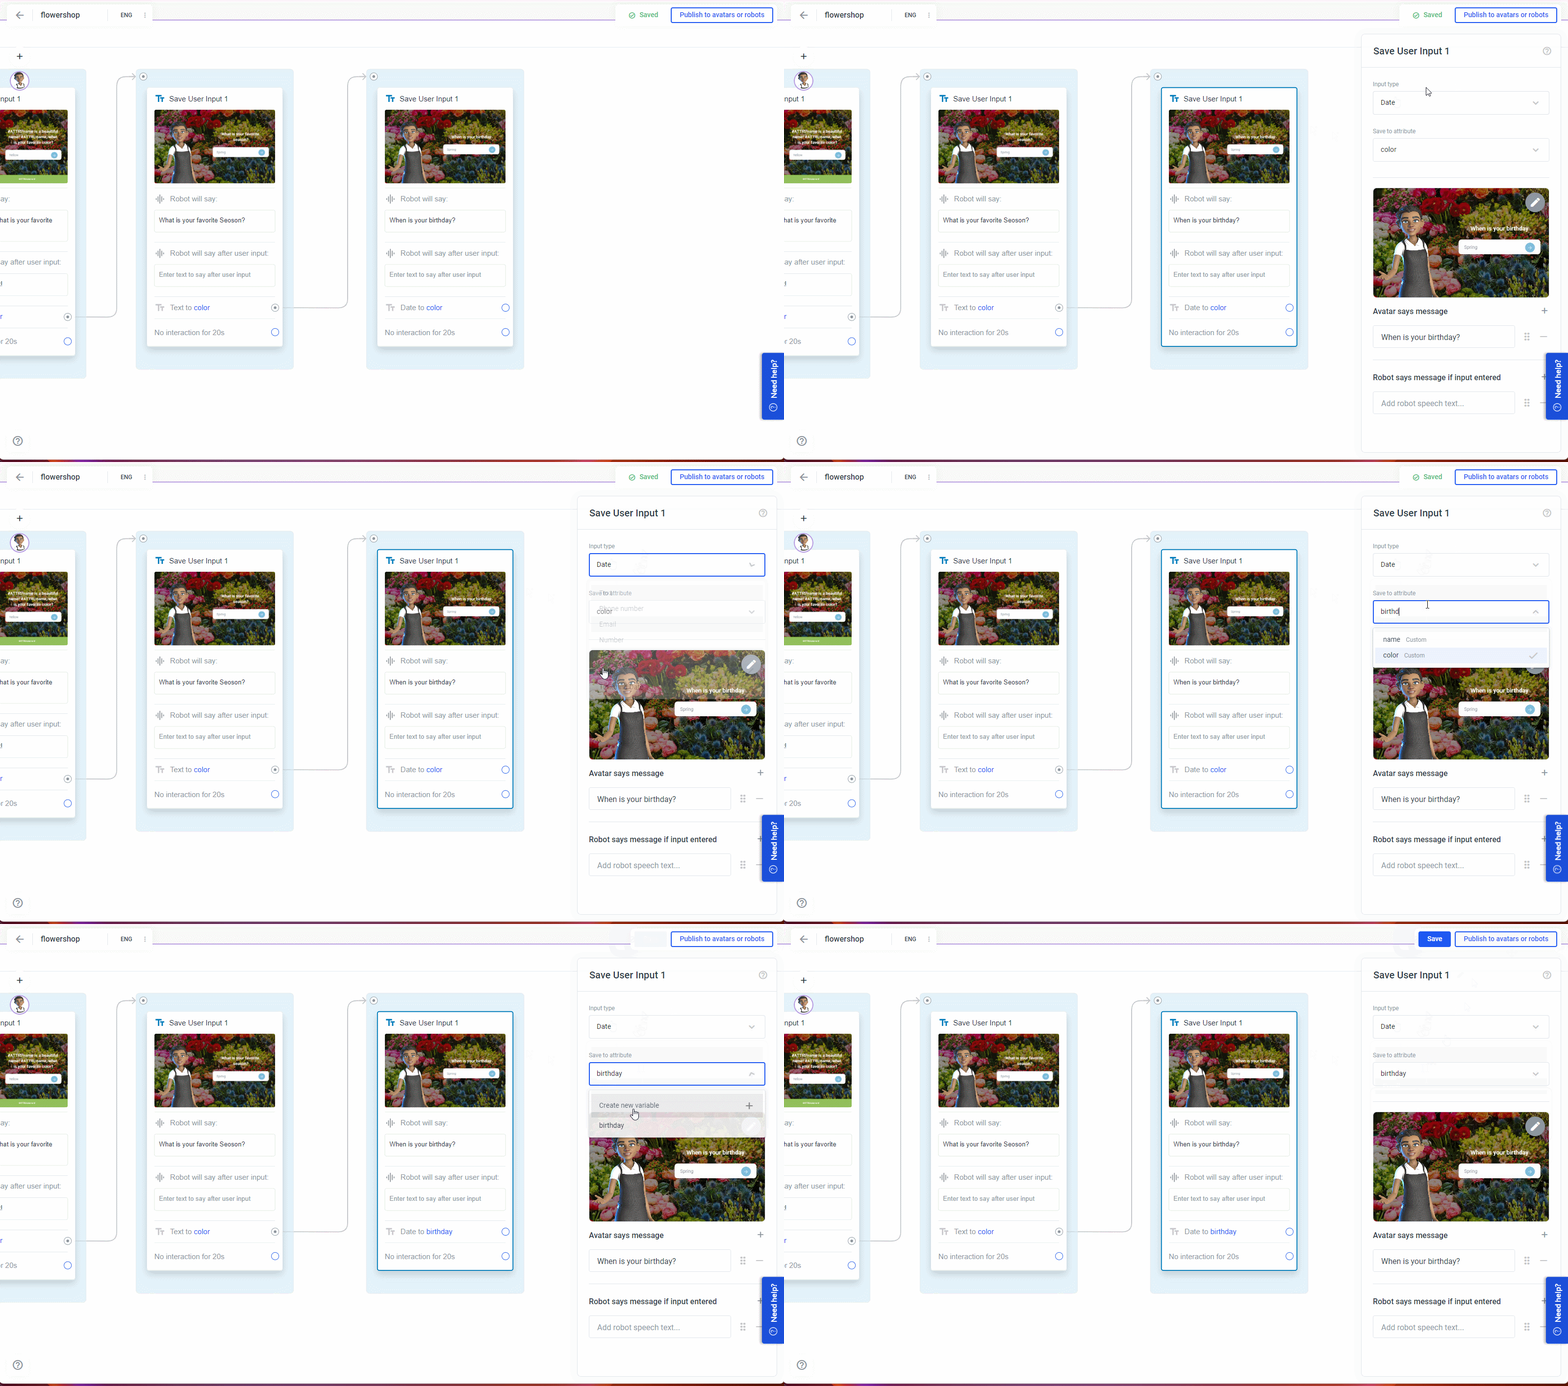 The user can now enter the data type (and only the data type) into this input field using the keyboard.
Different Input Types
Use the placeholder text to give instructions on how the user should format their input:
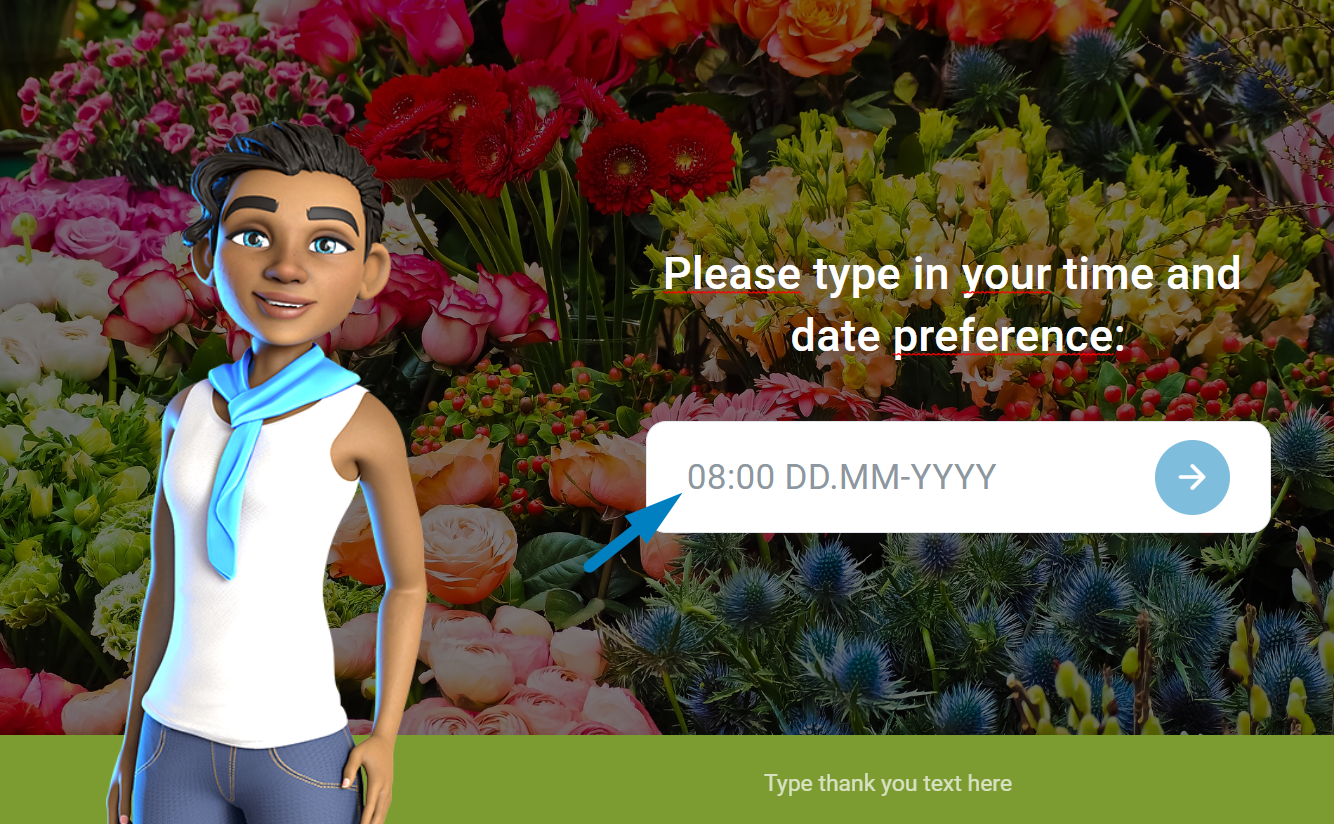 The end user does not see Plural’s default placeholder texts, they are only for you. Therefore write your own!Input Type: Text
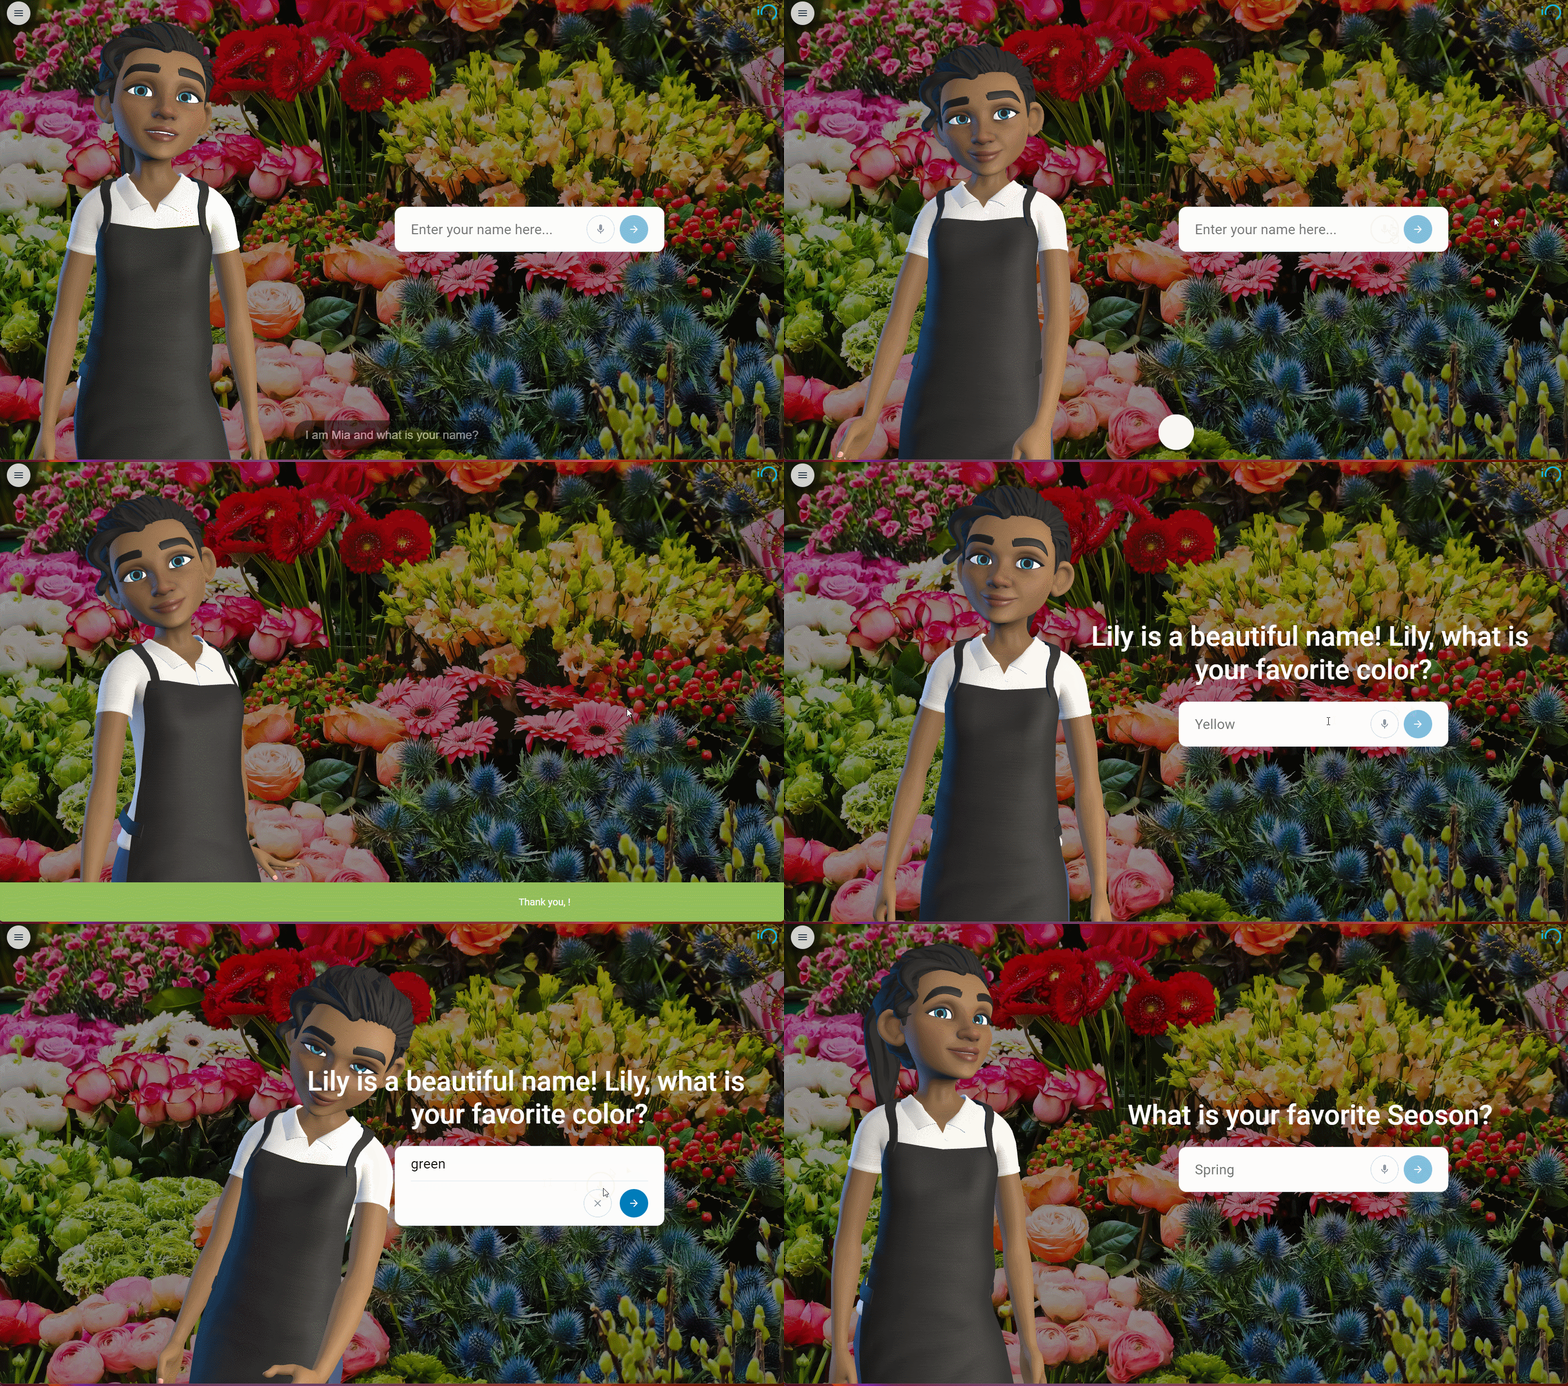
Text can also be entered by voice. To do this, the user must click or tap the microphone icon in the input field. This works only if Speech to Text is enabled for your avatar.
The end user does not see Plural’s default placeholder texts, they are only for you. Therefore write your own!Input Type: Text
Text can also be entered by voice. To do this, the user must click or tap the microphone icon in the input field. This works only if Speech to Text is enabled for your avatar.
Input Type: Phone number
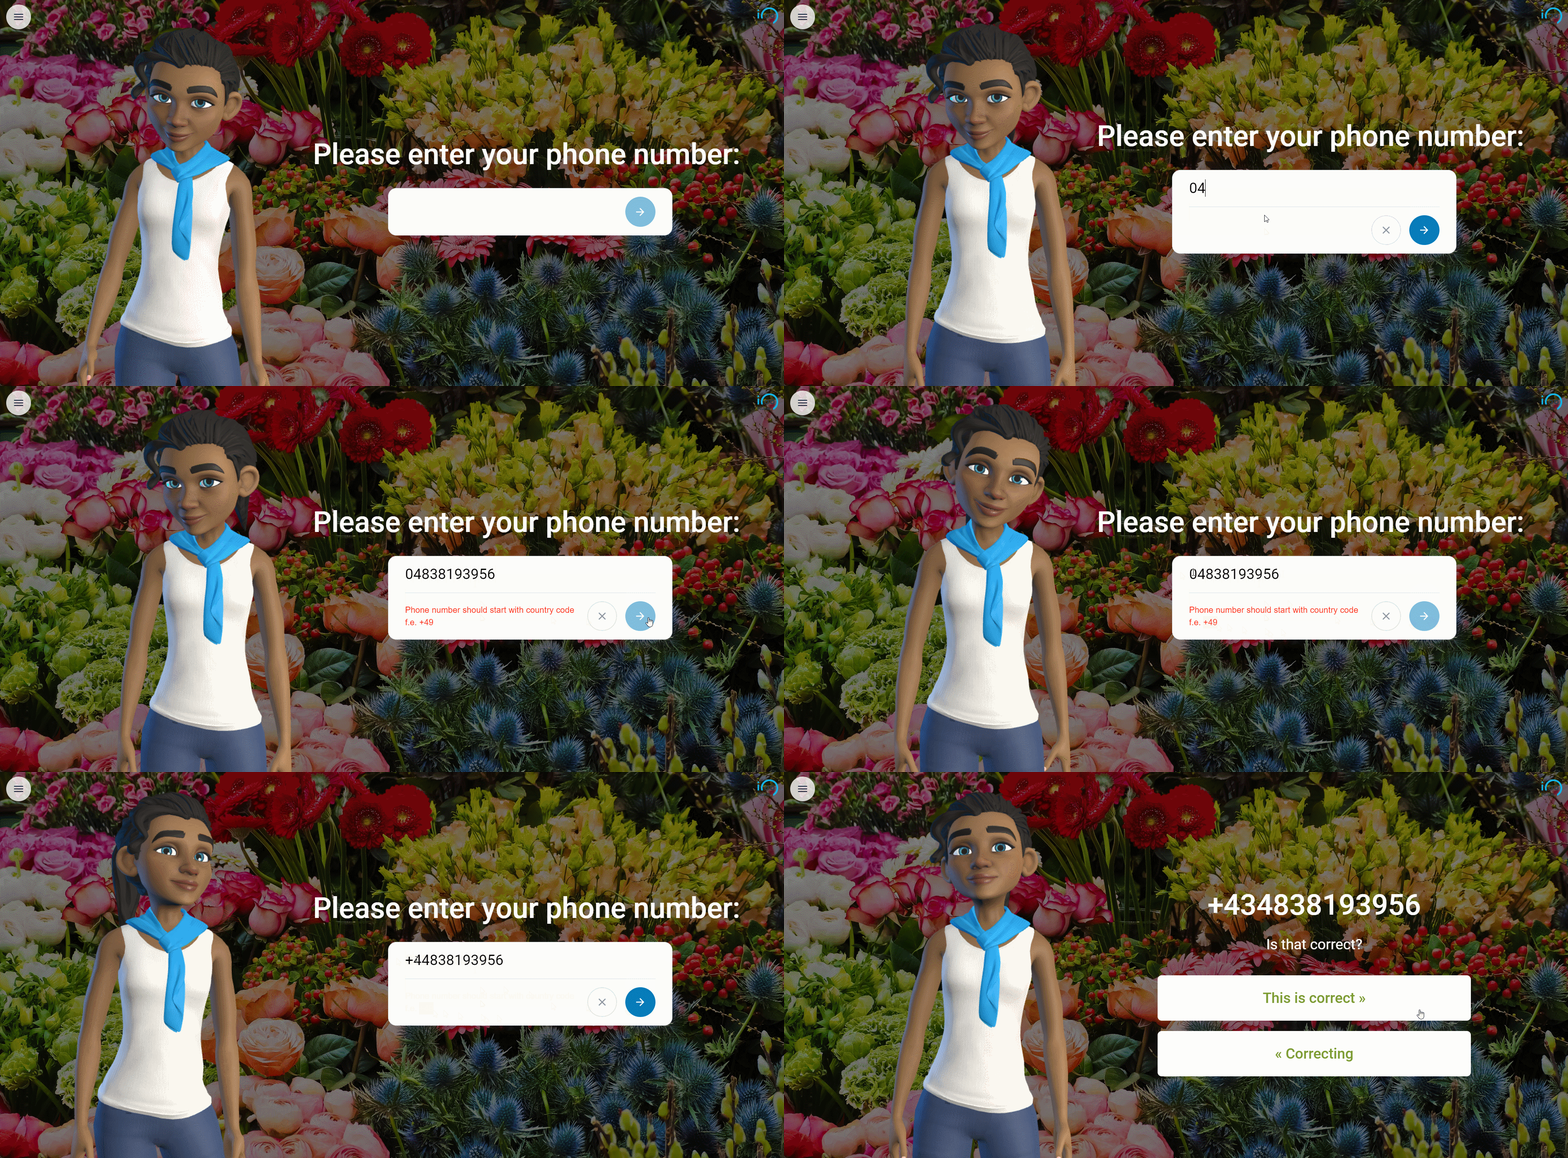
The input must be a number and start with a country code beginning with a plus sign: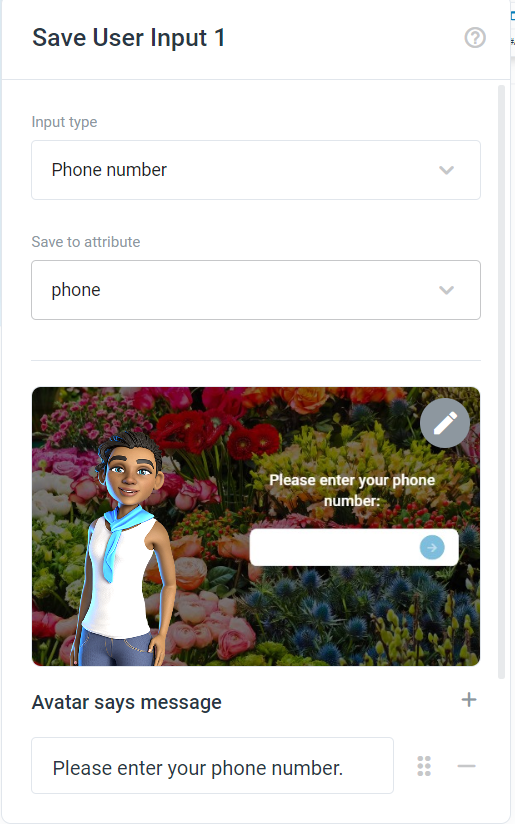
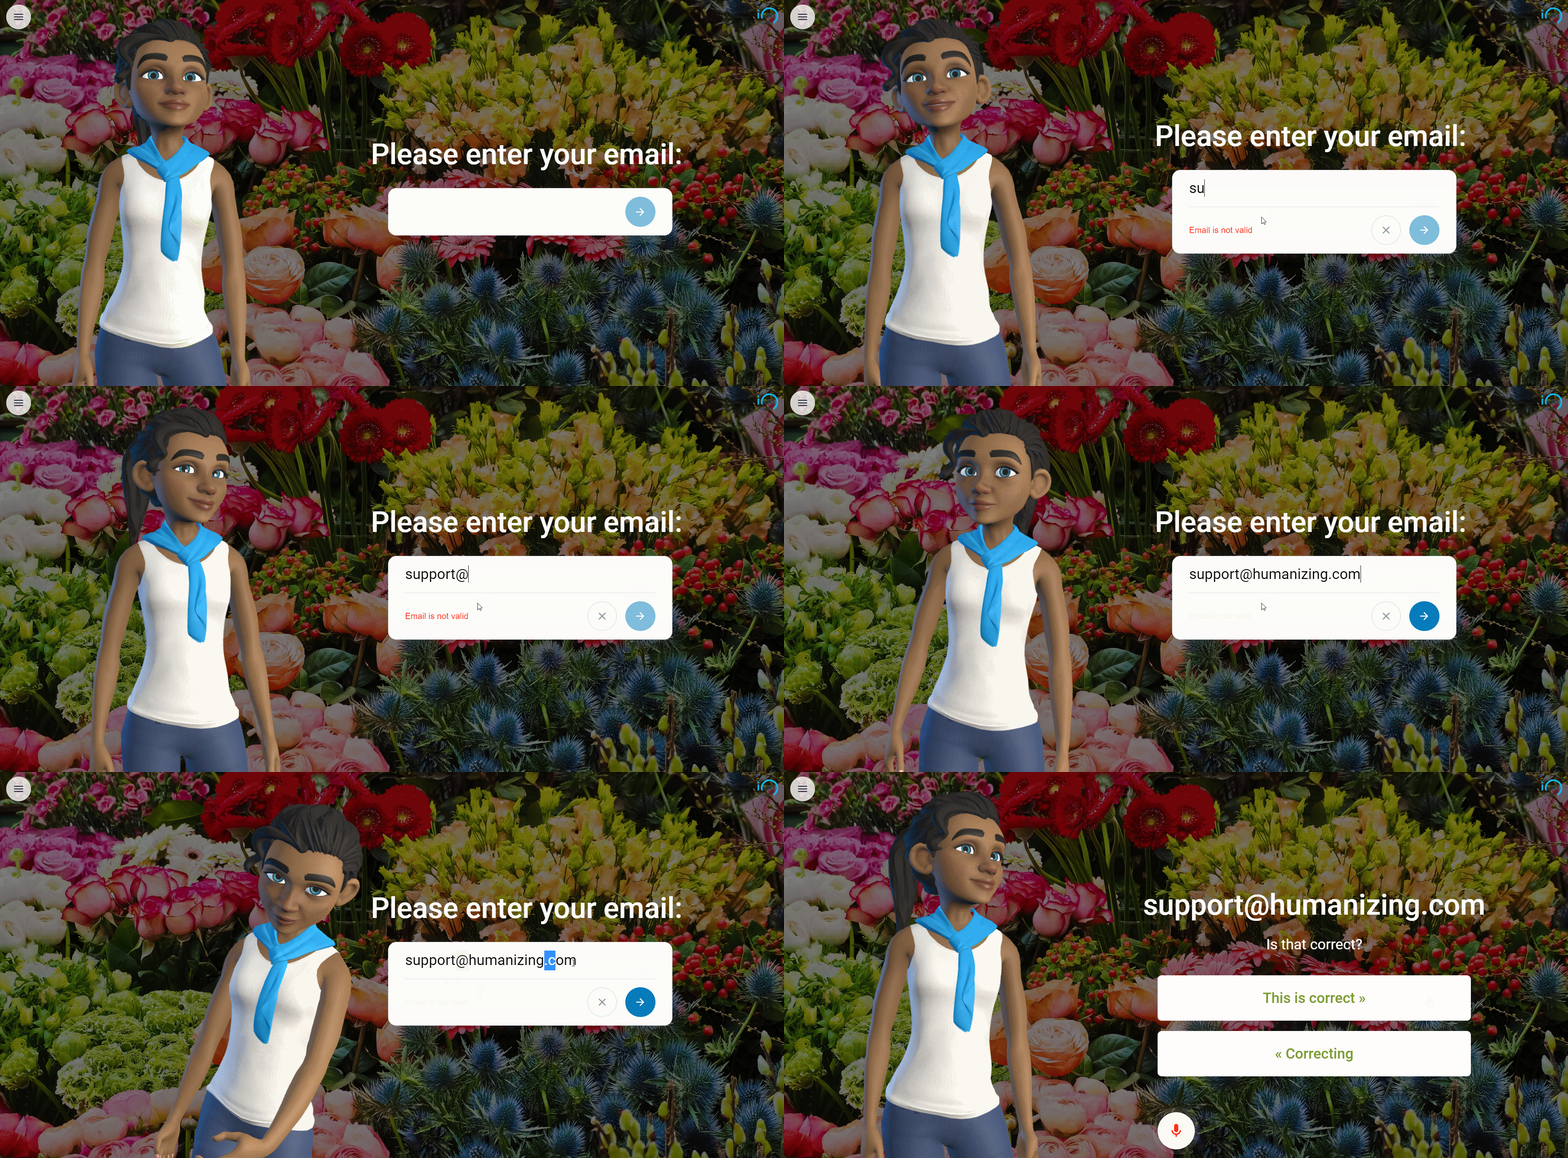
Input Type: Email
The e-mail must have a correct e-mail syntax, i.e. it must consist of an e-mail prefix and an e-mail domain.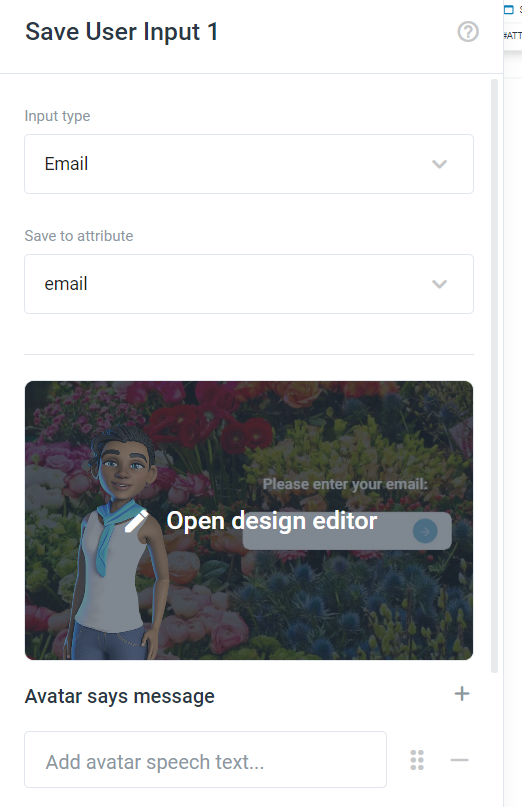
Input Type: Number
The number of the input type can be any number (max. 60 characters).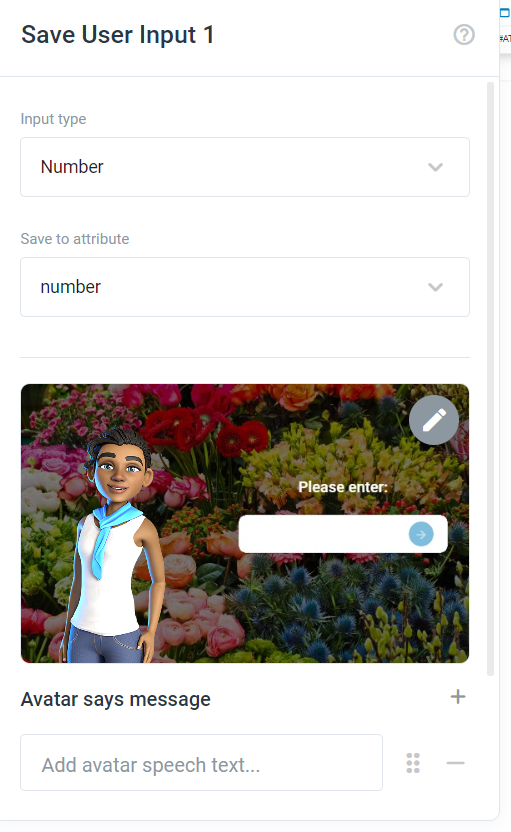
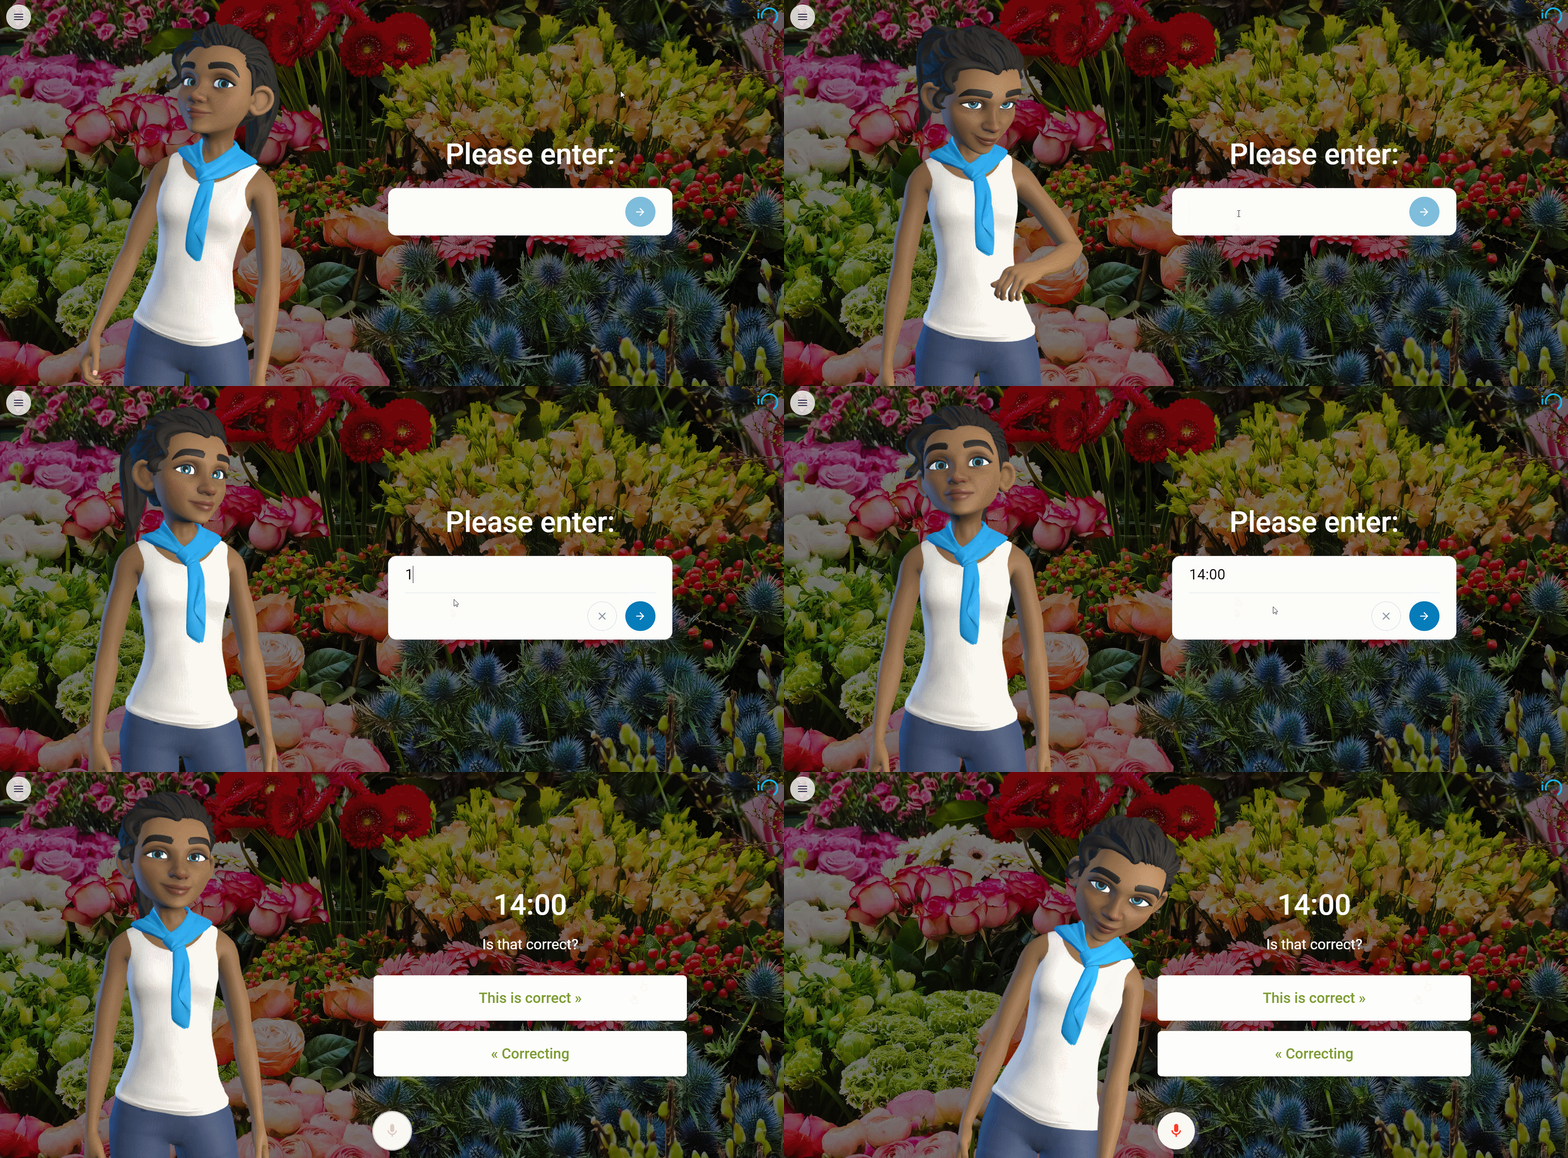
Input Type: Time
Time expects a time in 24-hour format: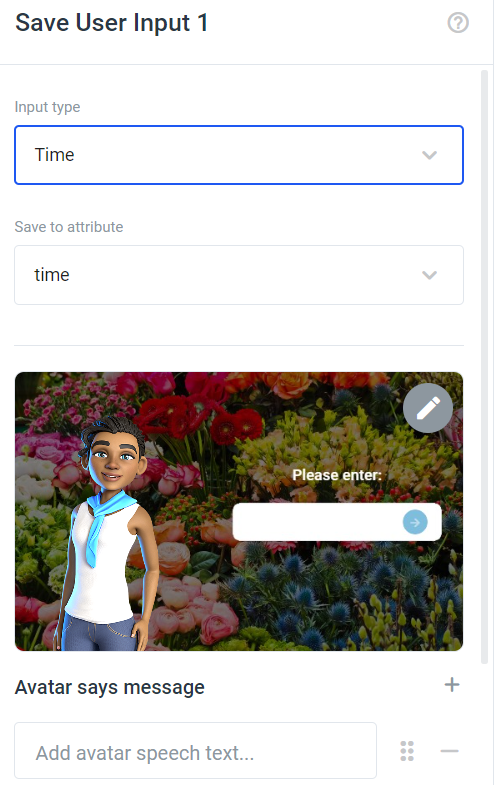
Input Type: Date
Date expects an input in this format: DD.MM.YYYY. 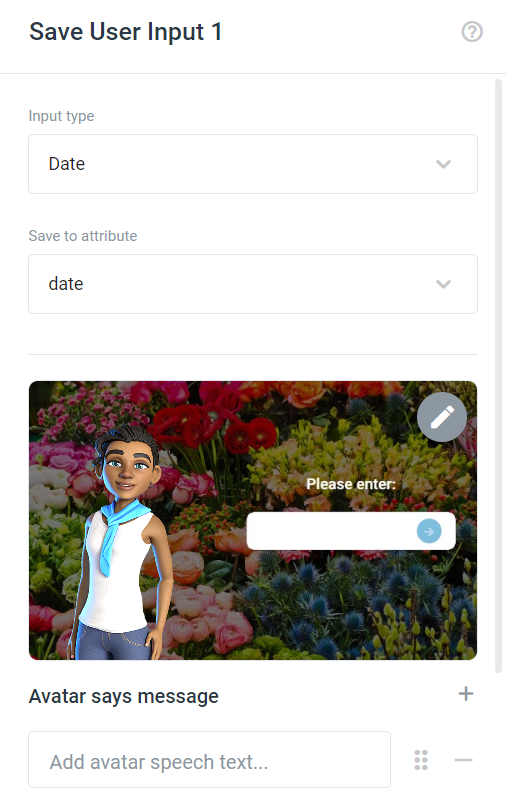
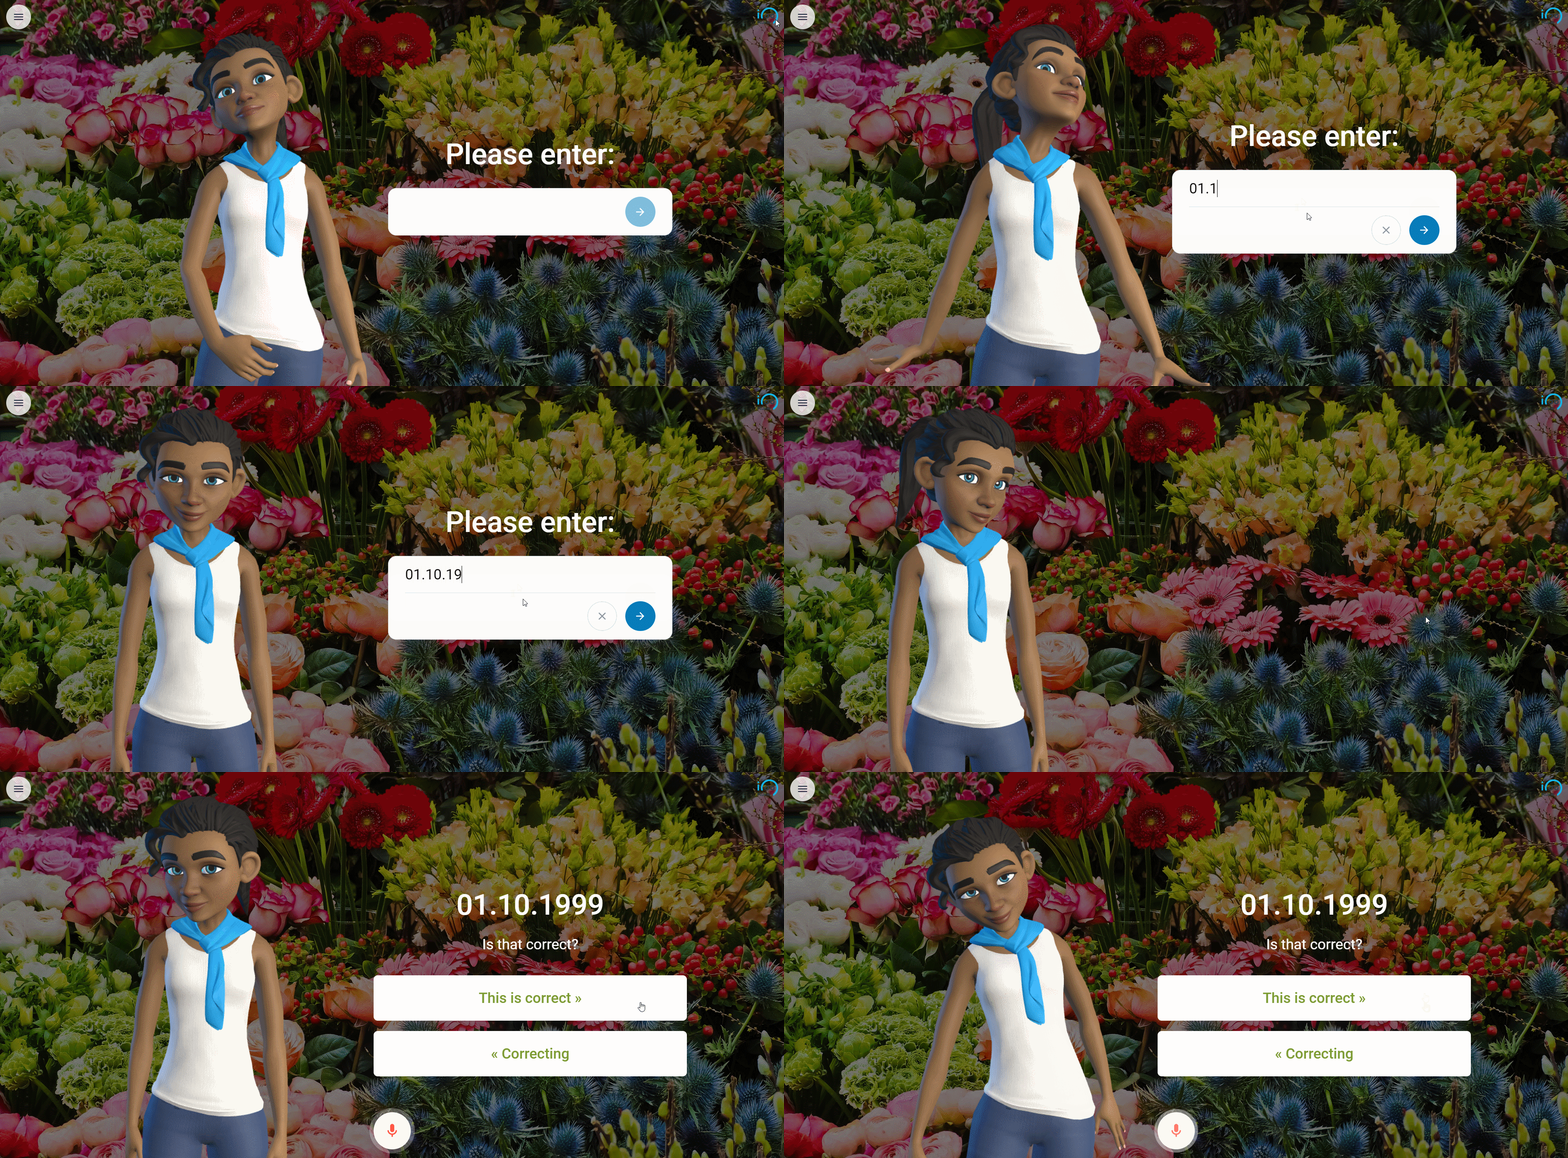
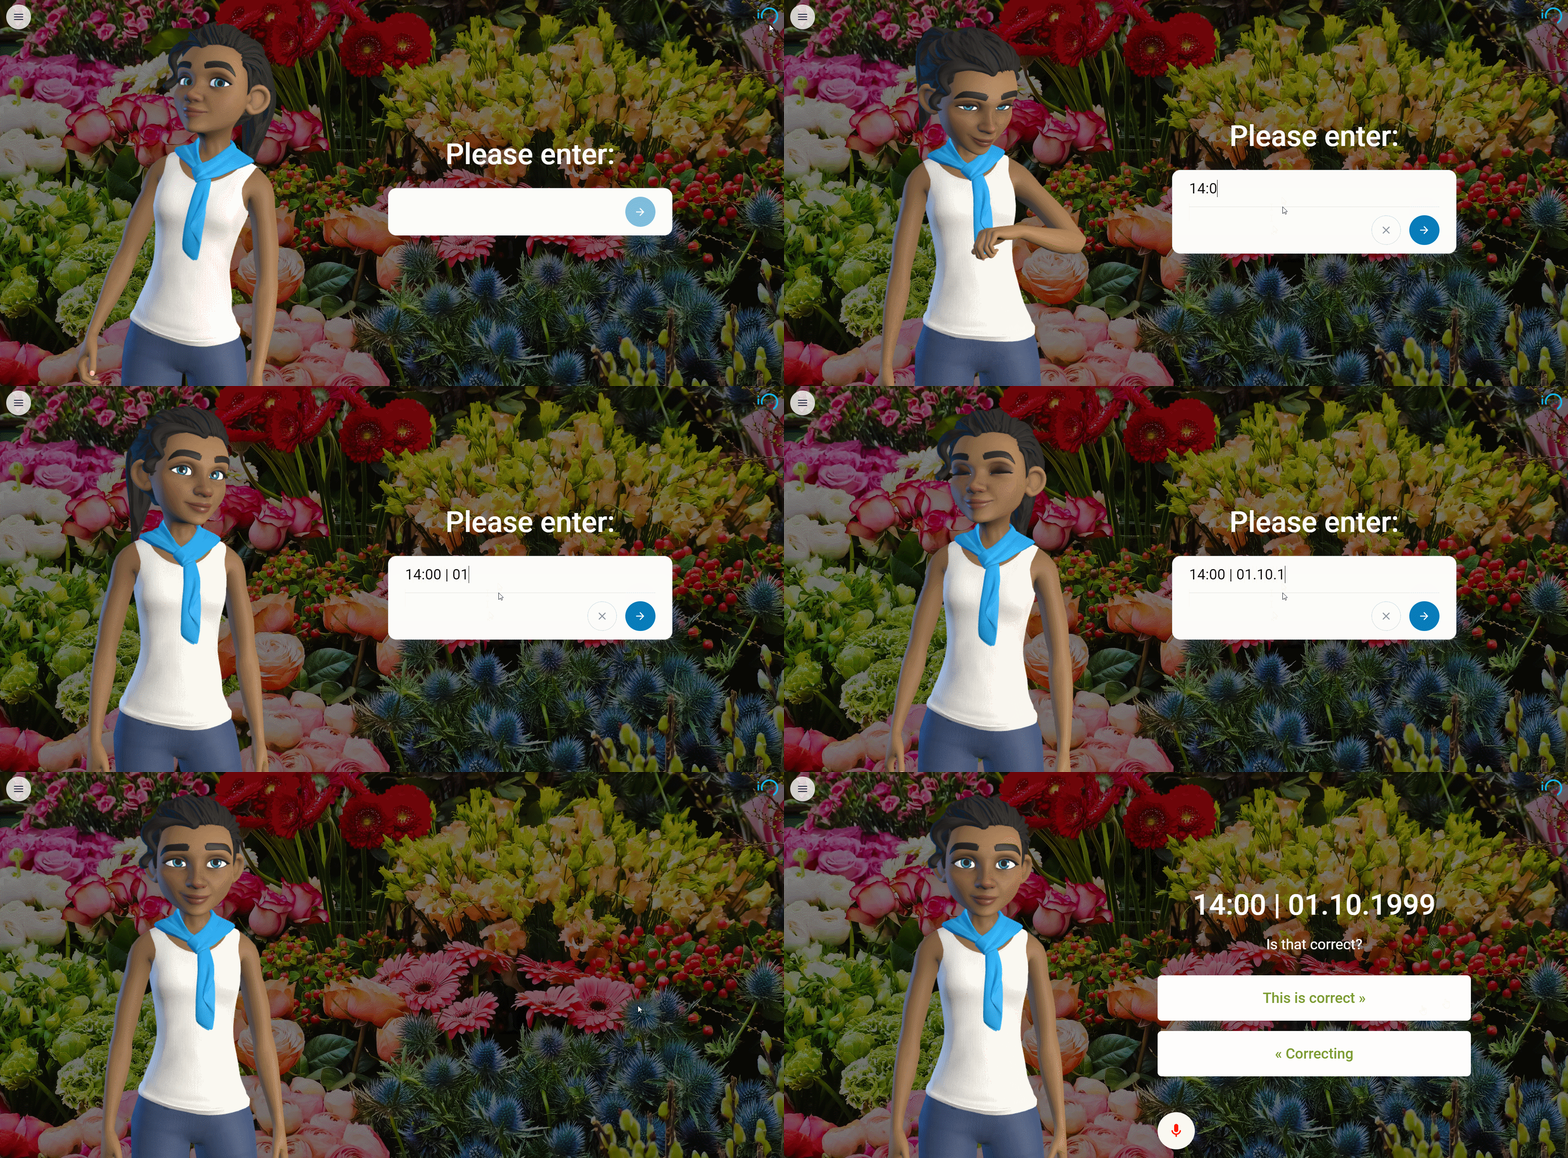
Input Type: Time and Date
Time and date expects an input starting with the time (in 24-hour format) followed by the date in this format: DD.MM.YYYY.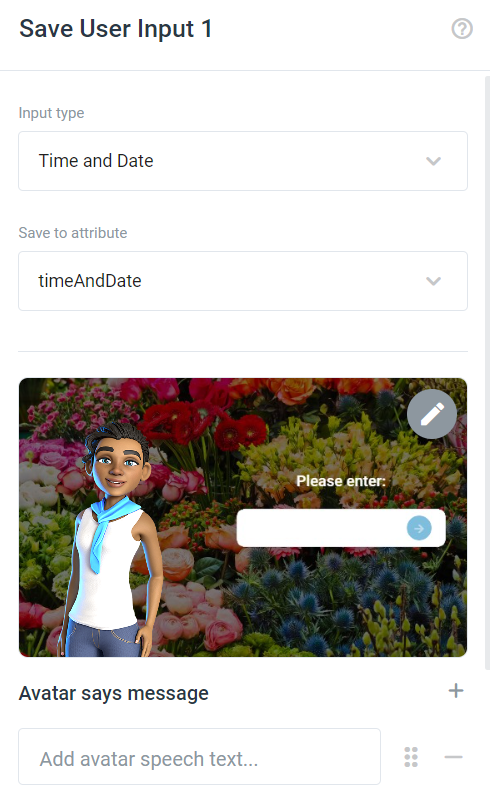
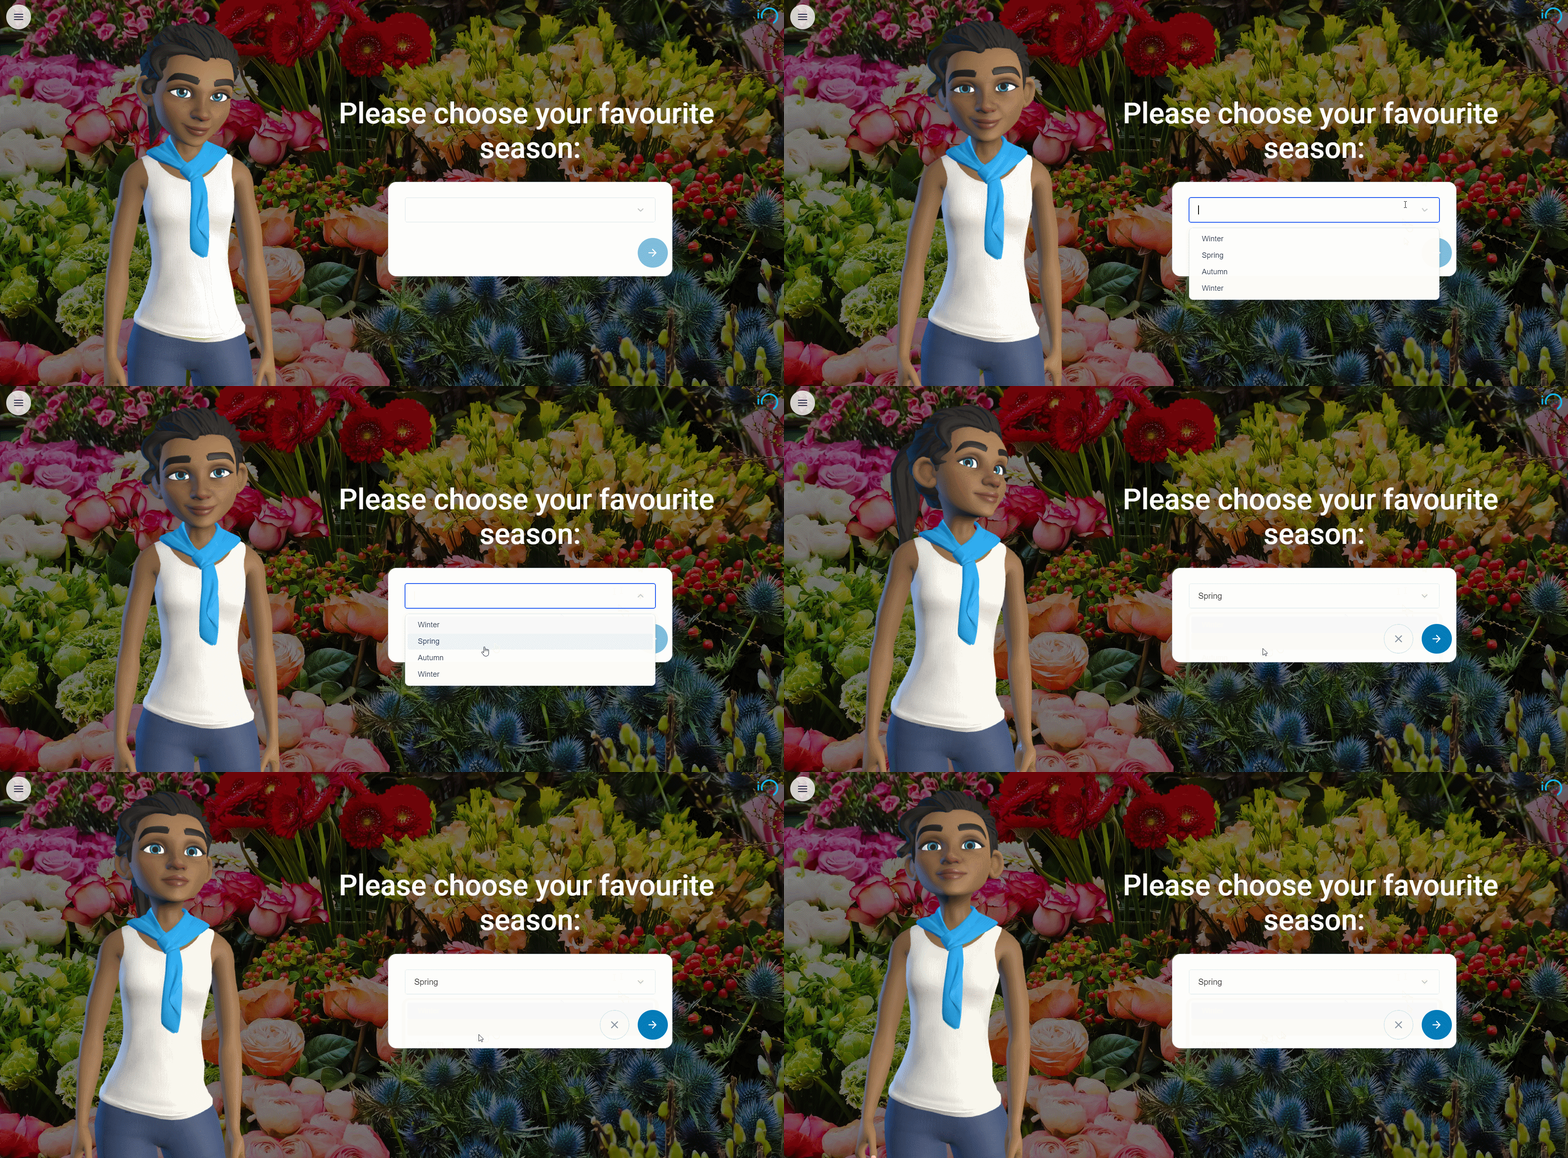
Input Type: Dropdown
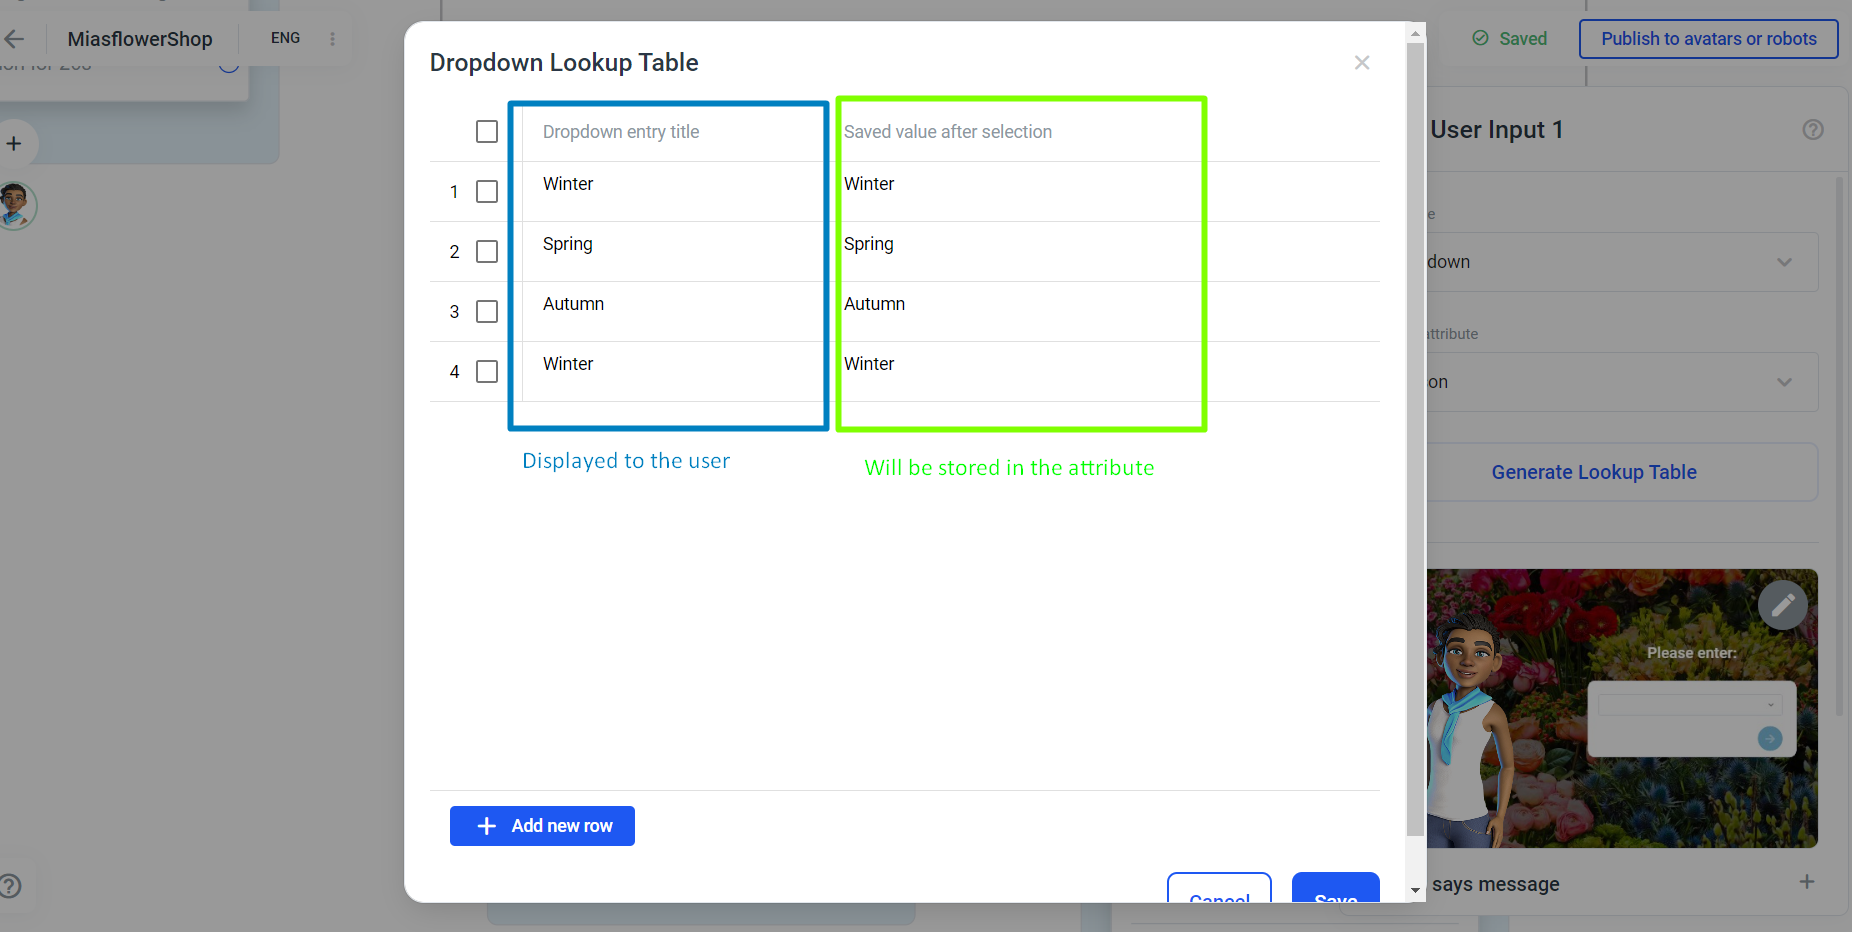
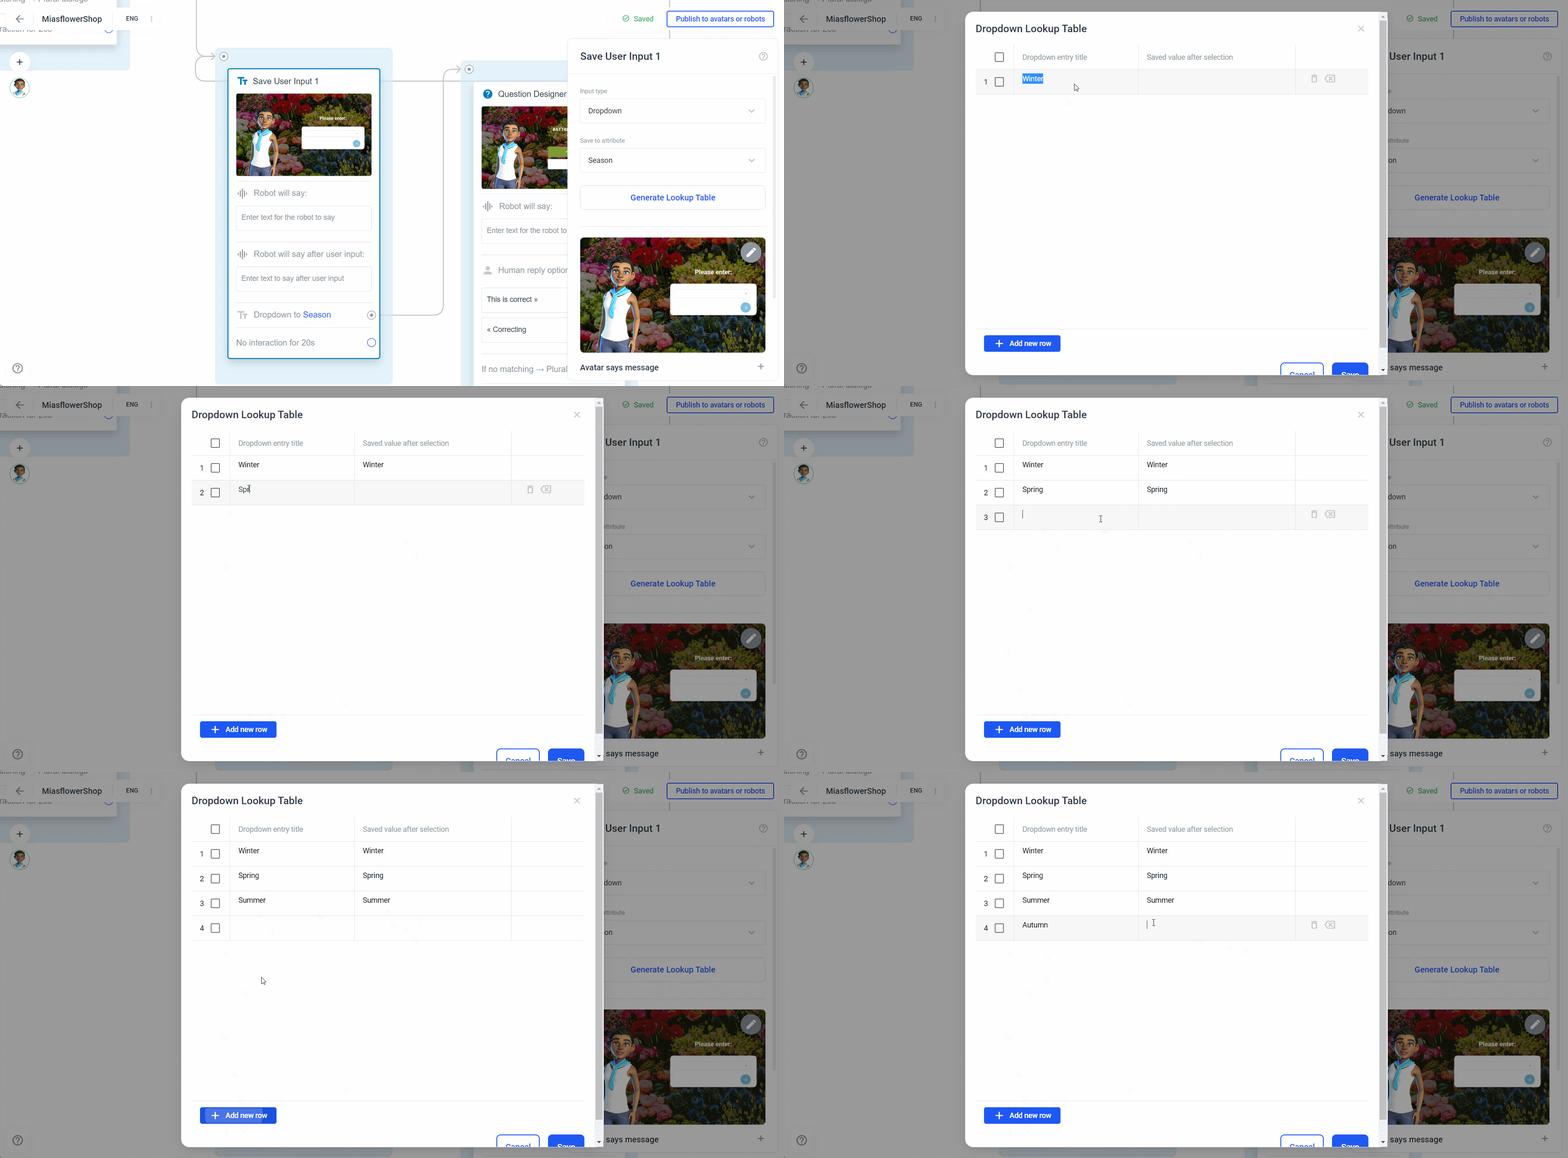
Click in Genereate Lookup Table to open the table.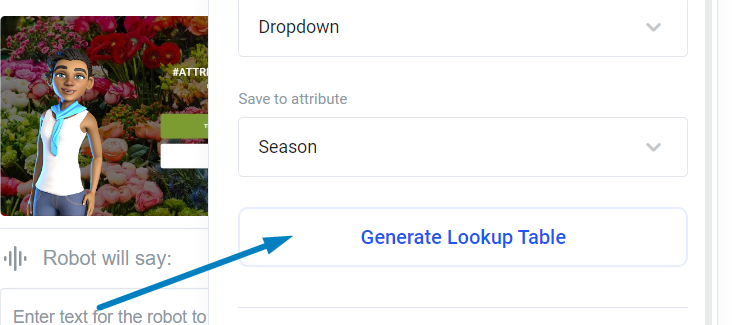 On the left side, of this table, enter the entry that should be suggested to the user later and on the right side what you want to store in the variable.
For example: here on the right side we entered winter for Winter, spring for Spring, Summer for Summer and Autumn for Autumn and depending on what the user selects, the value will be stored in the attribute Season and we can use this attribute as #ATTRI/Season in our project.
On the left side, of this table, enter the entry that should be suggested to the user later and on the right side what you want to store in the variable.
For example: here on the right side we entered winter for Winter, spring for Spring, Summer for Summer and Autumn for Autumn and depending on what the user selects, the value will be stored in the attribute Season and we can use this attribute as #ATTRI/Season in our project.
Input Type: Canvas
Allows the user to sketch something, for example, to give the signature. 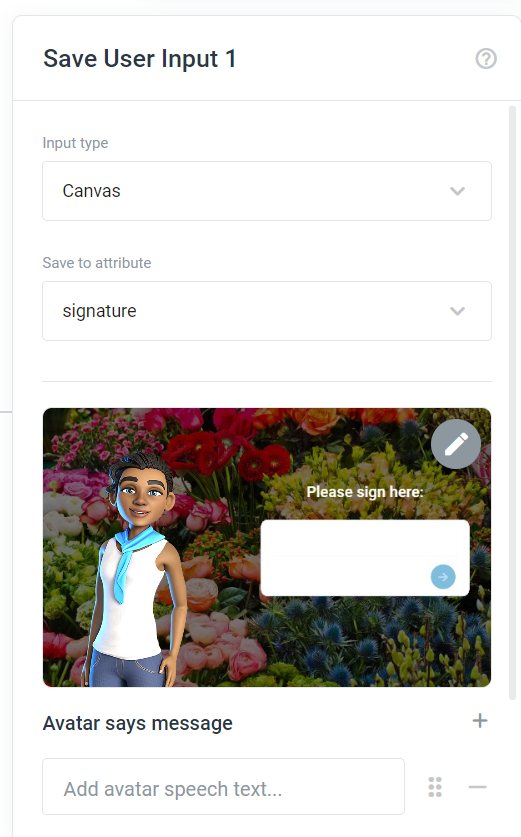
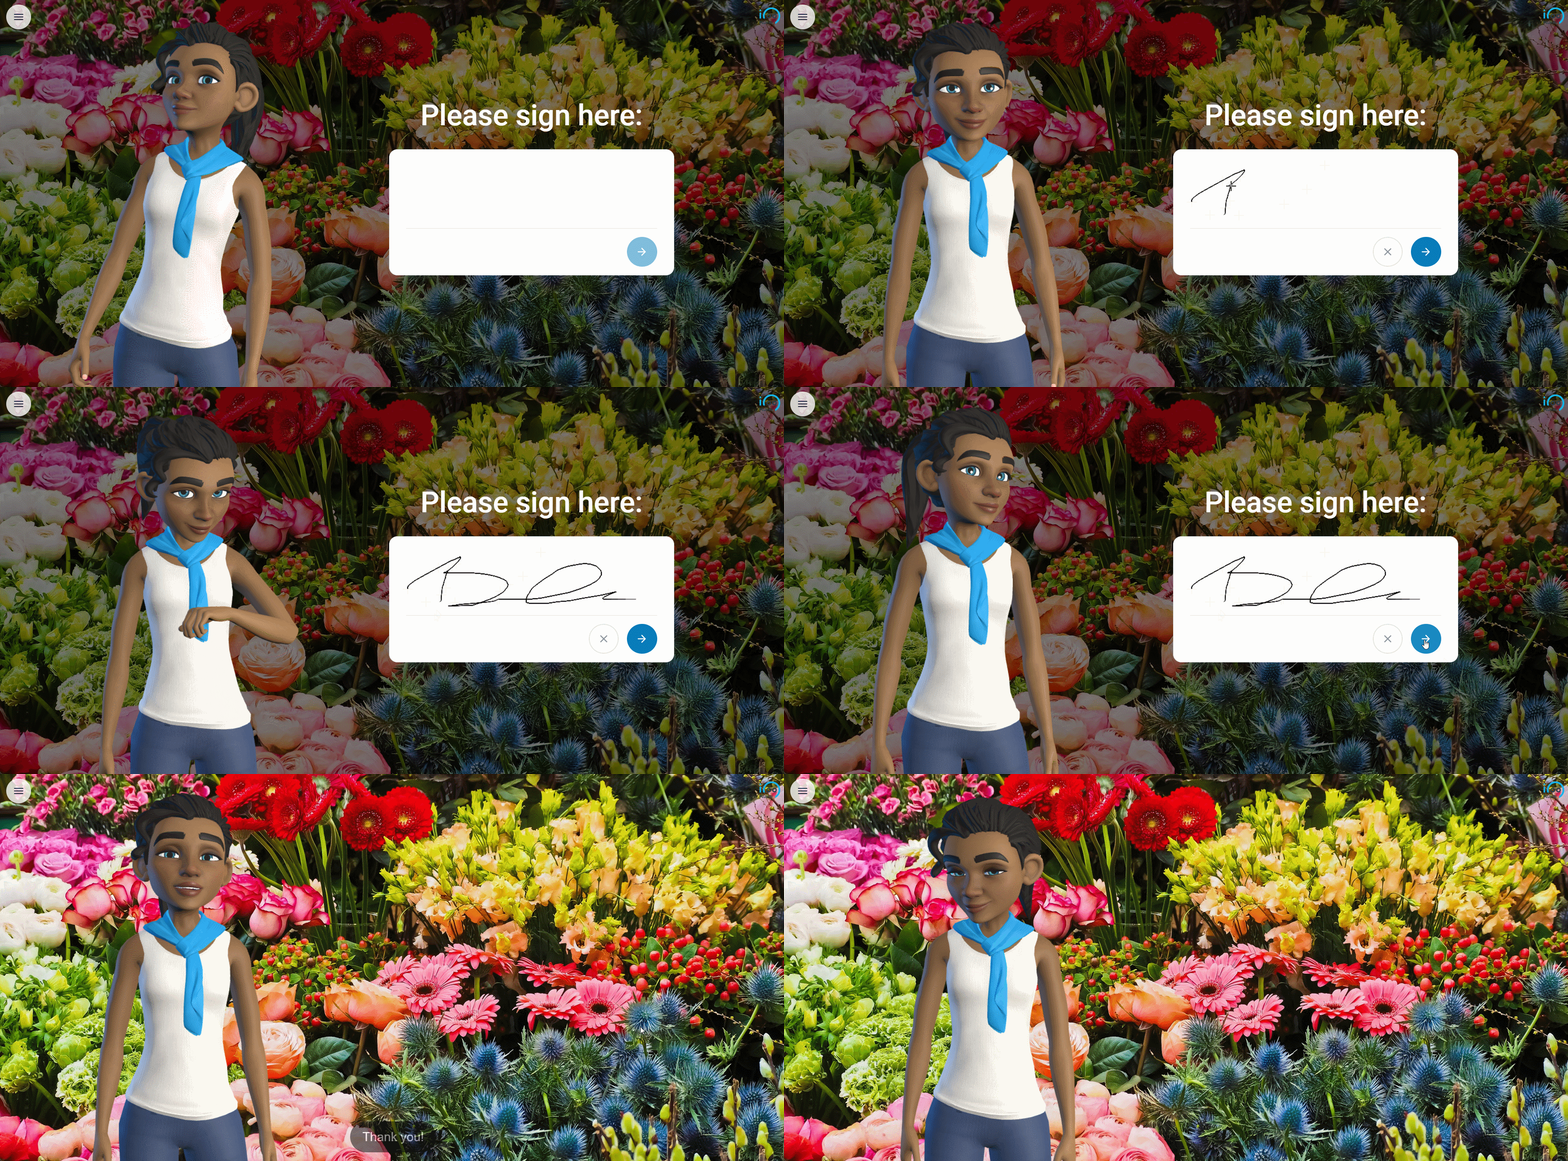 When you assign the input to a variable, it is encoded as base-64 in the plural and stored as a string.
Use the saved variable and enter a thank you speech
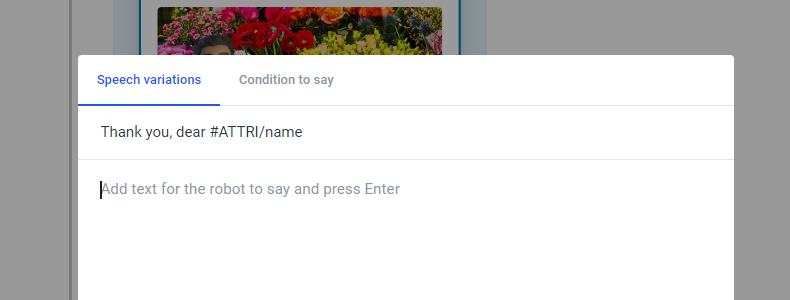
Click Enter text to say after input to open the input field. For example, you could add something like “Thank you, dear #ATTRI/name”. Where _name _is the variable name you added in the previous step.