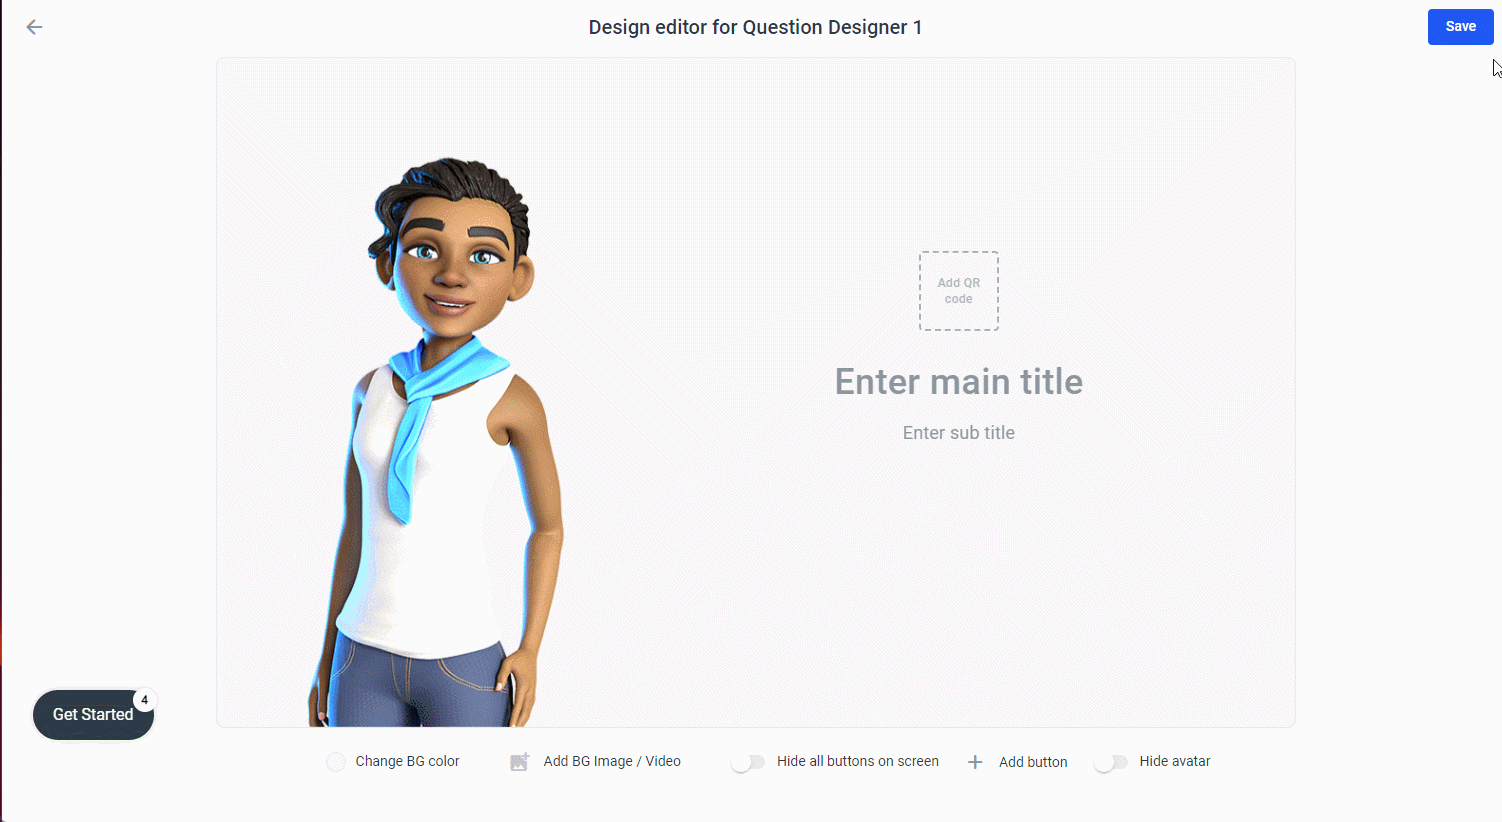
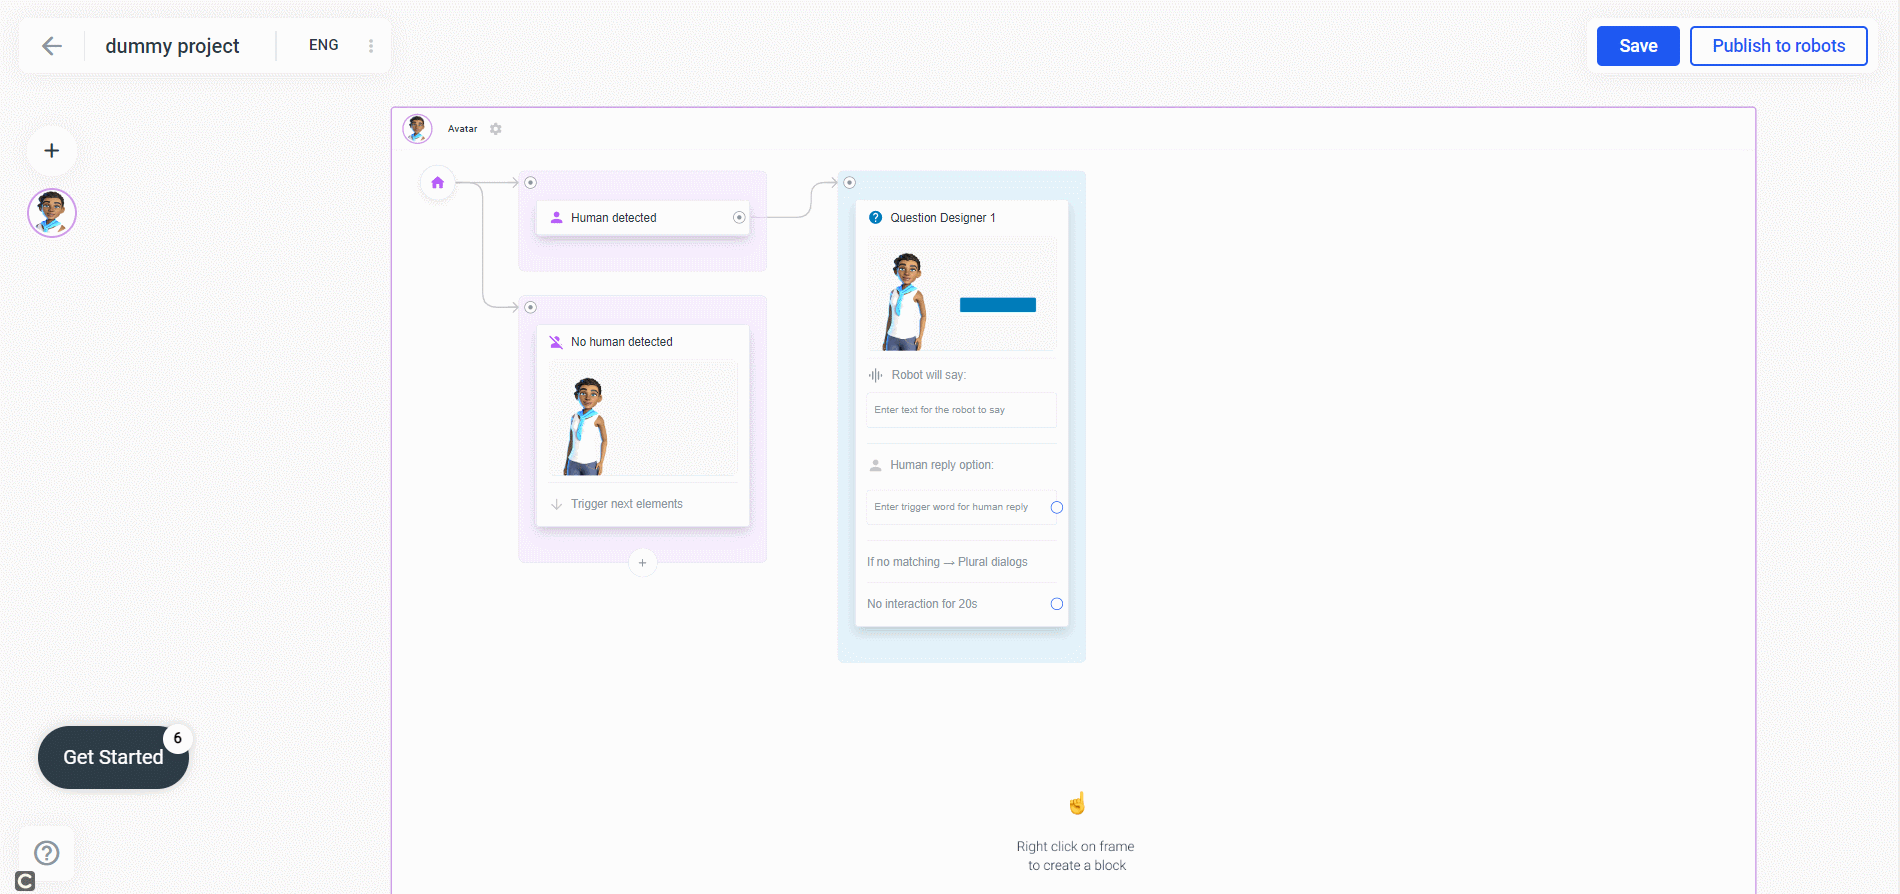
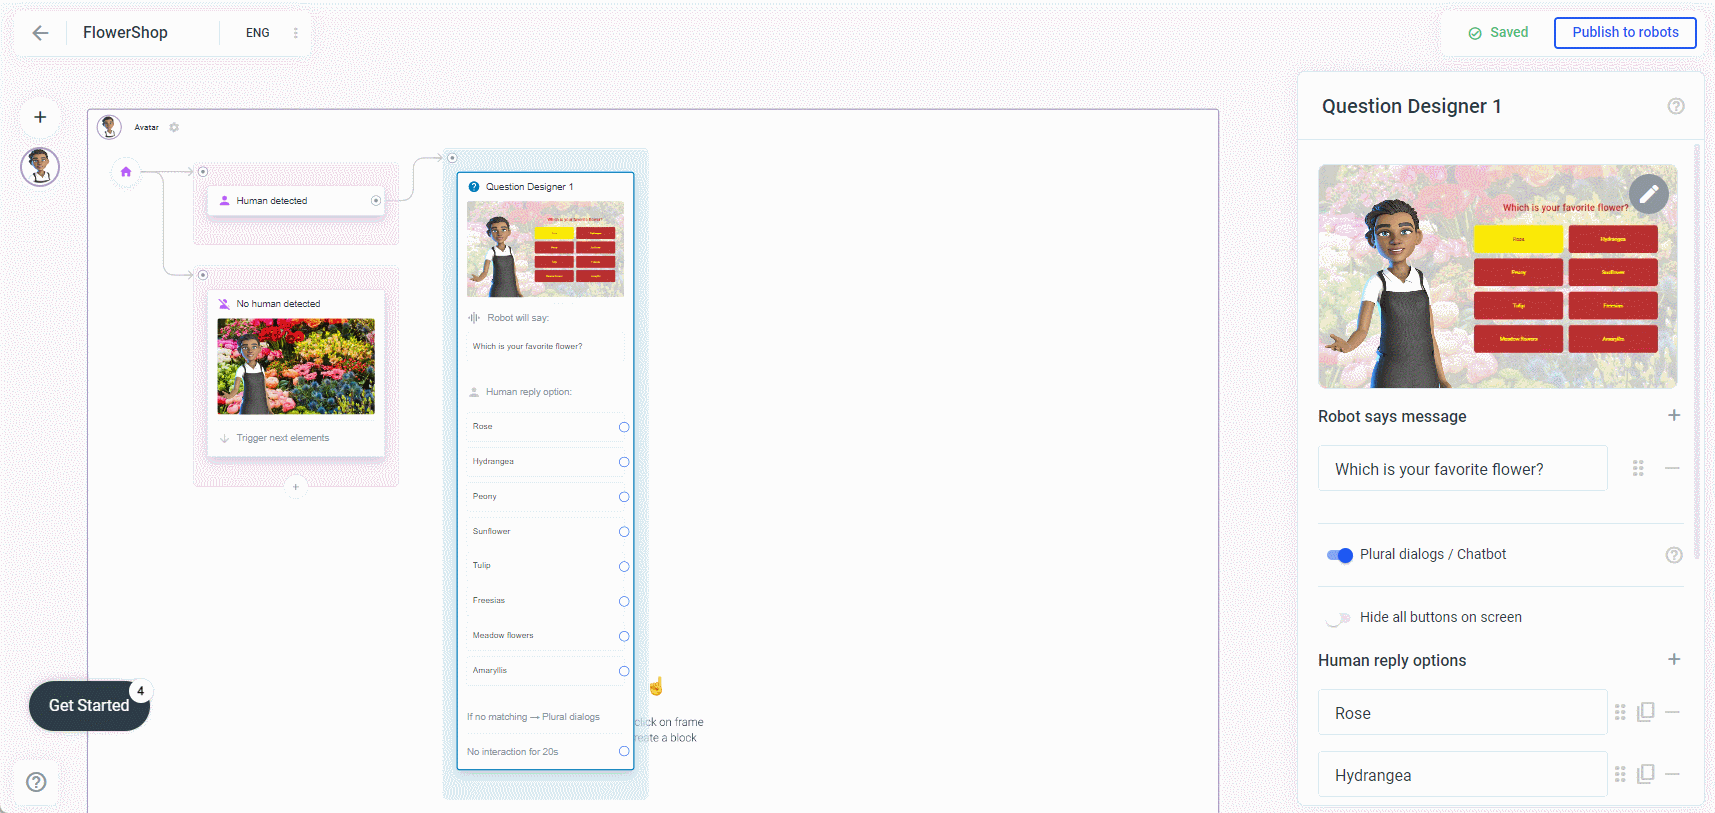
To create a question designer, simply right-click on a white area in your frame and select Question Designer or drag the blue circle from an element you already have in your frame to a white area:
What you can do here:
-
add a title, subtitle and a qr-code (explained in more detail under Media Designer here in this documentation)
-
Add a background image/video, overlay it and apply the background design to all elements in your frame (explained in more detail under Media Designer here in this documentation)
-
change the color of the buttons
-
add and delete buttons
-
hide specific buttons (to do this, hover the mouse cursor over a button until a small eye icon appears)
-
hide all buttons (activate the "Hide all buttons on screen" toggle switch)
-
hide the avatar (activate the "Hide avatar" toggle switch)
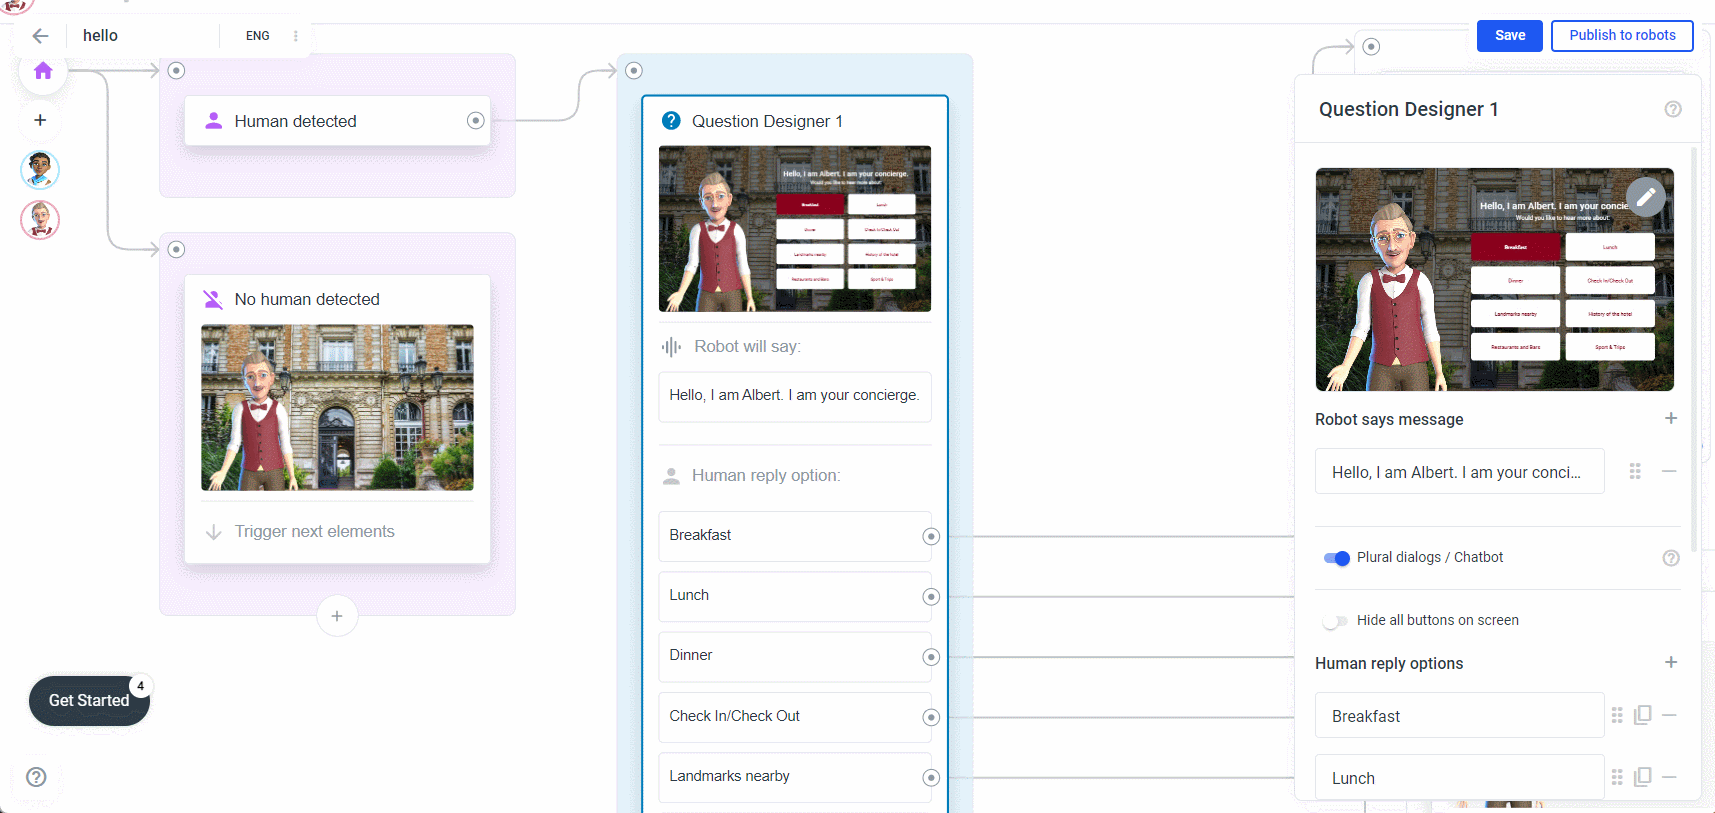
Change the color of the buttons
As long as the buttons are not clicked, they will have the default color as background color and the selected color as font color. After the user selects a button, it will be the other way around:
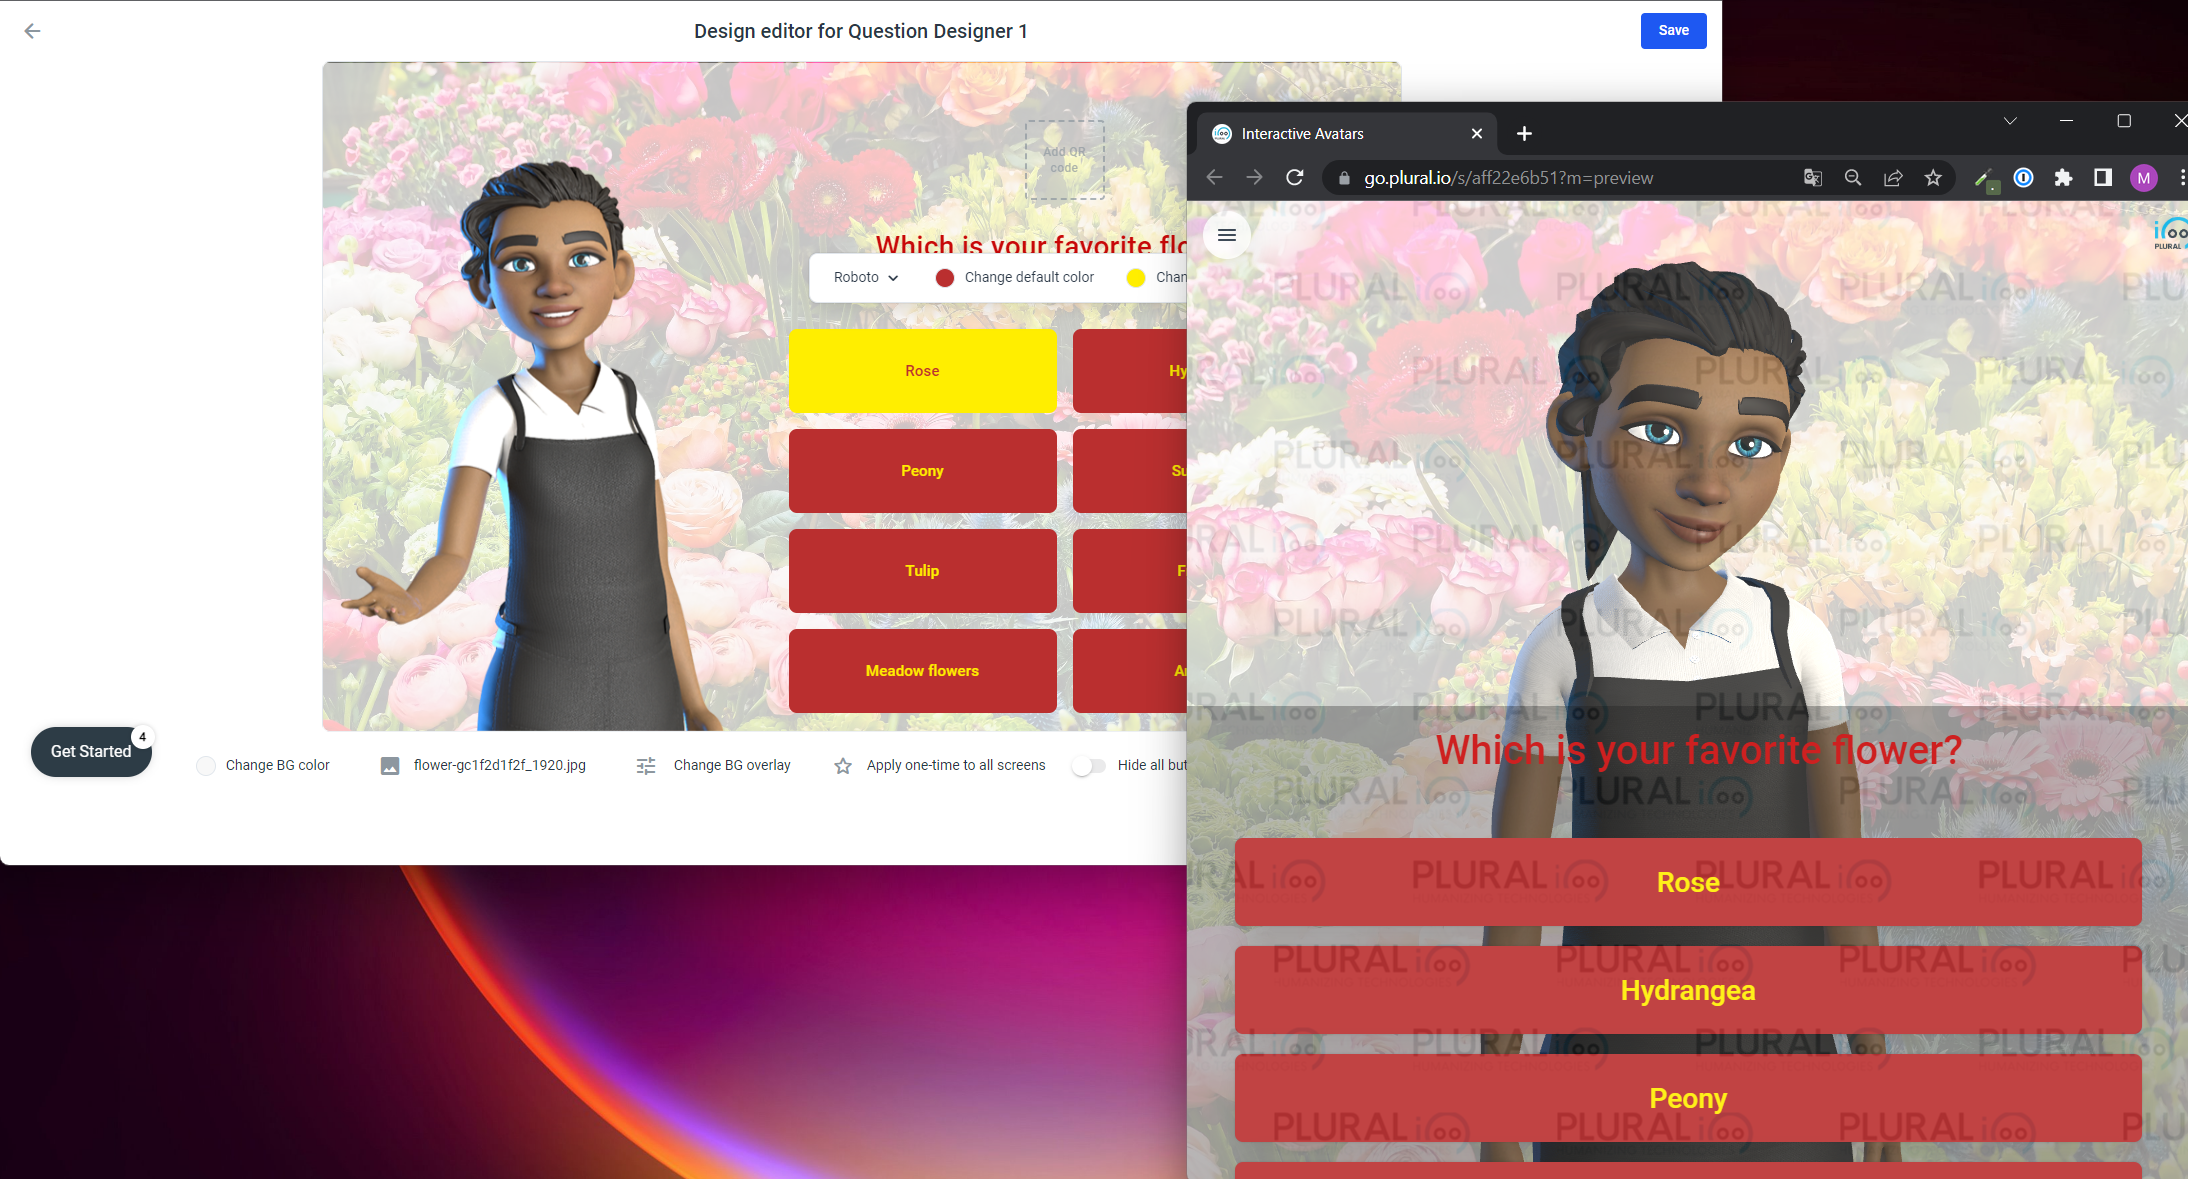
To change the color, click one of the buttons in the editor and select Change default color or Change selected color. You can select a color from the color palette or, for example, if you have a specific hex value, switch to HEX and enter the hex code:
In this GIF, we use an external tool to retrieve the color from another website and insert the hex value of that color.
At the bottom there are some buttons, here you will find the button Add button. Click on Add button a new button will be displayed. If you hover the mouse cursor over the newly created button, you will see a small eye icon on the left to hide the button and an X on the right to delete the button:

Next to the speech variations you will find the condition to say section:
In every speech input field you have the possibility to add a condition to say. If the condition is not met, the robot or avatar will not say a word.

Condition to show
Like the condition to say, the condition to show has to be true, so the button will be displayed.
Here is an example: Lets say your avatar is a concierge and every morning it has the menu for the breakfast. But only until 11:30 am. Then the button changes to lunch and from 6 pm to dinner. Here you could add three buttons and every button will get a condition. As attribute we will choose Time from the list. Time has to be bigger then 8 am and smaller than 11:30 am for the first button. The second Button Lunch will get the condition time as well but this time with the value bigger then 11:30 am and smaller than 6 pm. Lunch will get as well the attribute time but in this case time has to be greater than 6 pm and smaller than 9 pm.
In our example, only the Breakfast button is displayed because it was between 8am and 11:30am when we took the screenshot:
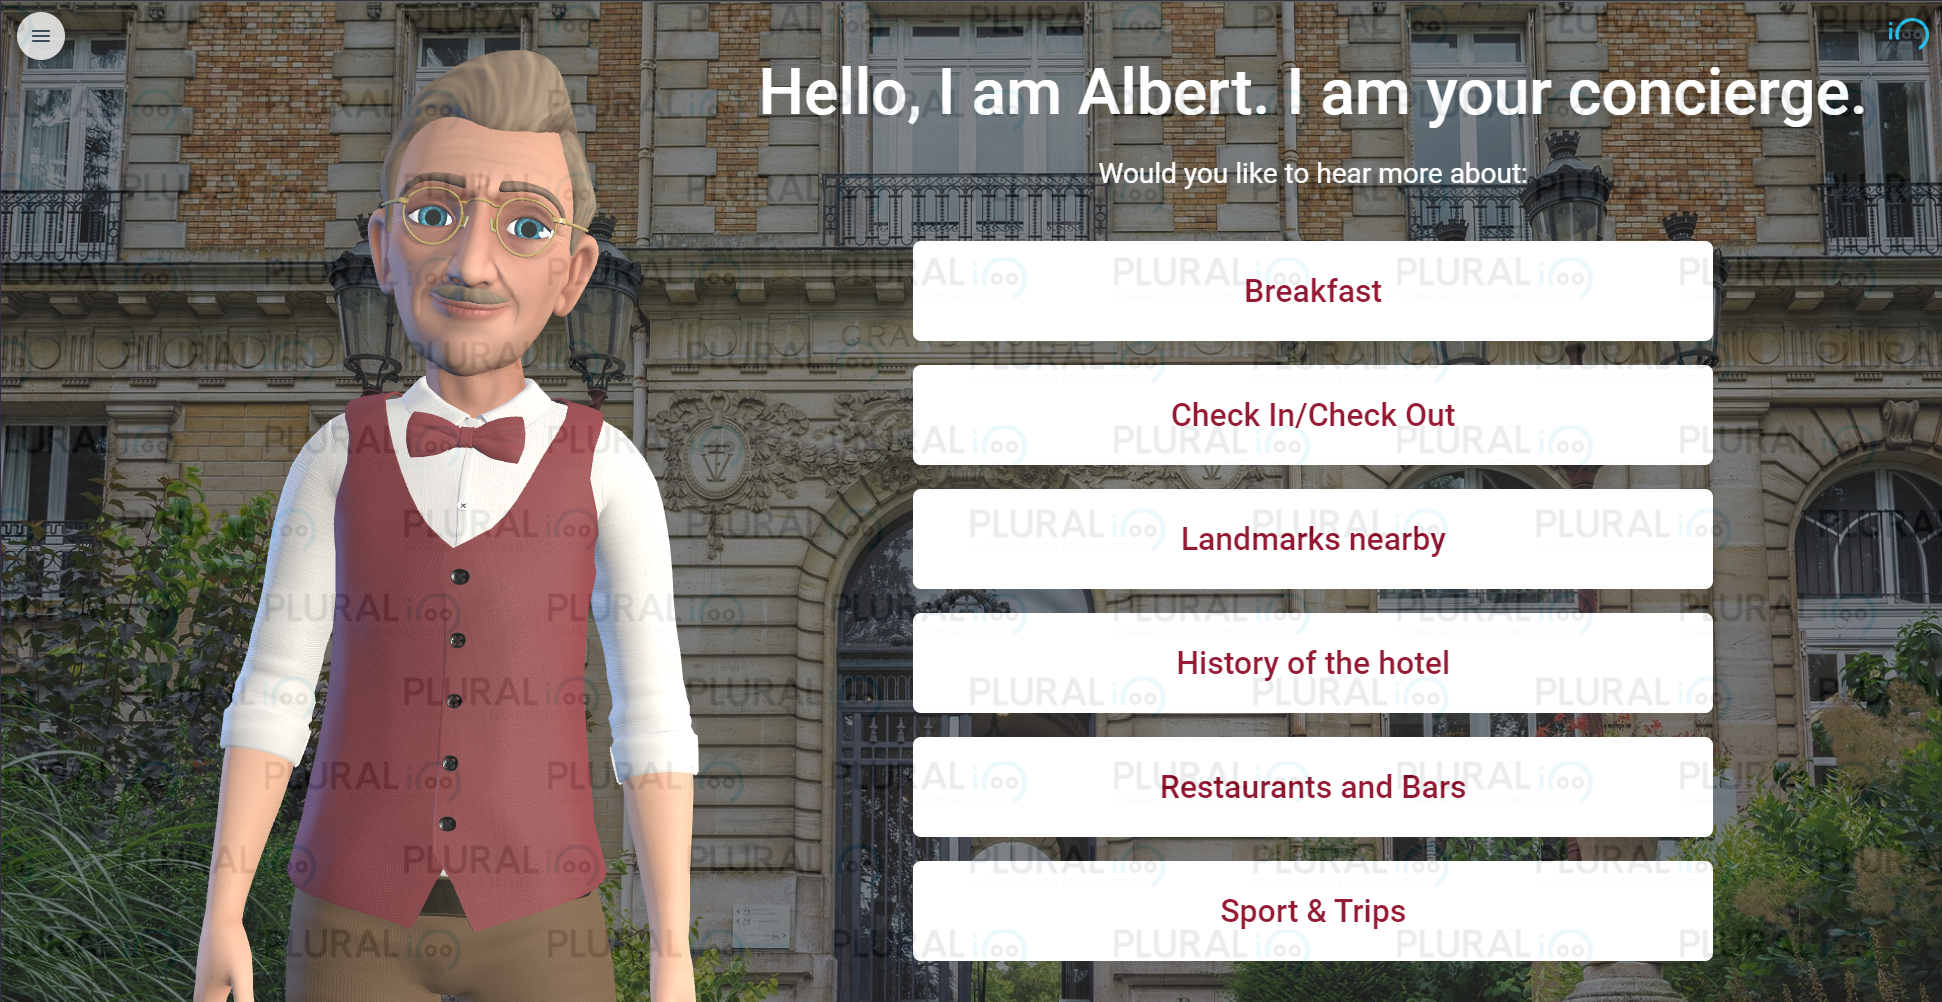
Good to know: The Time is based on the time of the browser where the avatar is running. It should automatically be local time, whether your avatar is in Asia, Europe, America, etc.
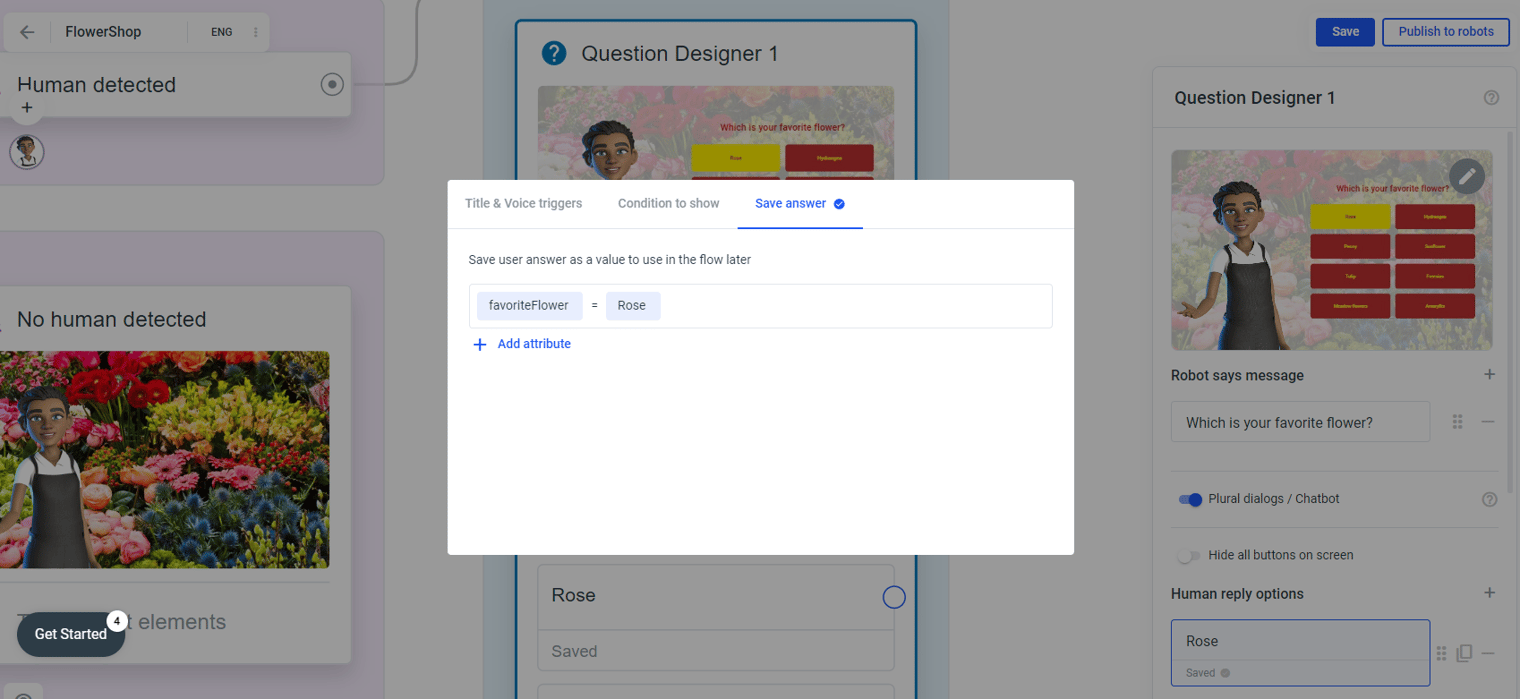
Save answer
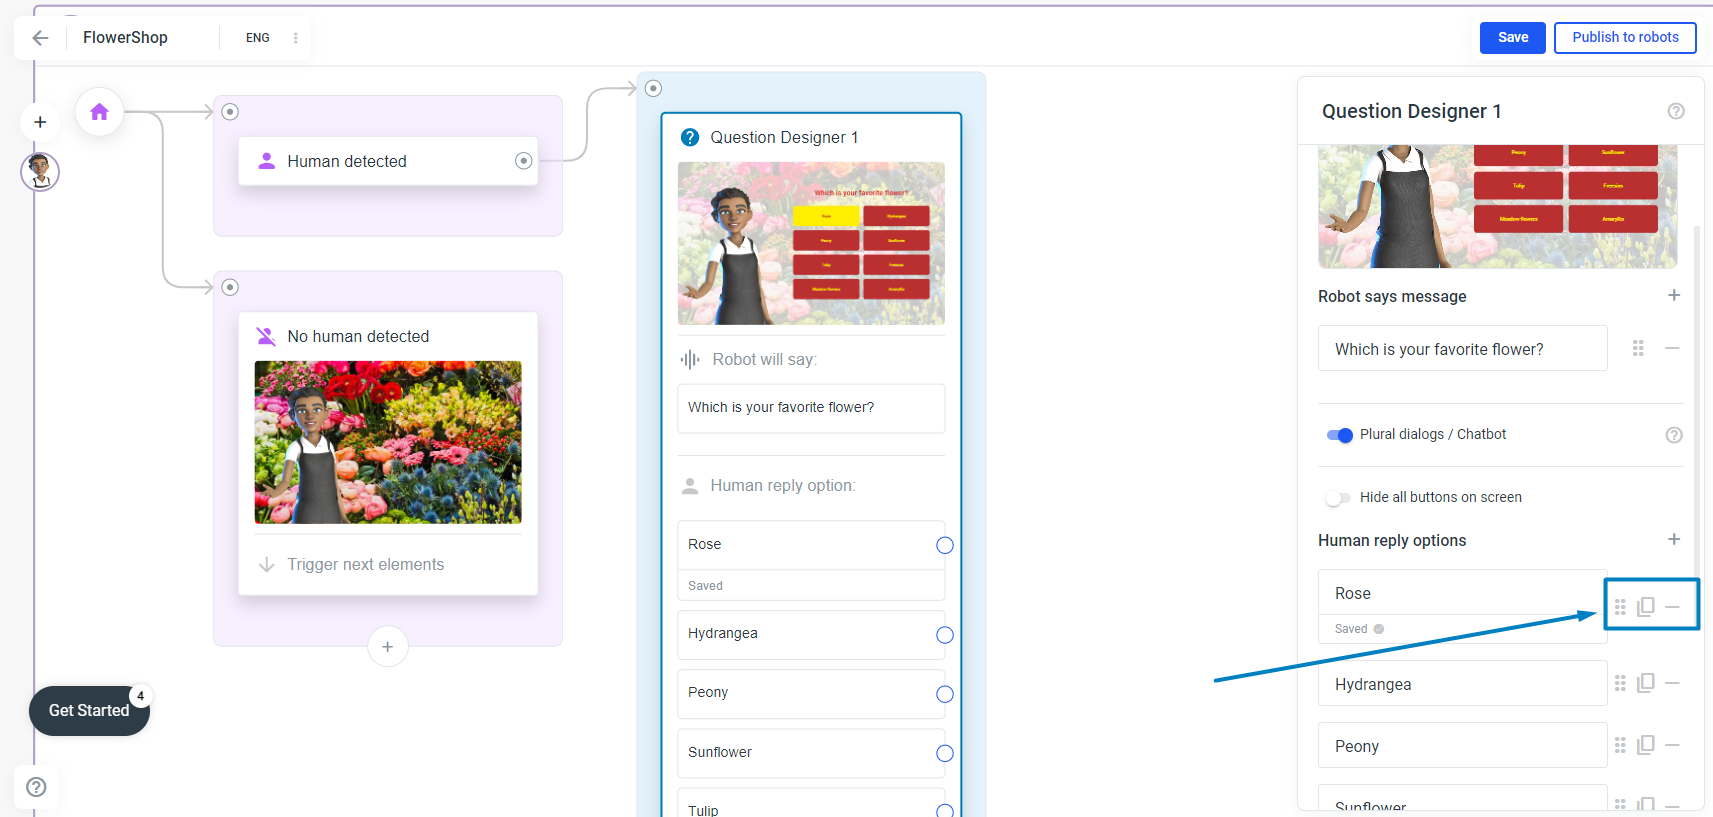
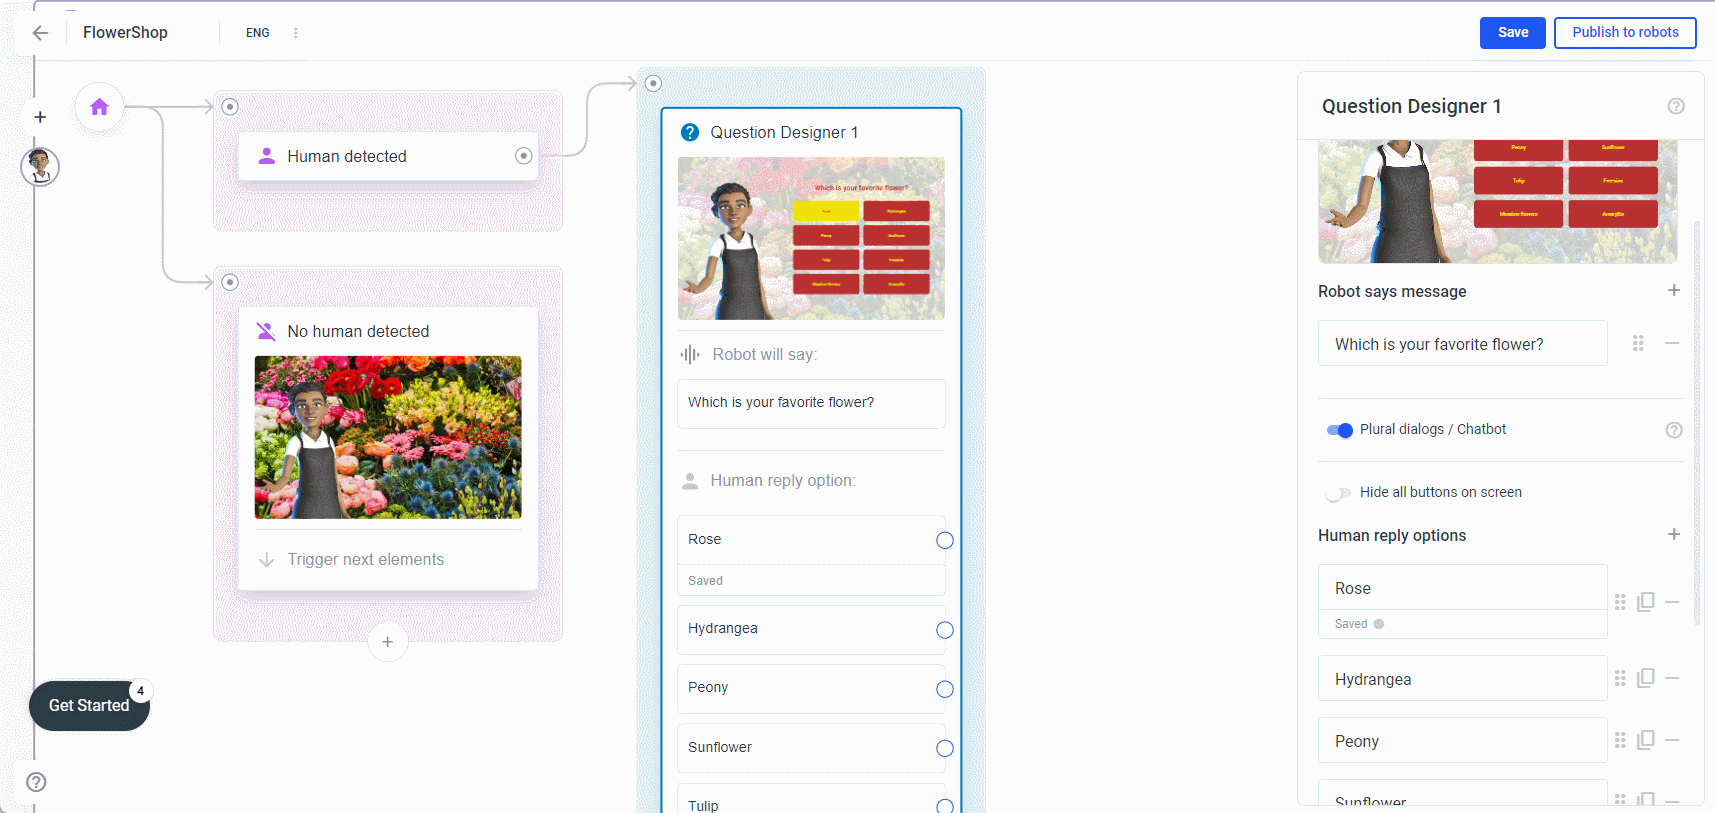
Next to the option condition to show, you will see the option to save answer. Here you can think of a name for the attribute where you want to save the answer in. Example: We create a question "What is your favorite flower?" and store the answer (for example Rose) in an attribute called favoriteFlower:
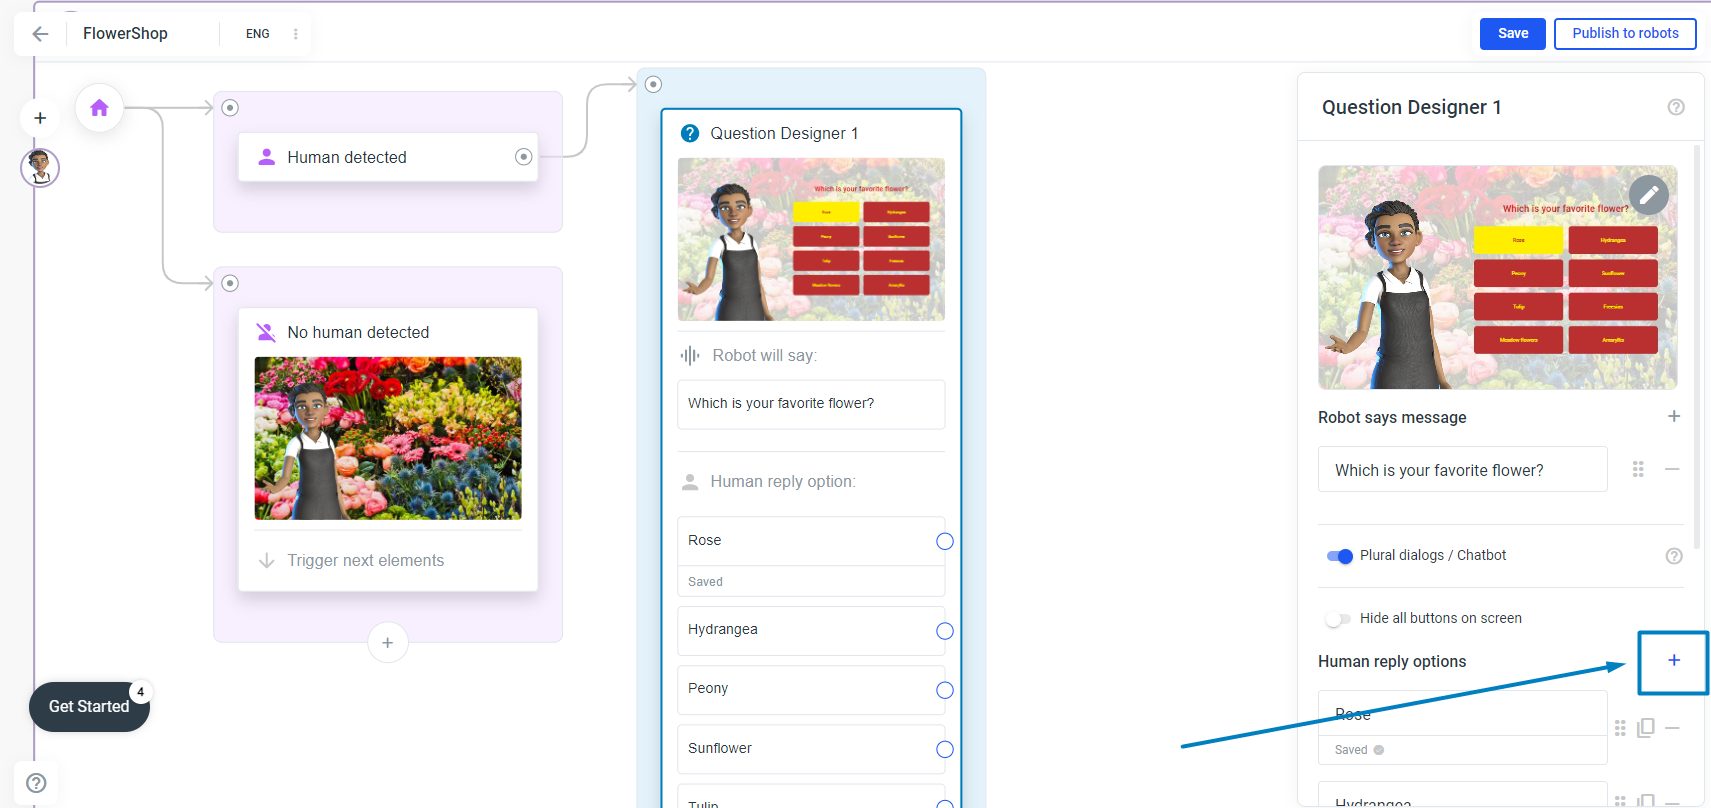
You can change the order, duplicate and delete buttons in the Editor (as described above), but sometimes it is faster to do it in the sidebar.
Next to the button in the sidebar you will see three buttons: one to change the order (click on it and drag it to where you want it and drop it), the next one is to duplicate the button and the third one is to delete the button: