Create a new Menu Designer element
Drag the blue circle from the element you already have in your frame to a white space so you can create the link between the elements in the same step.
To delete an arrow, simply right-click on the arrow and select "Delete". If you wonder how to select and move multiple elements, jump back in this documentation, there is a page titled: "Move elements and select multiple elements".
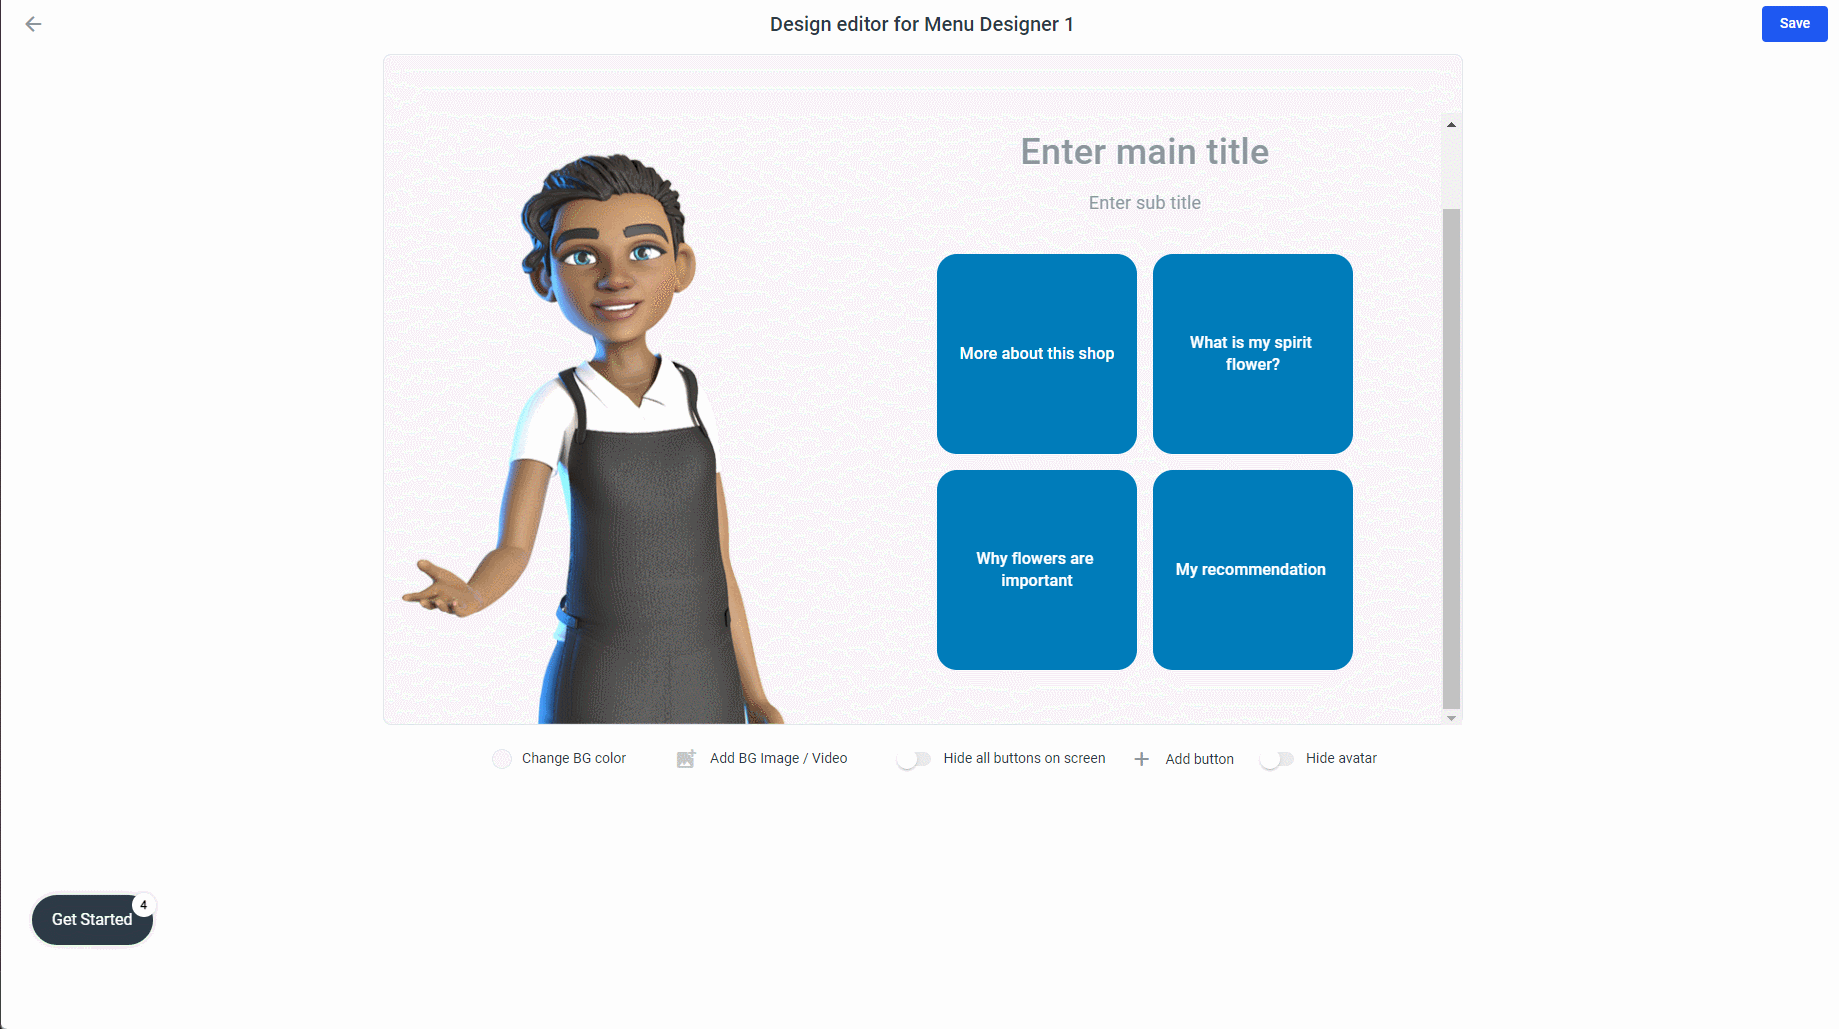
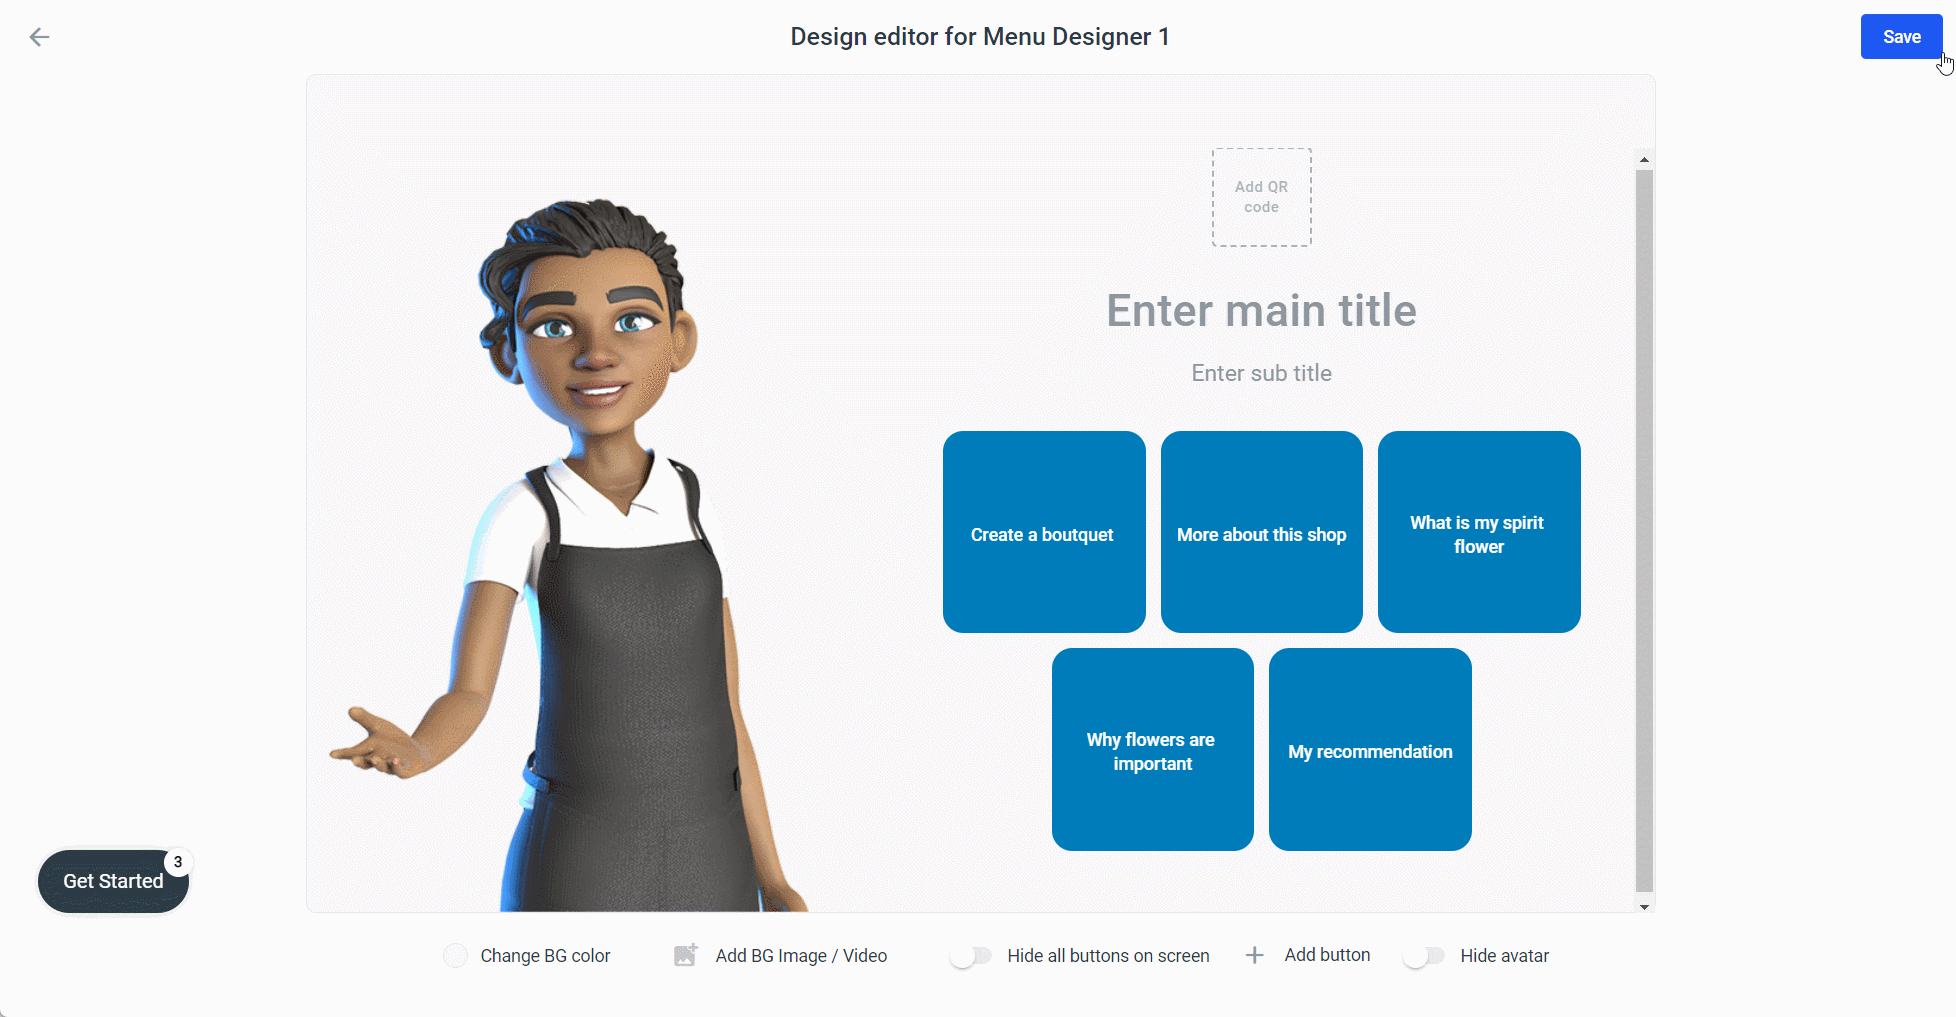
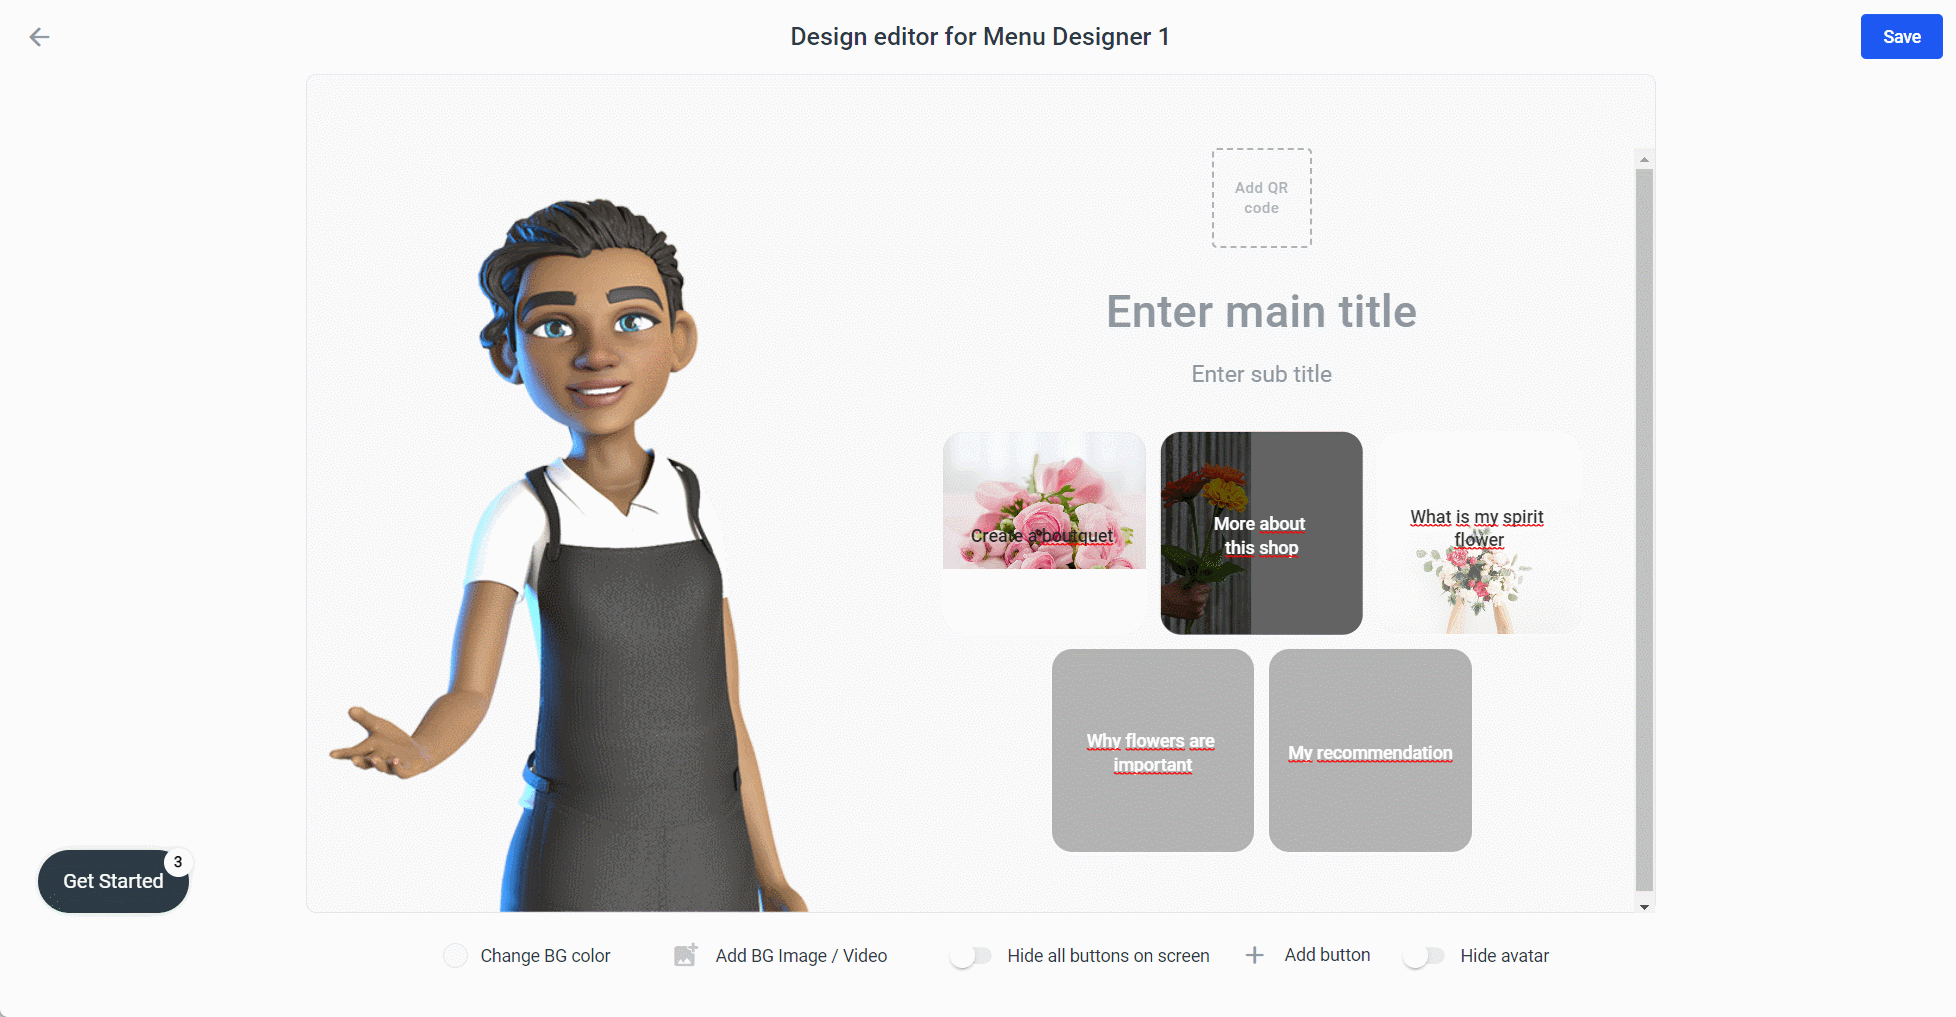
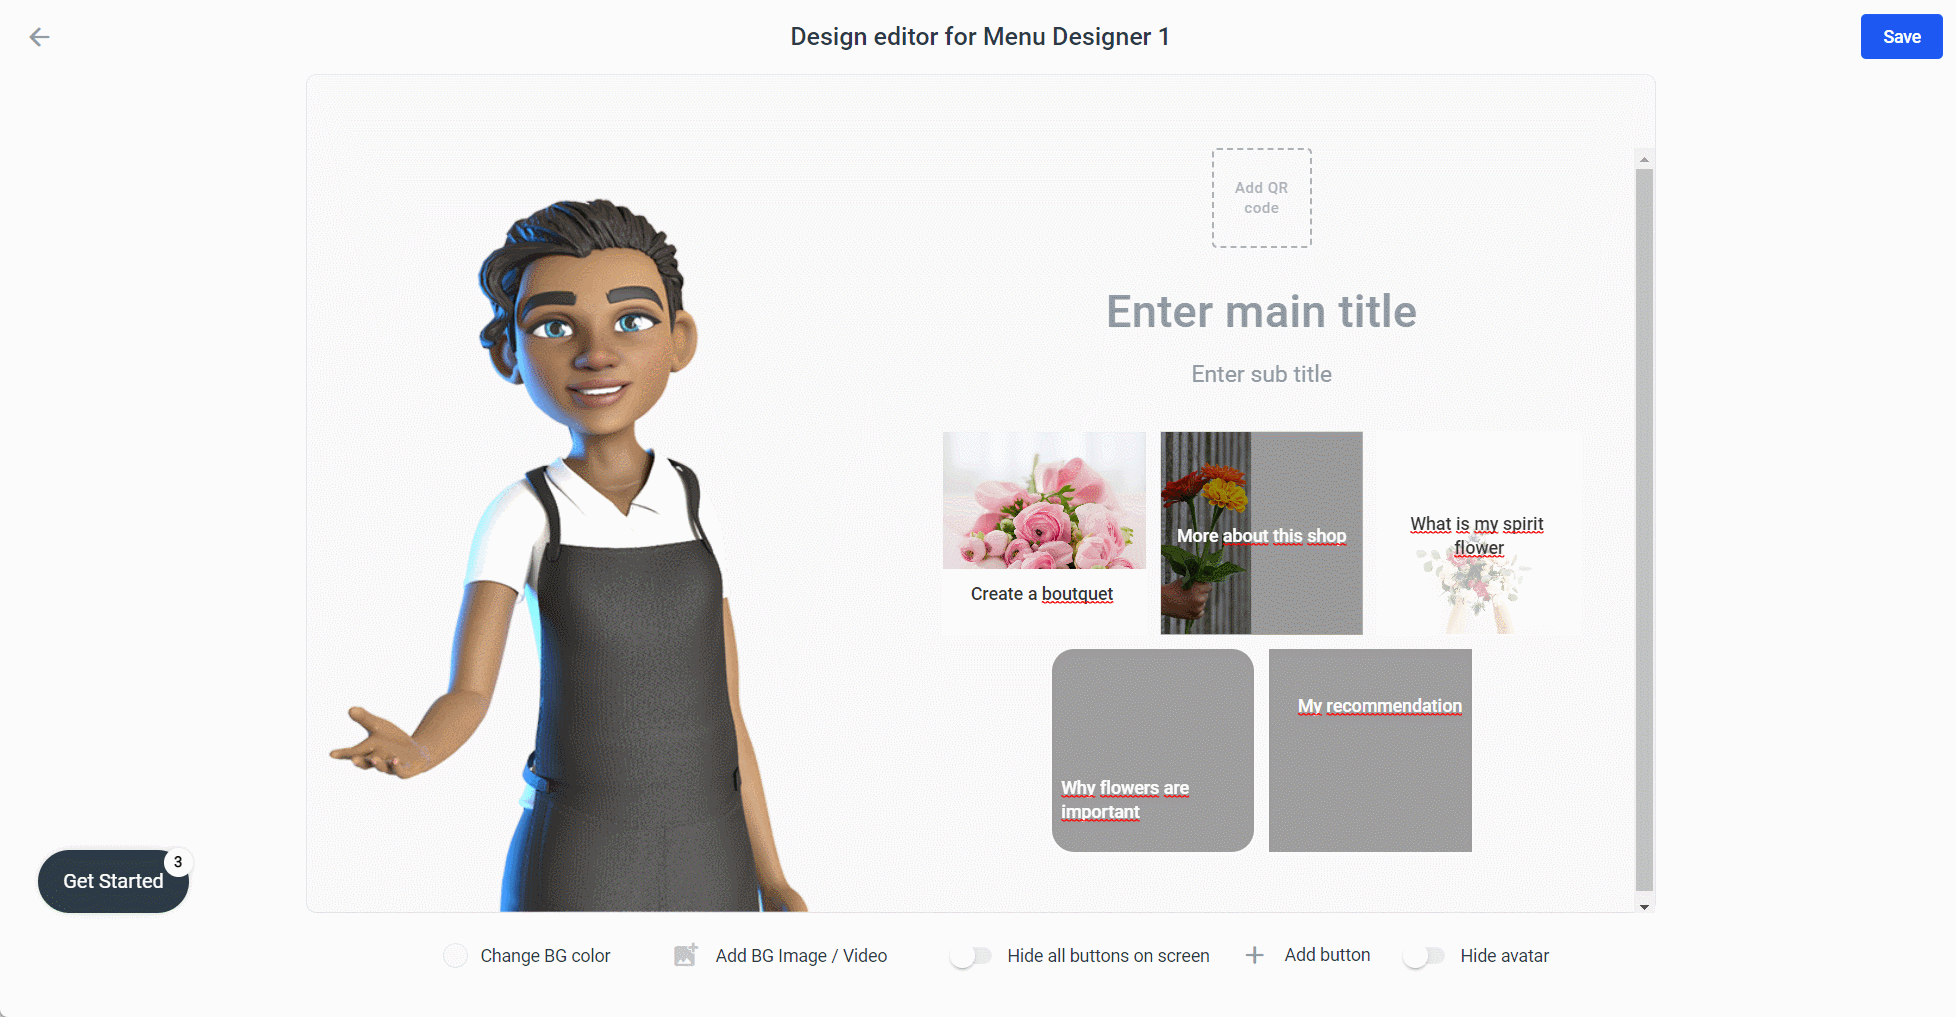
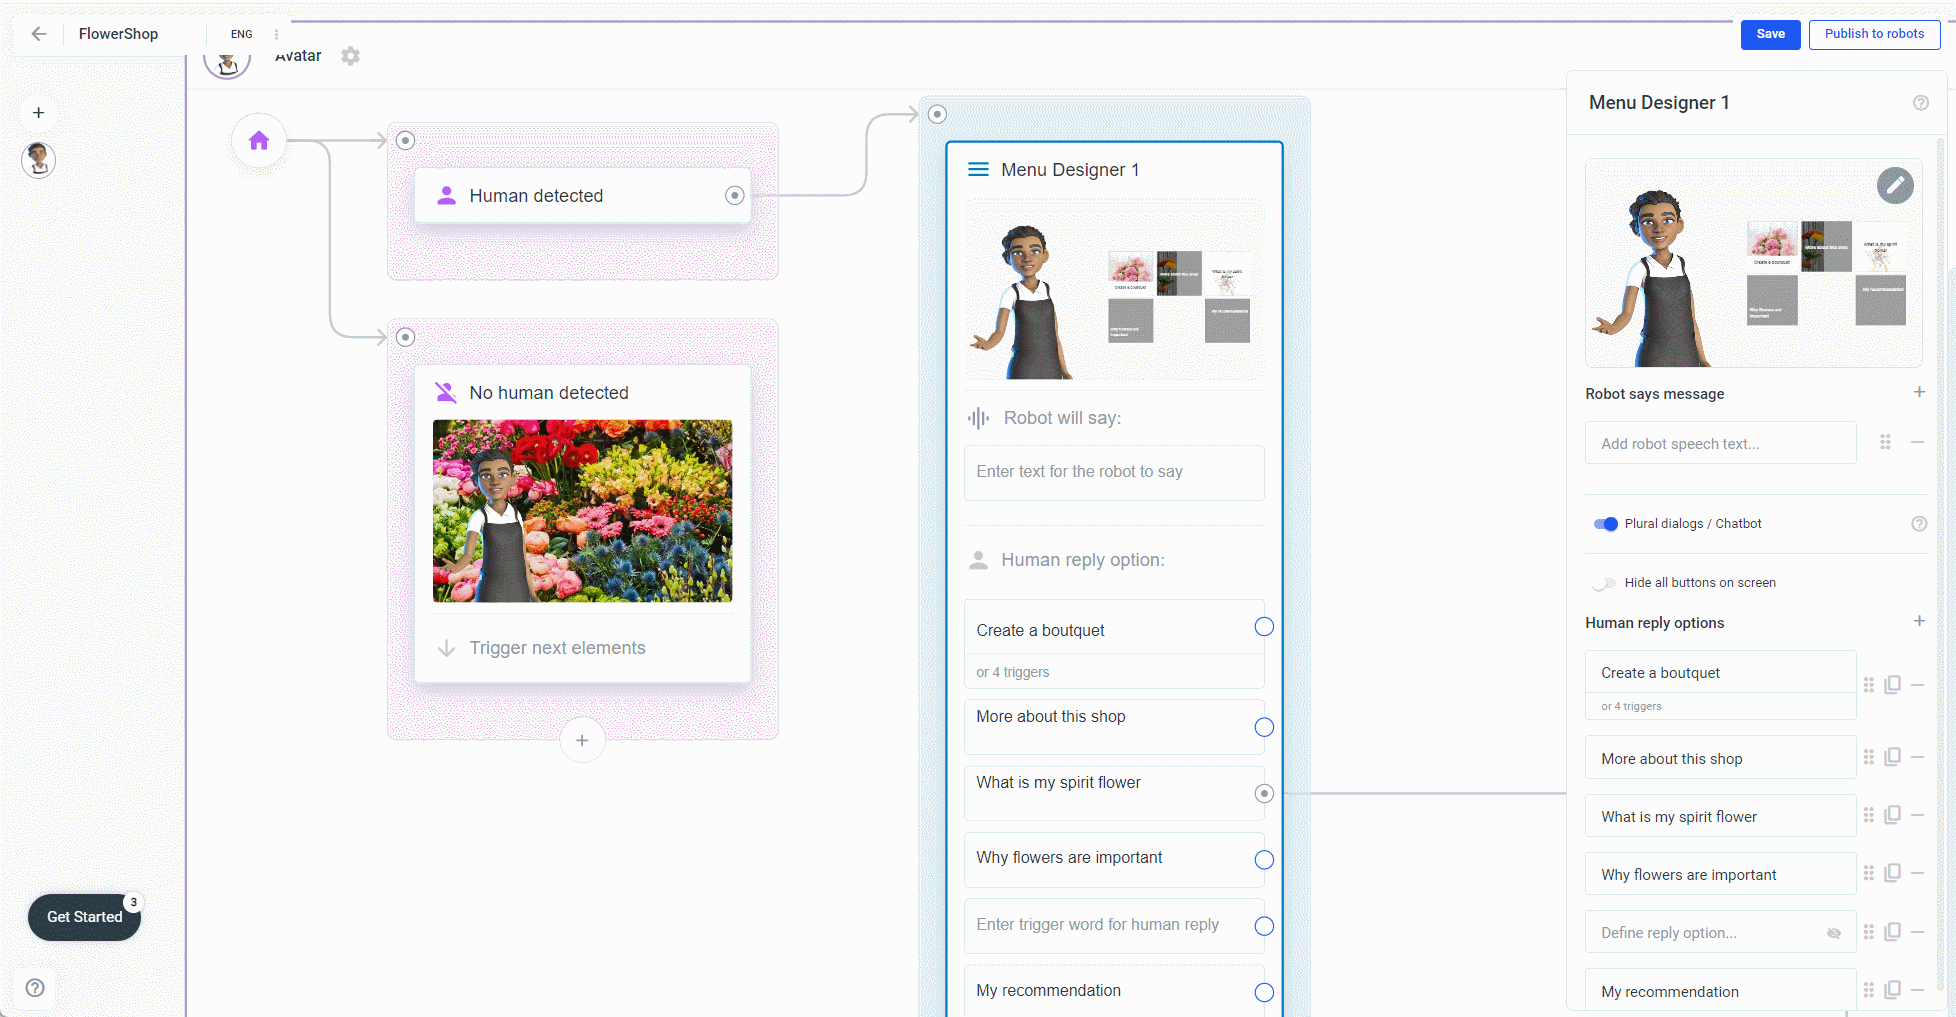
The Editor of the Menu Designer
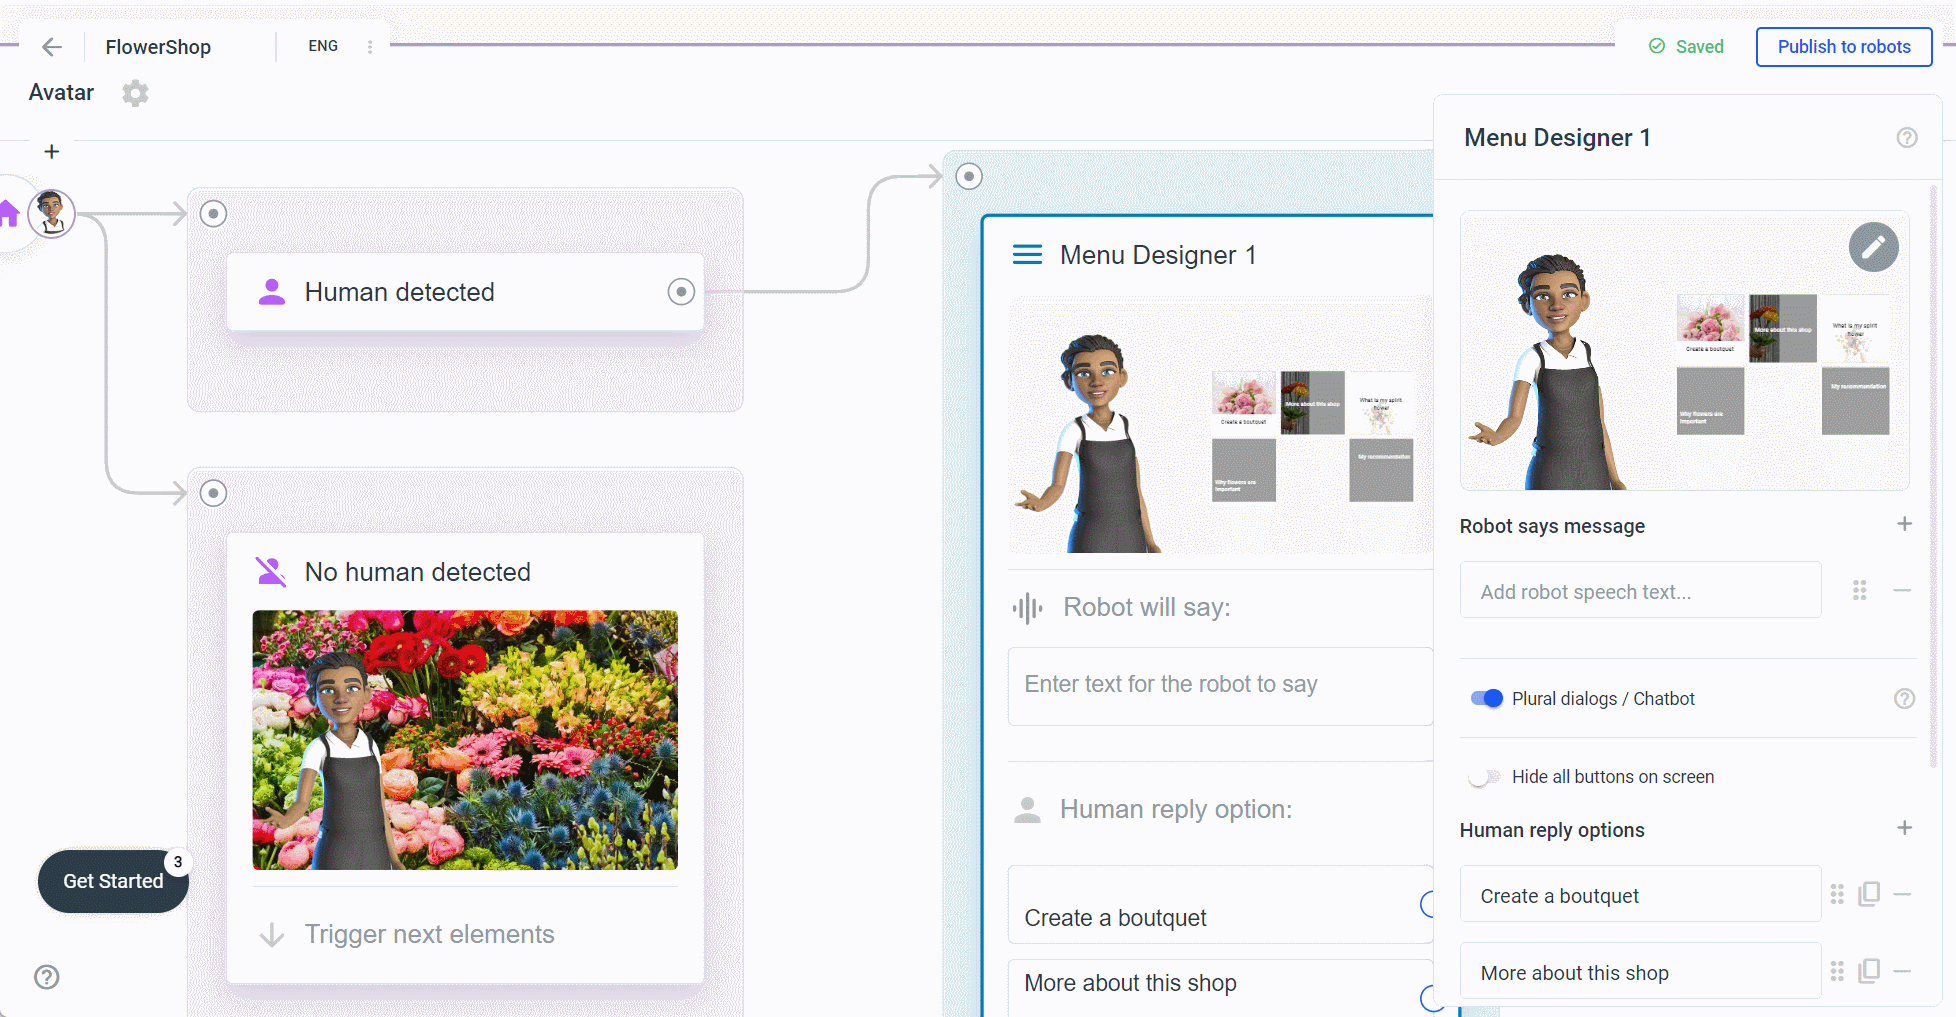
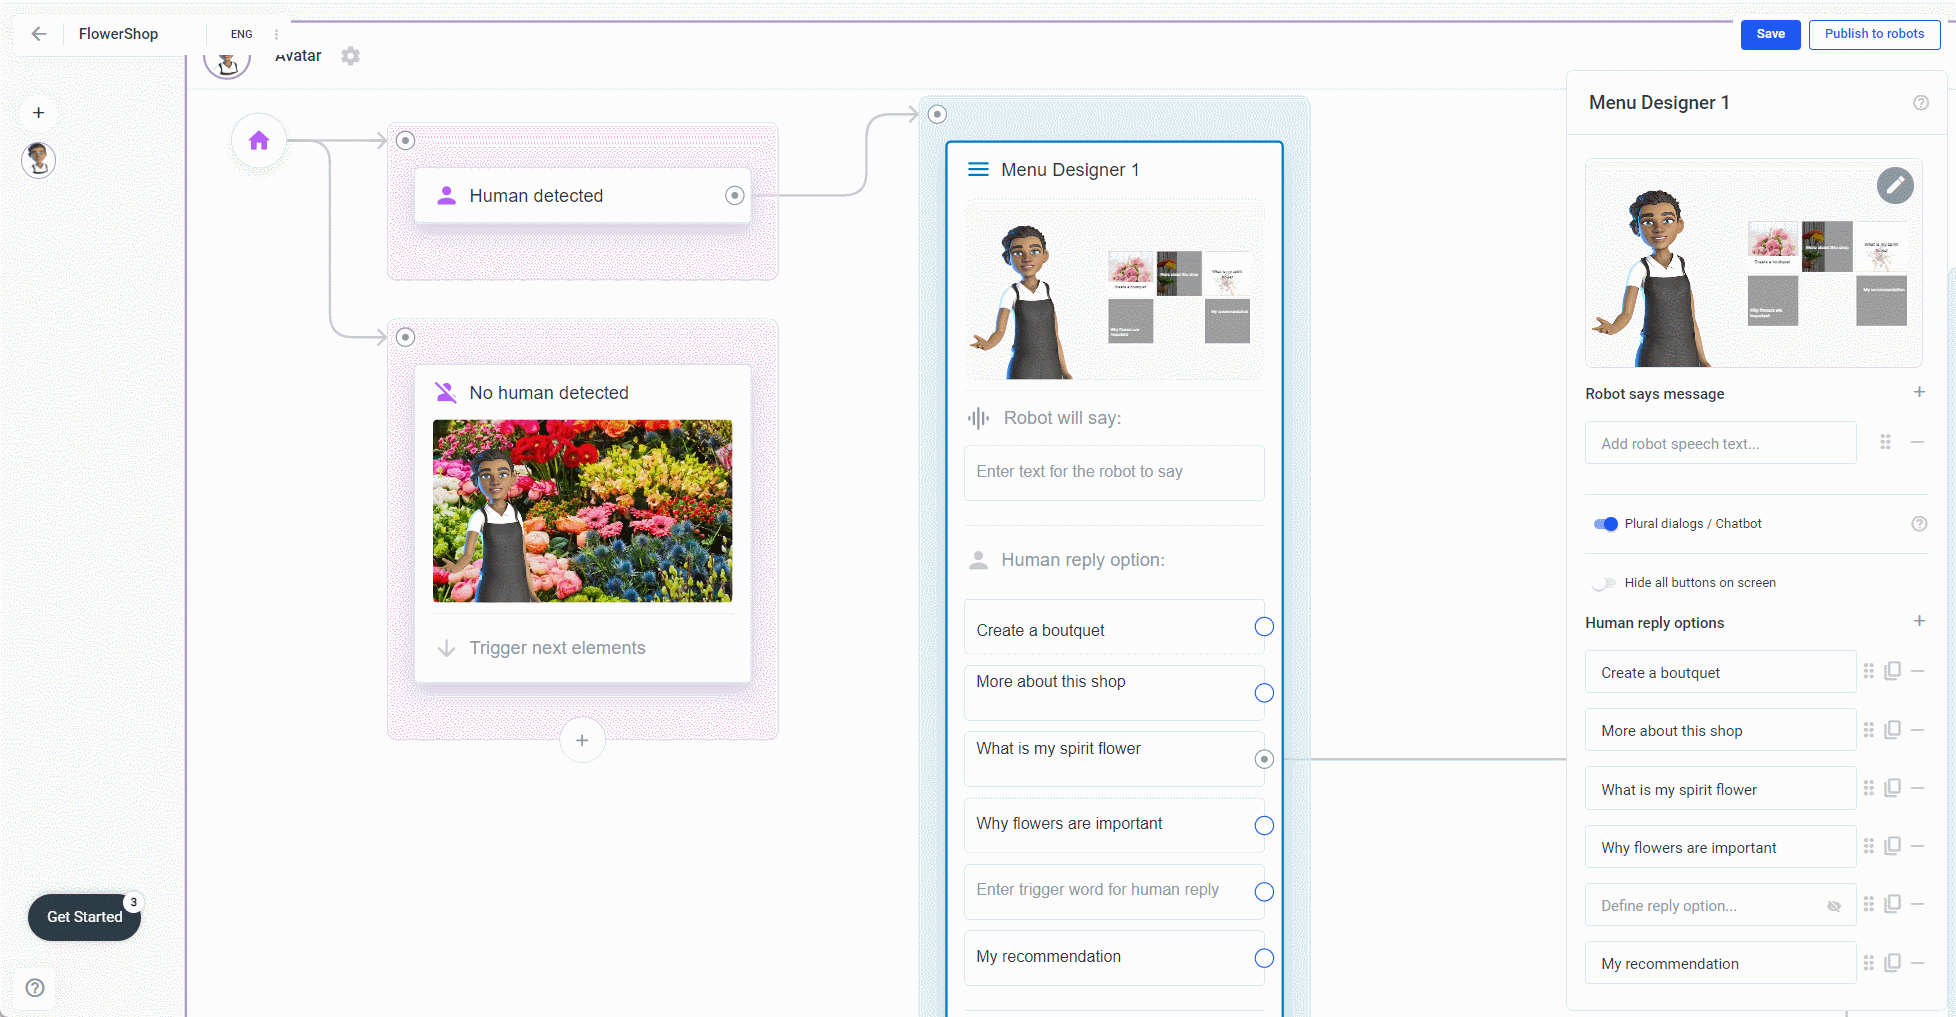
After you created the element open the Edior: Click one on the Menu Designer element and the sidebar opens. Click again on the Menu Designer element in the sidebar:
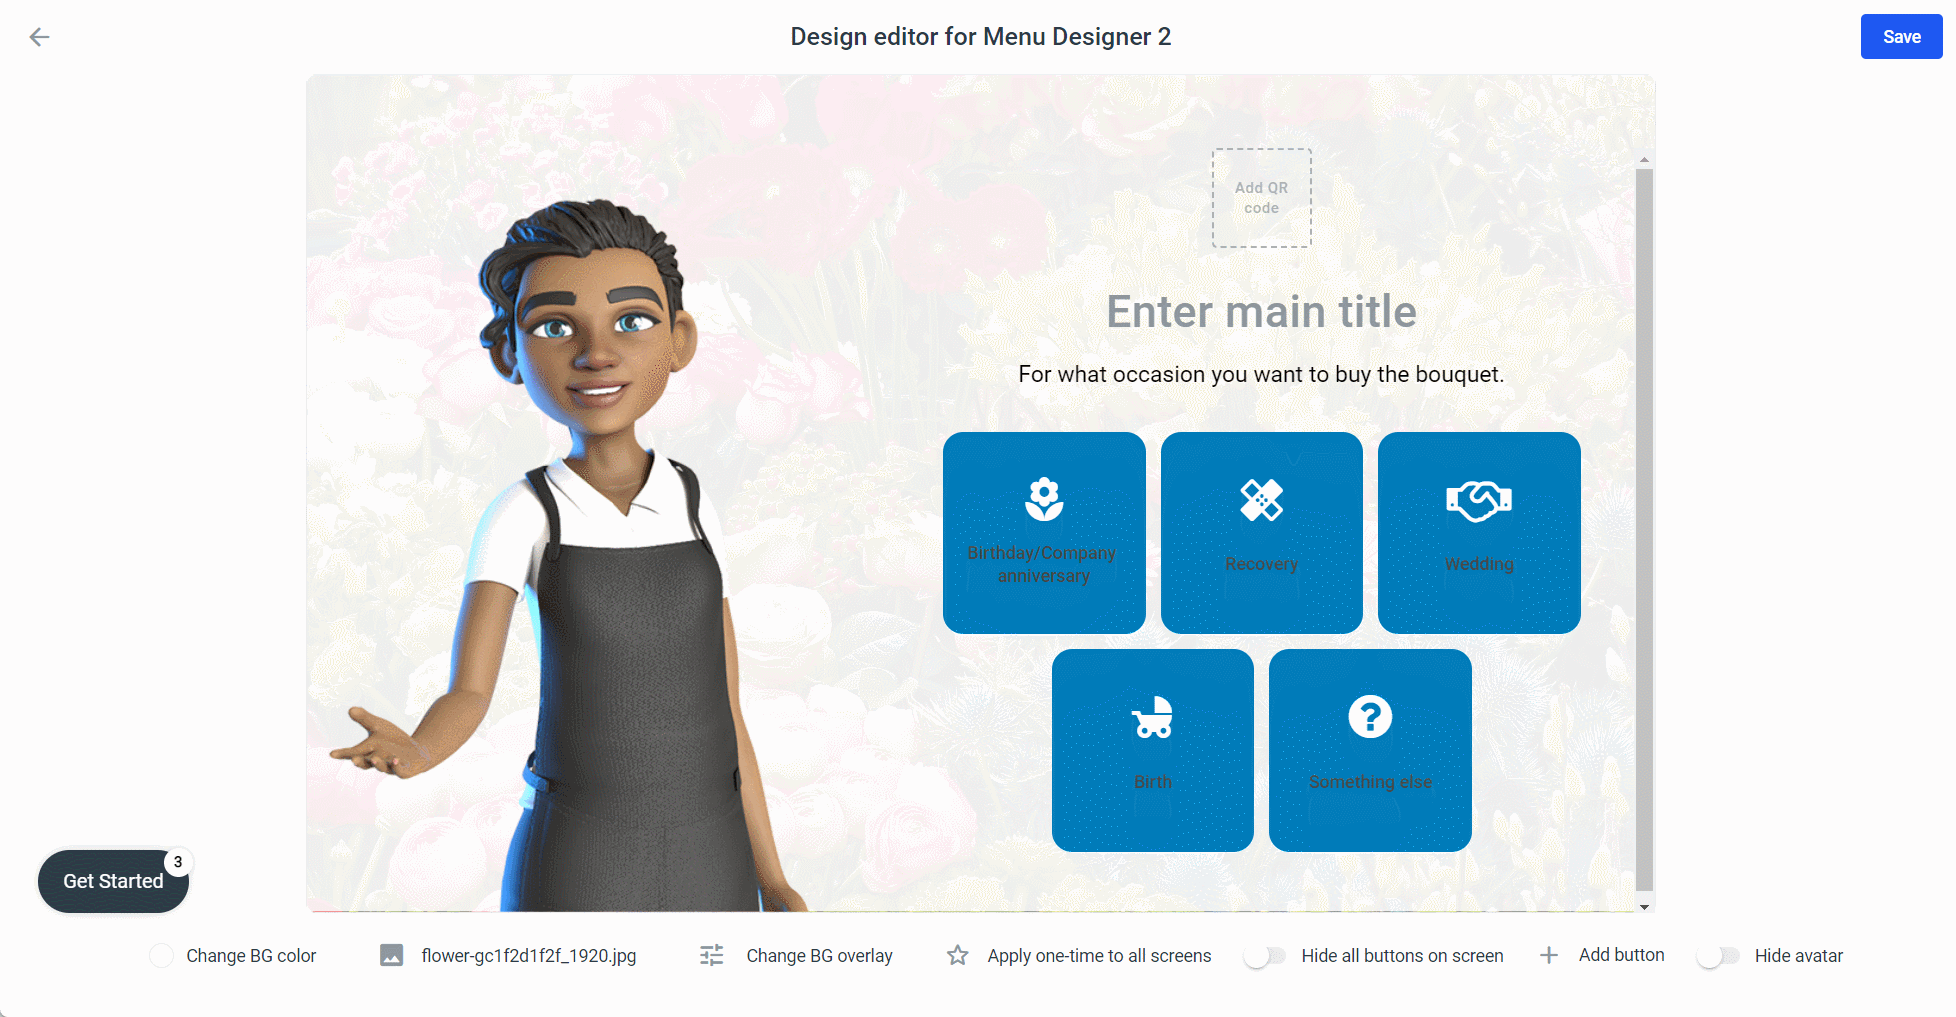
What you can do here:
-
add a title, subtitle and a qr-code (explained in more detail under Media Designer here in this documentation)
-
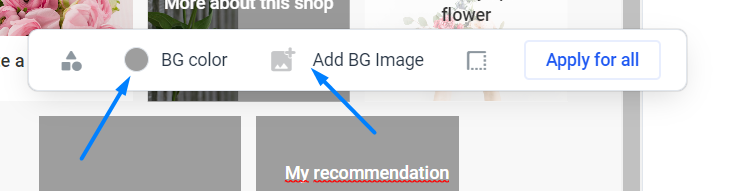
add a background image/video, overlay it and apply the background design to all elements in your frame (explained in more detail under Media Designer here in this documentation)
-
customize the buttons with: Background image, icons, text, text color, font, border color and radius
-
delete and hide buttons
-
apply the button design to all your button
Click the button to open this menu:

-
Change the shape of the button
-
Add a background color
-
Add a background image
-
add a border, change the color of the border and the border with
-
apply all: Applies the design of your button to all buttons.
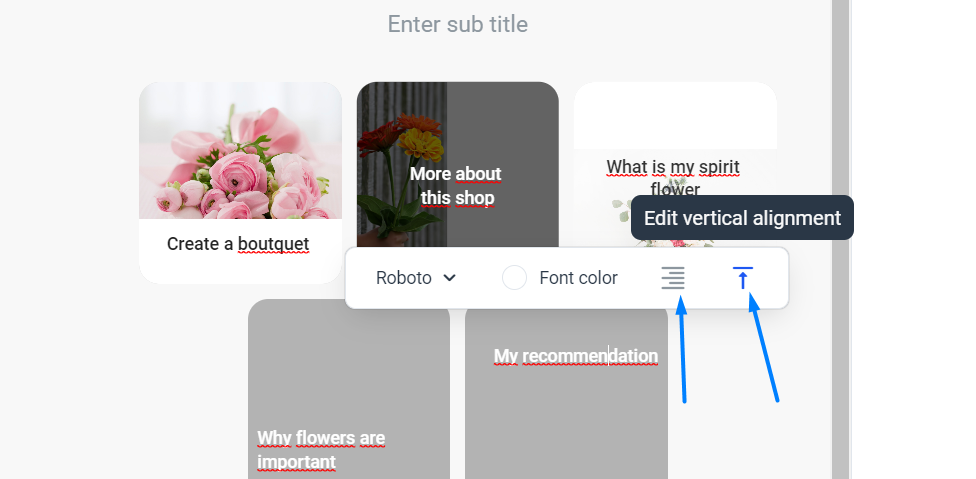
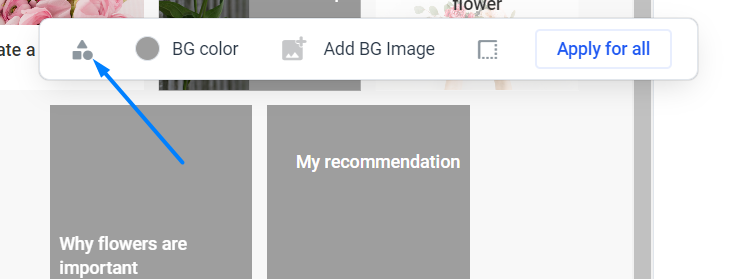
Click on the button text to open this menu:

Give your buttons a background image. To do this, click a button and a menu will appear. Here, click Add image BG and select an image from the library (images you have already uploaded to plural.io) or click Upload image and select the newly uploaded image. To give your buttons a background color, just click BG color:
Change the text to fit your design. To do this, click on the text and use the two buttons to change the text positions:
Change the shape of your buttons with: Border Radius. Click the Button and choose the first symbol from the menu:
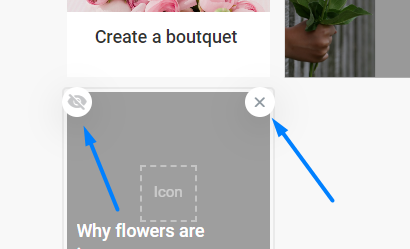
Delete and hide buttons
The difference between delete and hide is that a hidden button still occupies the space, so you can use it to change the order of the menu. If a hidden button has a button text, it can still be triggered by voice command.
To do this, move the mouse cursor over the button and an eye symbol will appear on the left and an X on the right.
Apply the button design to all your button
Apply for All lets you apply the background color, font color, and button shape to all your buttons. Click the button and then click Apply to All.
Have your avatar or robot make a call to action. For example, your avatar/robot could ask the user to select a button. If the editor is open, then navigate back one step (click Save to save your changes and plural will automatically jump back). Then click on the input field.
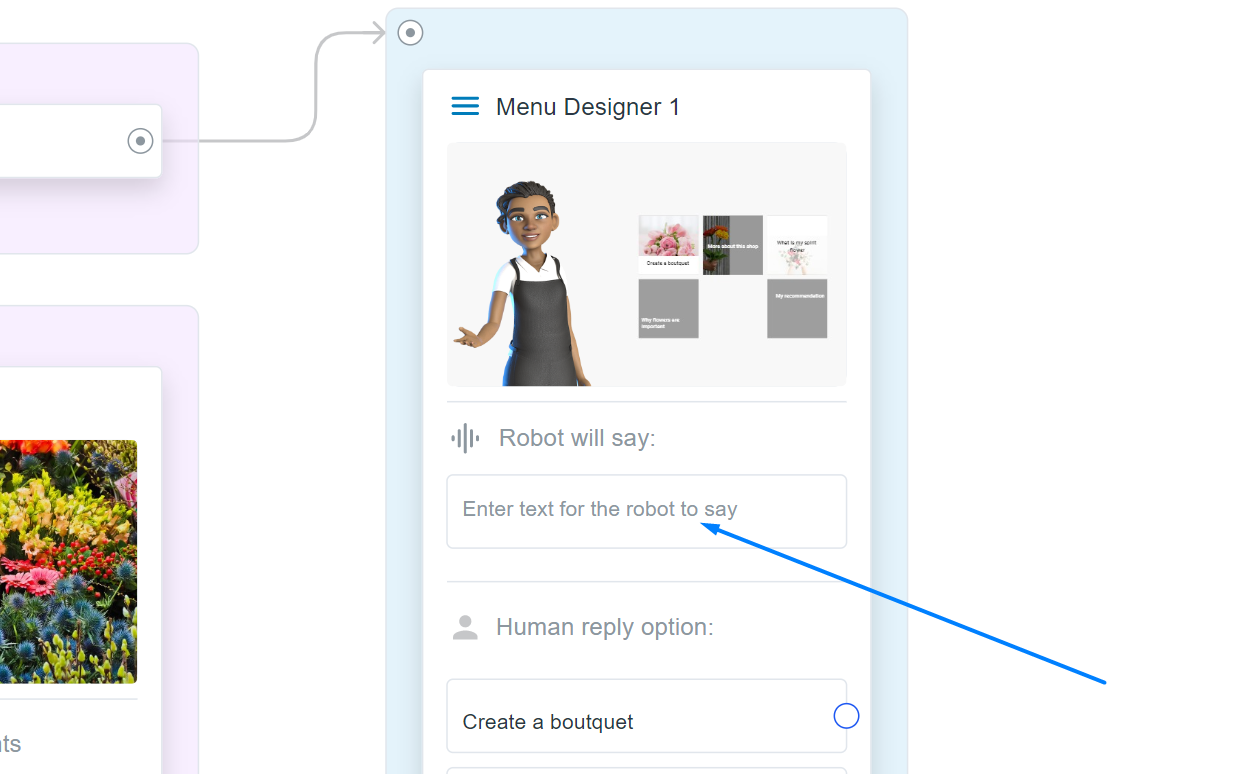
And add the speech. Also add variations, then your robot/avatar will be more human-like and for the user it will be much more exciting if your robot/avatar is not repeated 1 to 1:
Add Voice trigger
Your robot/avatar will look much smarter if it reacts not only to the button text, but also to words with the same meaning. Therefore click on a button in the sidebar or the menu element and add some variations:
Save answer
If you want to come back to or build on the user's selection later, you can store the user's response in a variable.

Enter a variable name and the value you want to store in it. For the first button, you could enter userInterest as the variable name and the text of the button as the value.
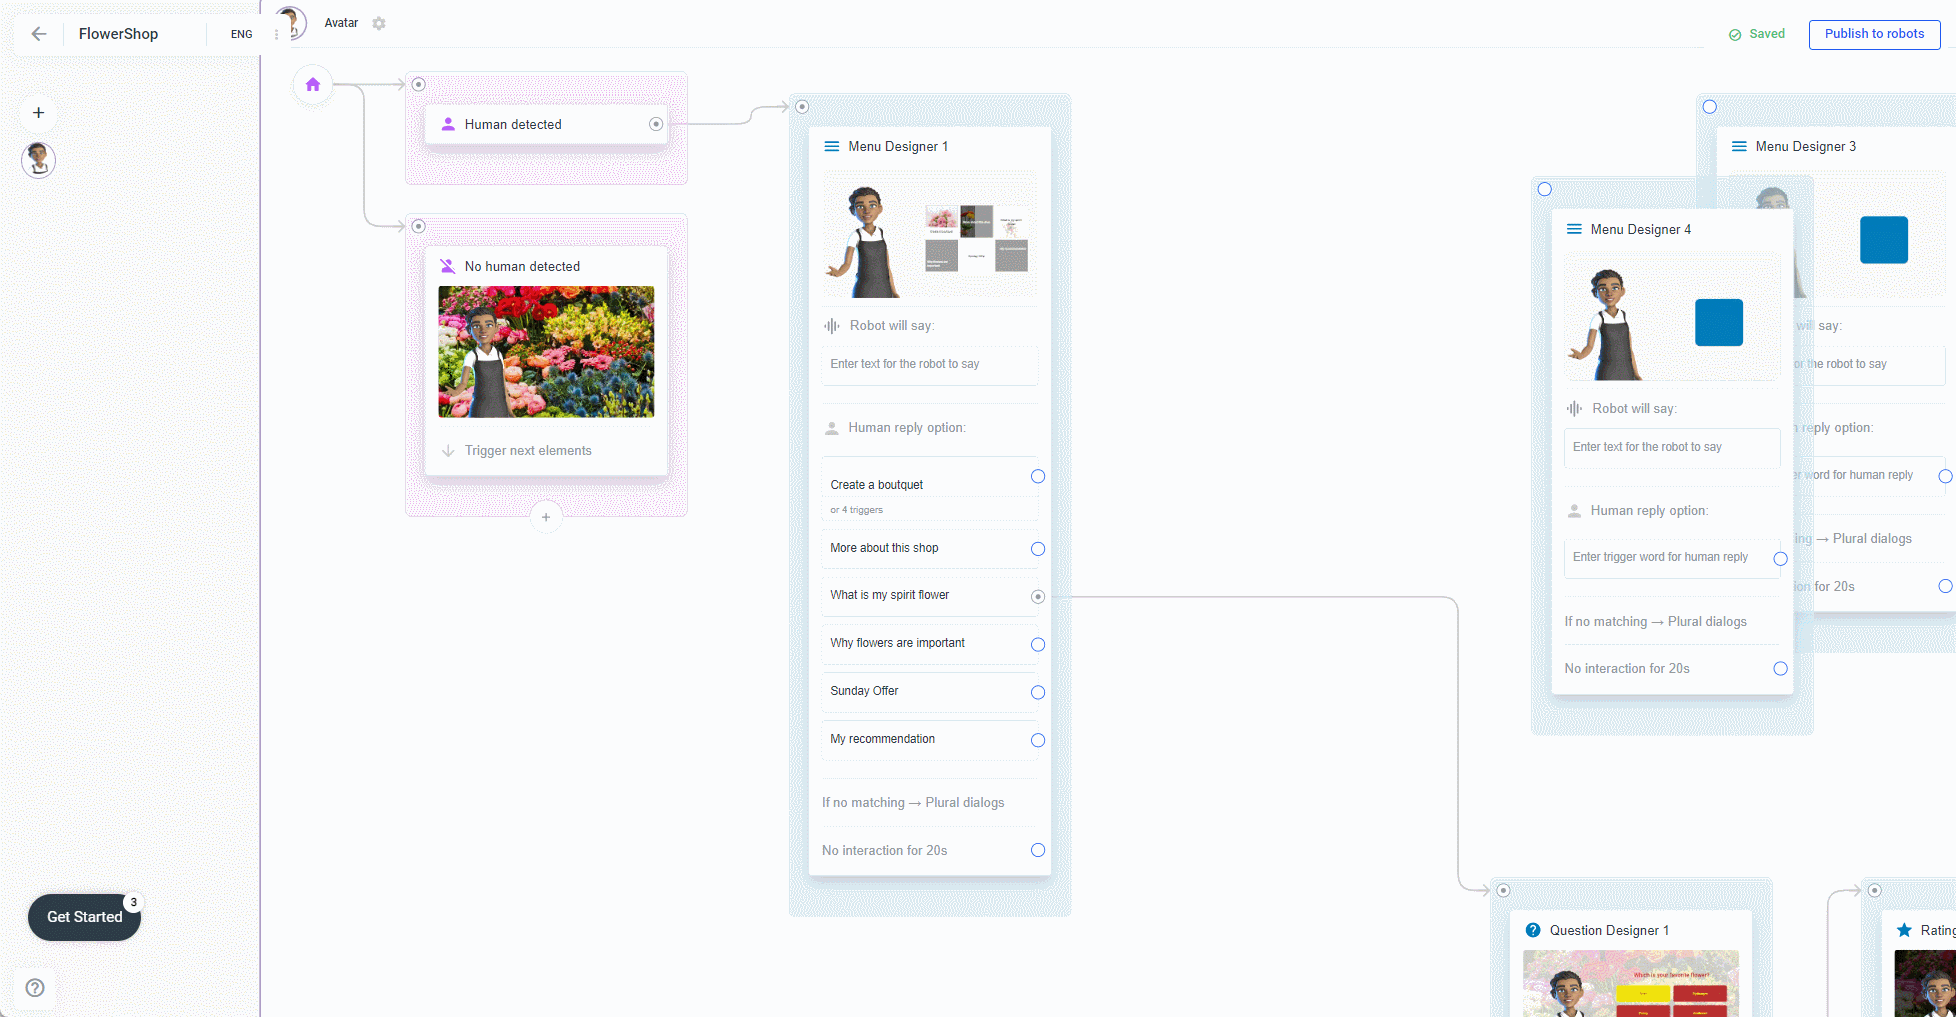
Bind buttons to a condition. For example, we have a button called Sunday Offer. Because our avatar or robot has a great offer for customers every Sunday, but only on Sundays. So the button should be displayed only on Sundays. In other words, only on the 7th day of the week. To get the current day number you can use WeekdayNumber.
Click again on a button in the element or sidebar, switch to Condition to show and add the system variable WeekdayNumber from the dropdown list as variable name. As Value choose 7 from the dropdown list. Or maybe for a test the current day number to see how it will look on Sunday and then change it back to Sunday after the test.