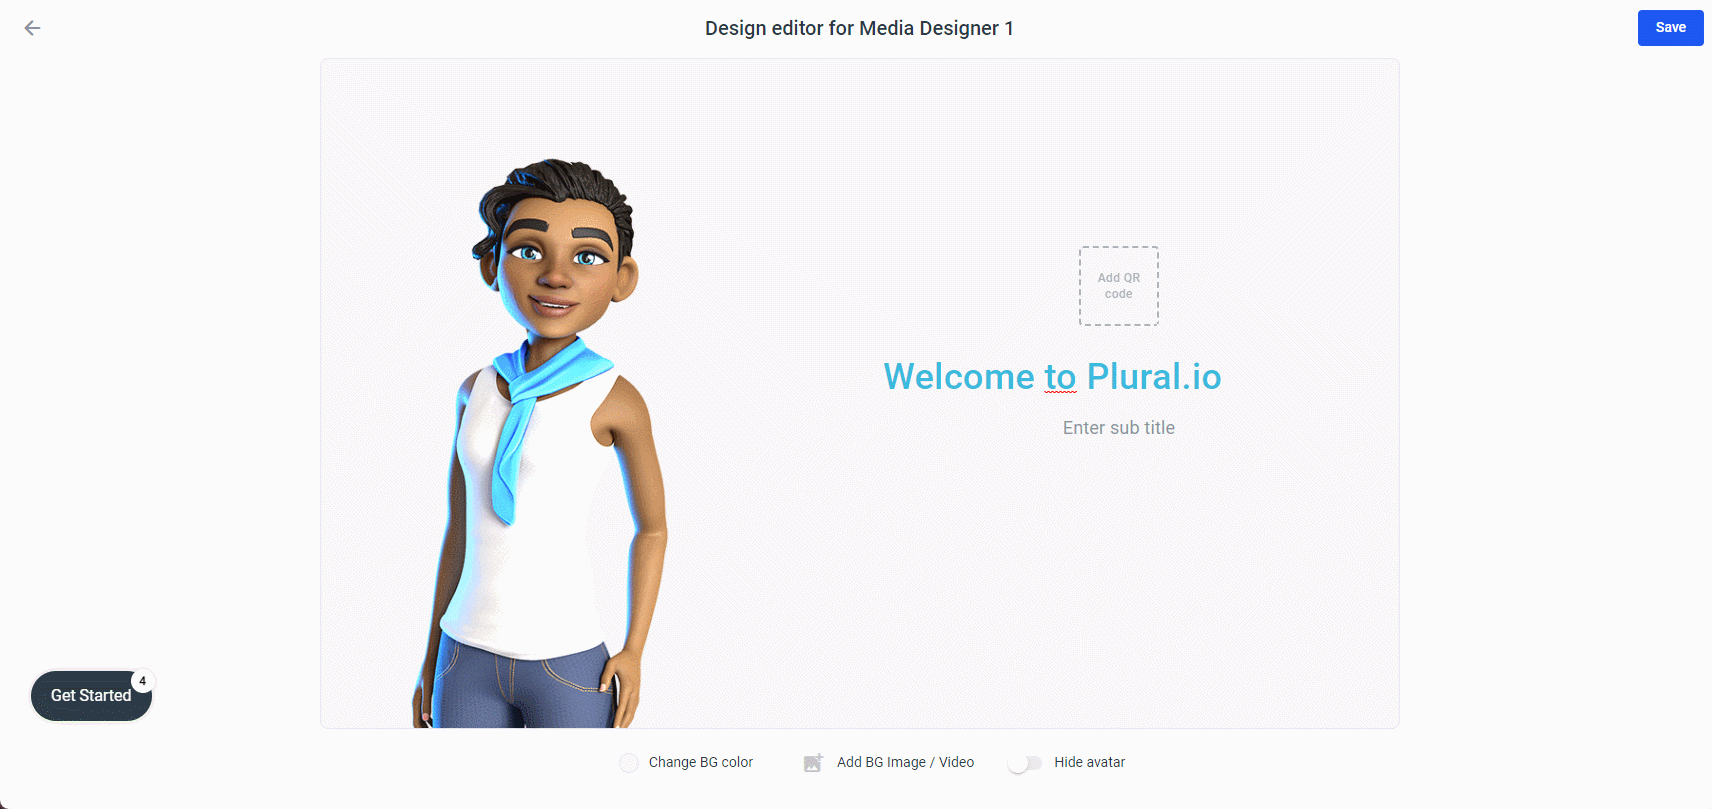
Enter the text you want to appear on your robot's display or next to your avatar. You can also easily change the style of your text by hovering over the text and changing the font, font color, or text alignment:
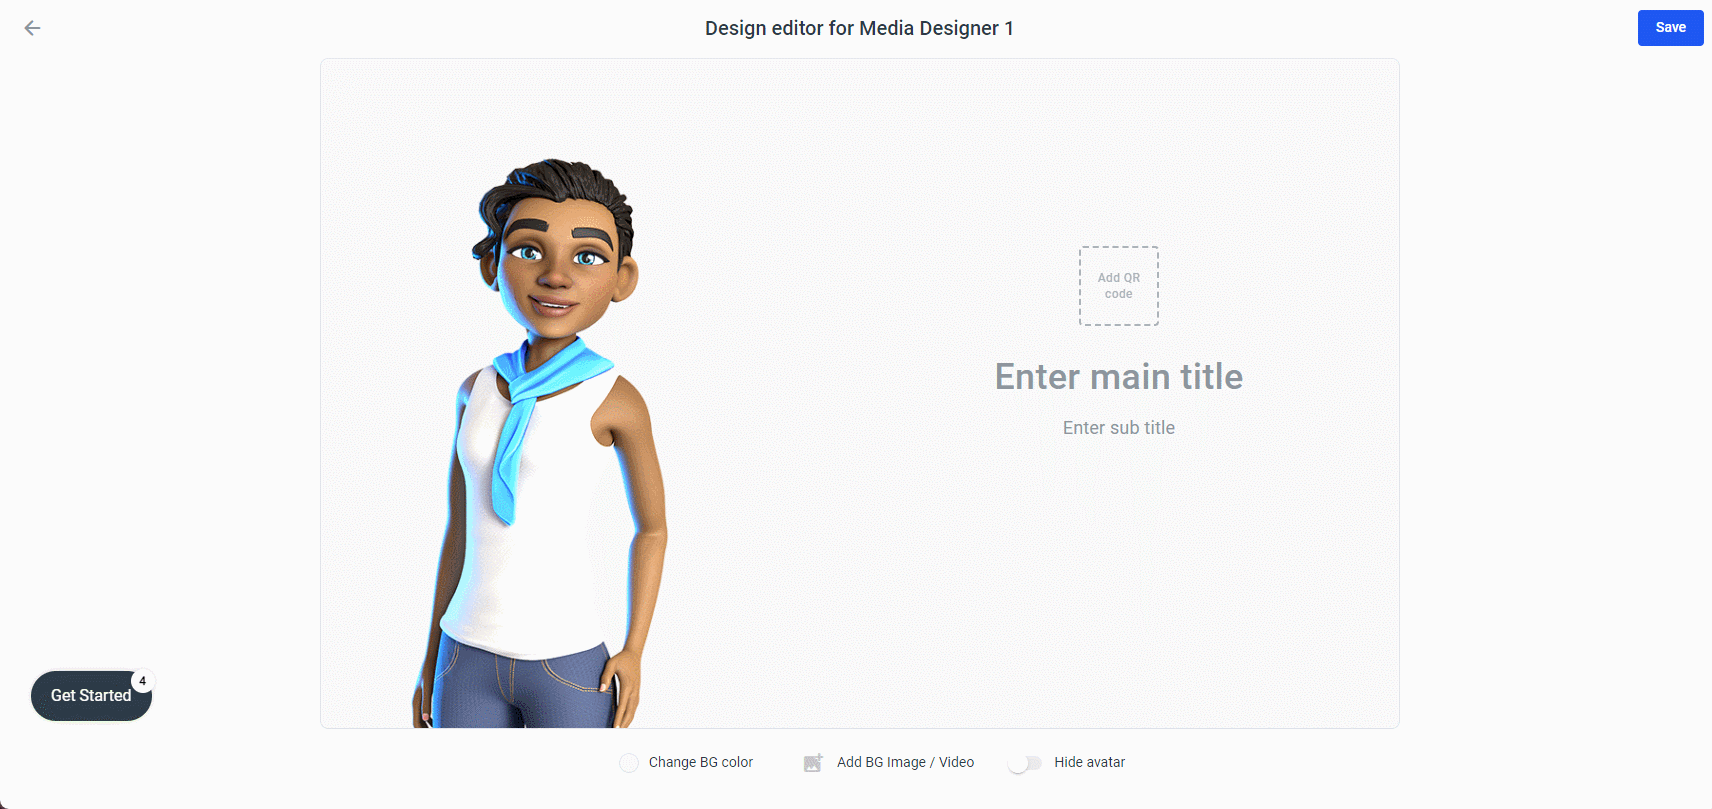
To create a QR-Code just click on the placeholter of the QR-Code and enter a valid URL like https://plural.io
When you create an avatar project, you have the option to insert a QR code into question designer elements or menu designer elements as well.
In the bottom you see three buttons: 1. Change BG color, 2. Add BG Image/Video and if you are building an avatar project you see a toggle button to hide the avatar.
Add a Background Image:
There are two ways to add a Background-Image. First you can upload an image from your computer to the Media Library and choose this image as Background image, or you can use an URL as Background-Image source.
Use the Media Library: Click Add BG Image/Video and Upload Image, select an image from your computer's file system and adjust the size and click Confirm. To upload a video, the steps are similar. Just go to Videos in Media Library after clicking Add BG Image/Video.

Use an URL as Source:
To do this, click Add BG Image/Video and then click + From URL. Now an input field for URLs appears. Now you can enter a URL. Here in our GIF we went to unsplash.com, right clicked on an image and copied the URL of the image.
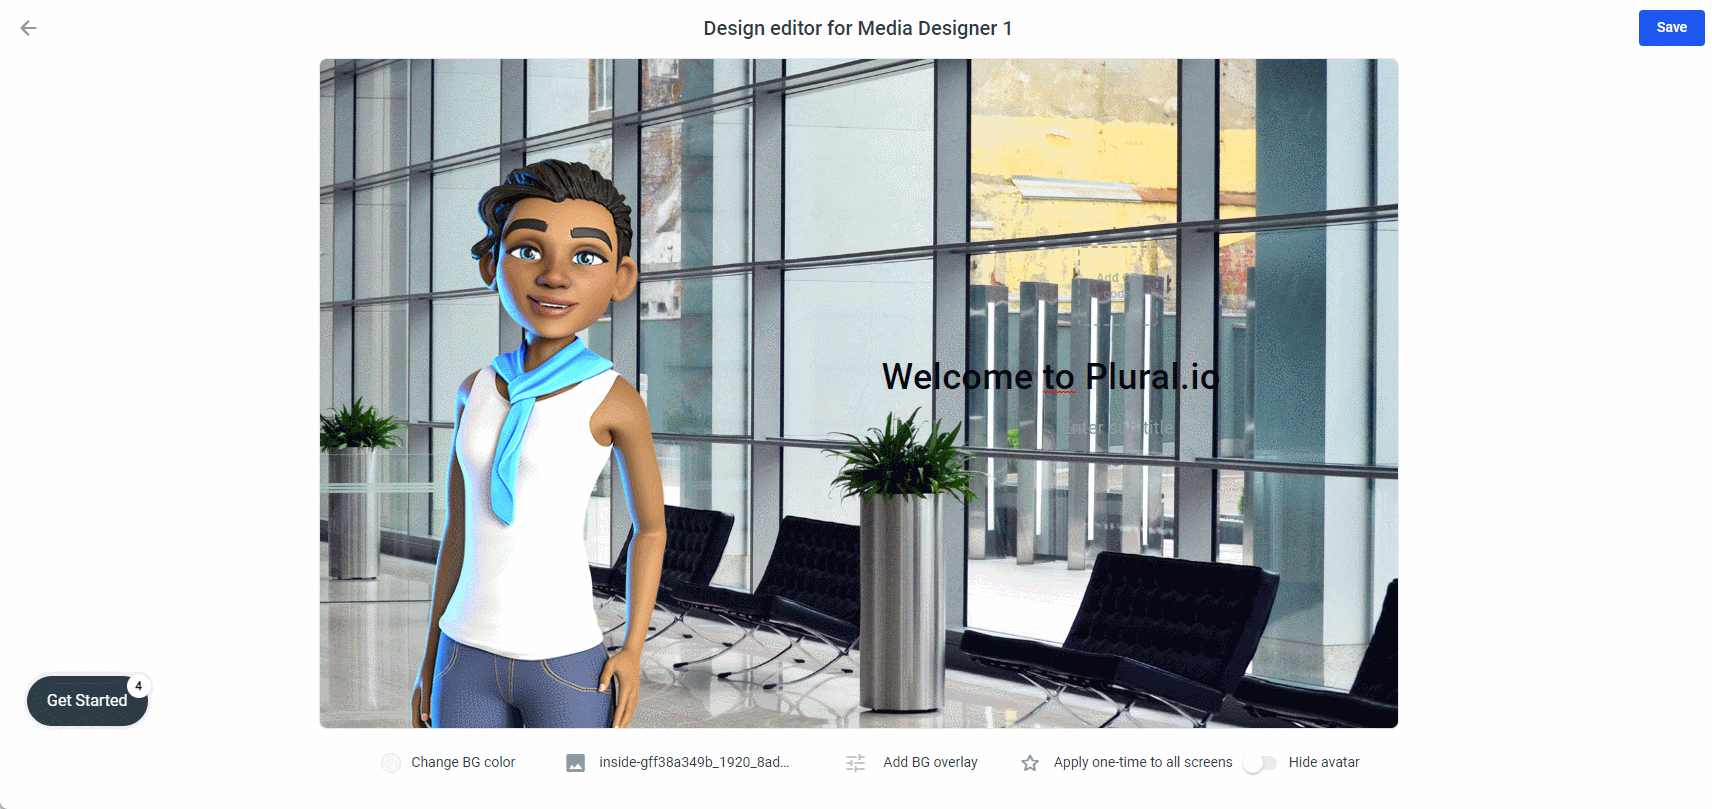
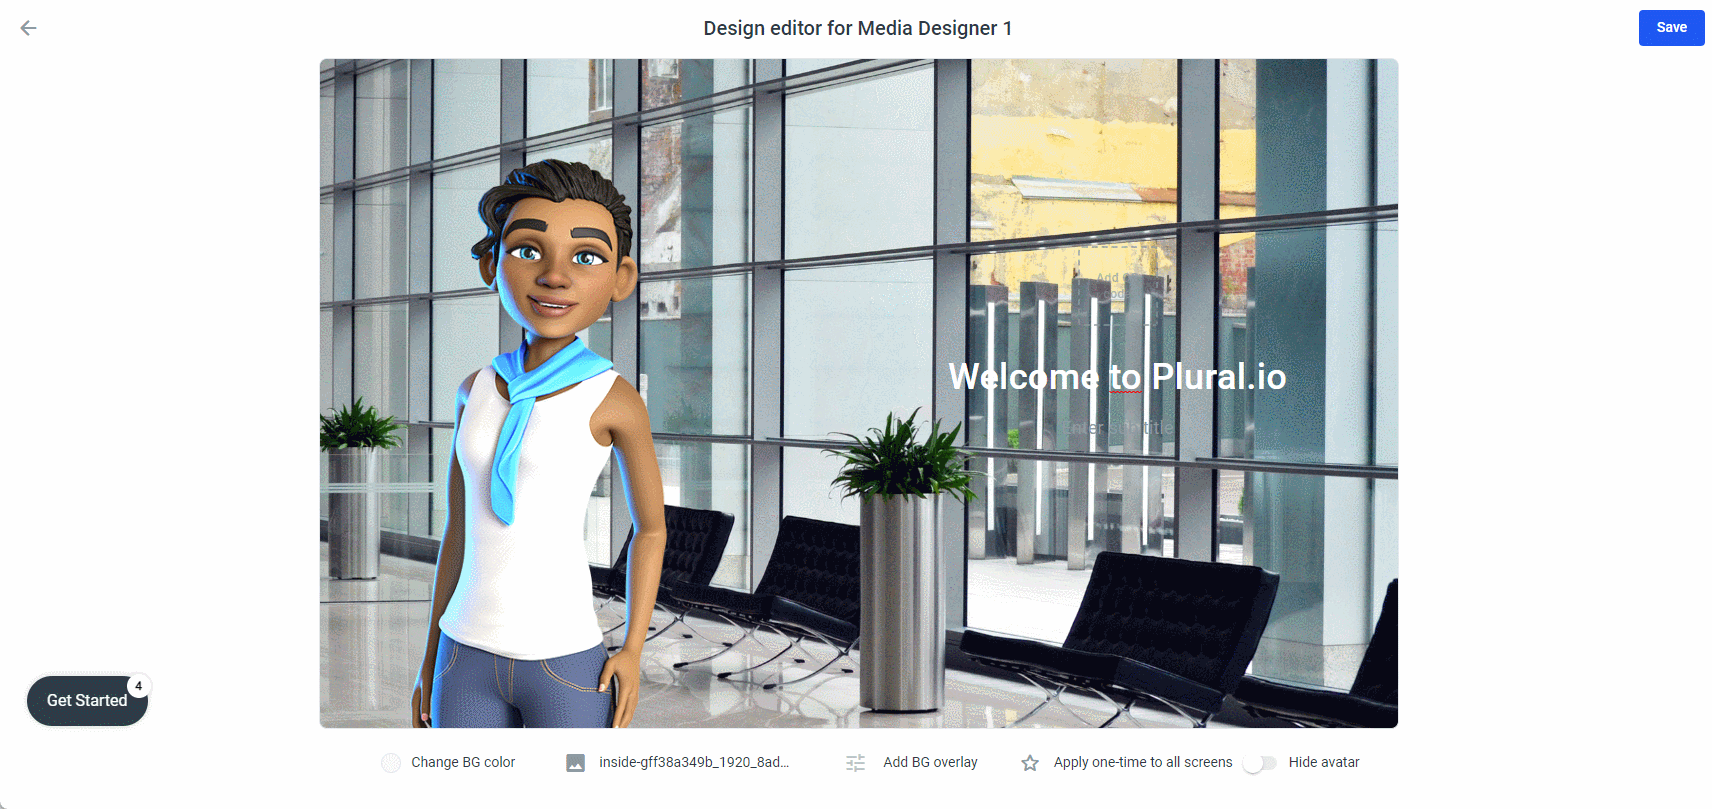
After you add a background image, you will see two more buttons:
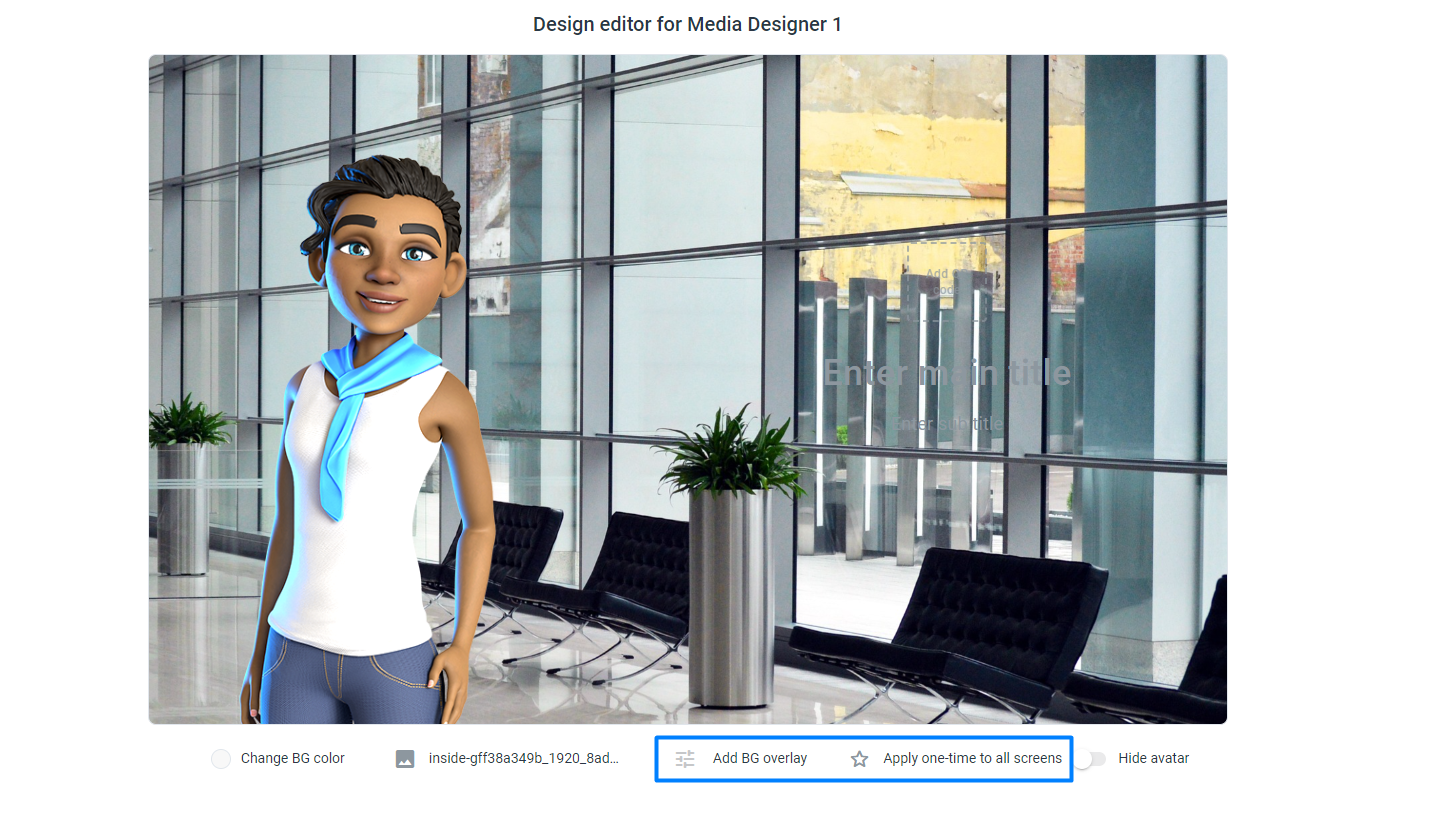
Apply one-time screen
This will apply your background image and overlay to all your elements in your frame.
It will overwrite your existing backgrounds! So make sure that there are only elements in your project that should be changed. If you clicked this button by mistake, go back to your project overview without saving.
If you want to apply your background to just a few elements, copy them into a different frame, apply the changes there and copy them back into your main frame.
Hide Avatar
For Media elements, the Avatar can be hidden to better show off content or make buttons better visible!
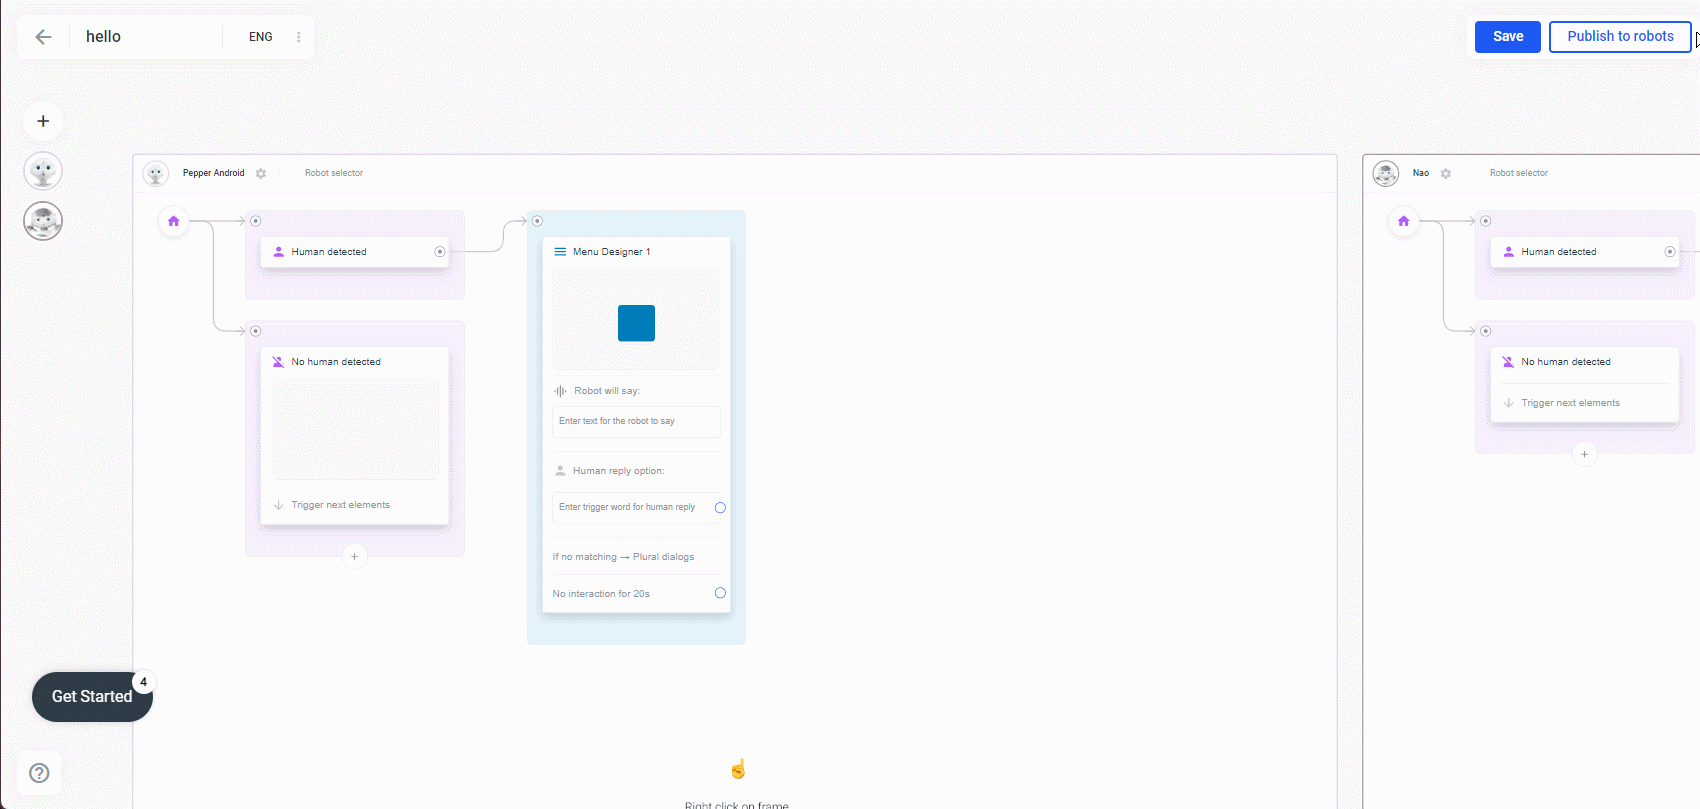
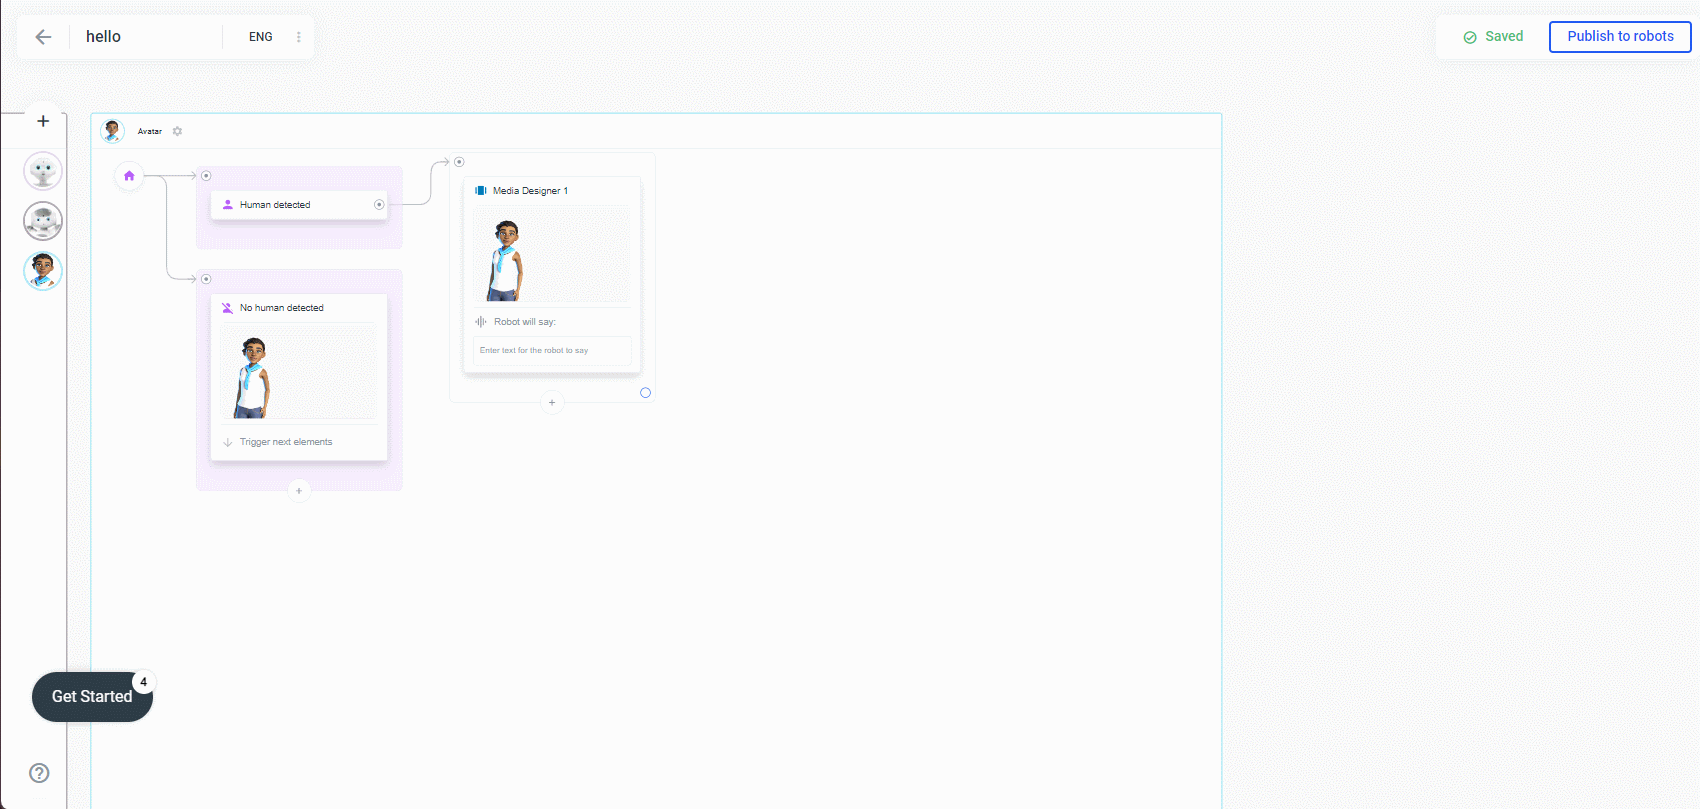
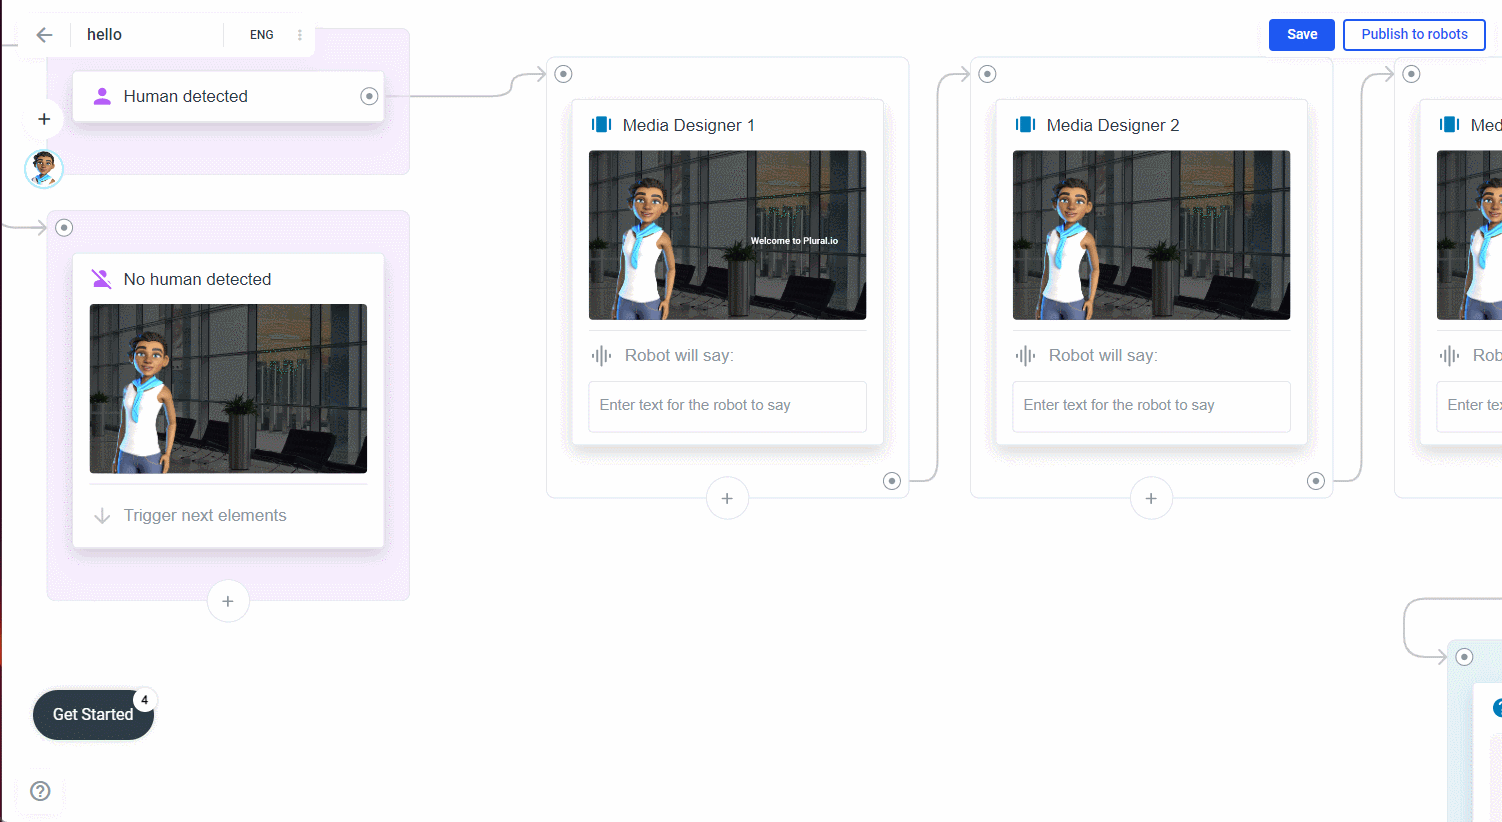
Once you click the Save button, the editing view will close and the preview of your Media Designer will update in the sidebar:
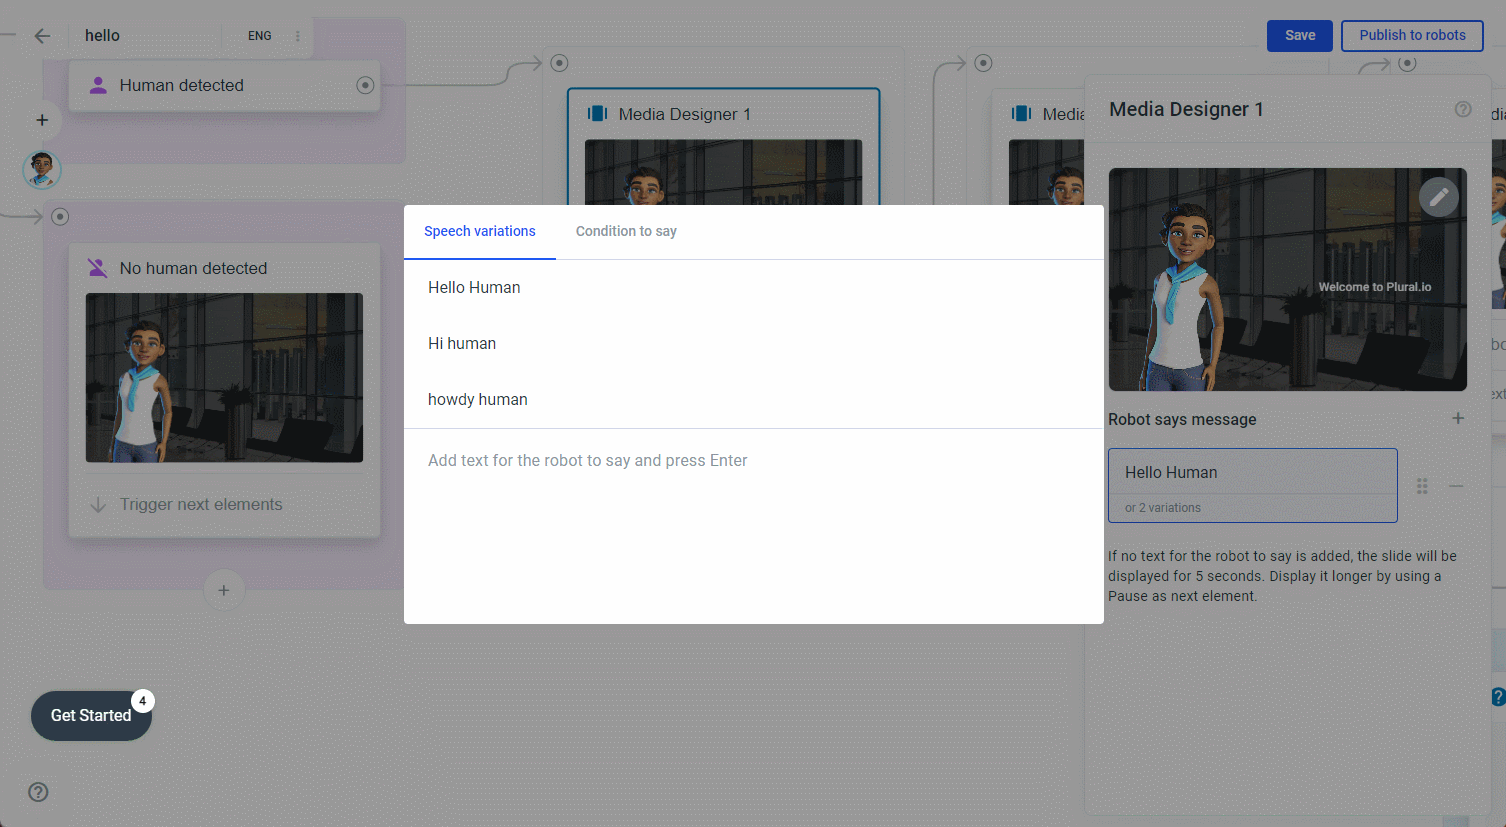
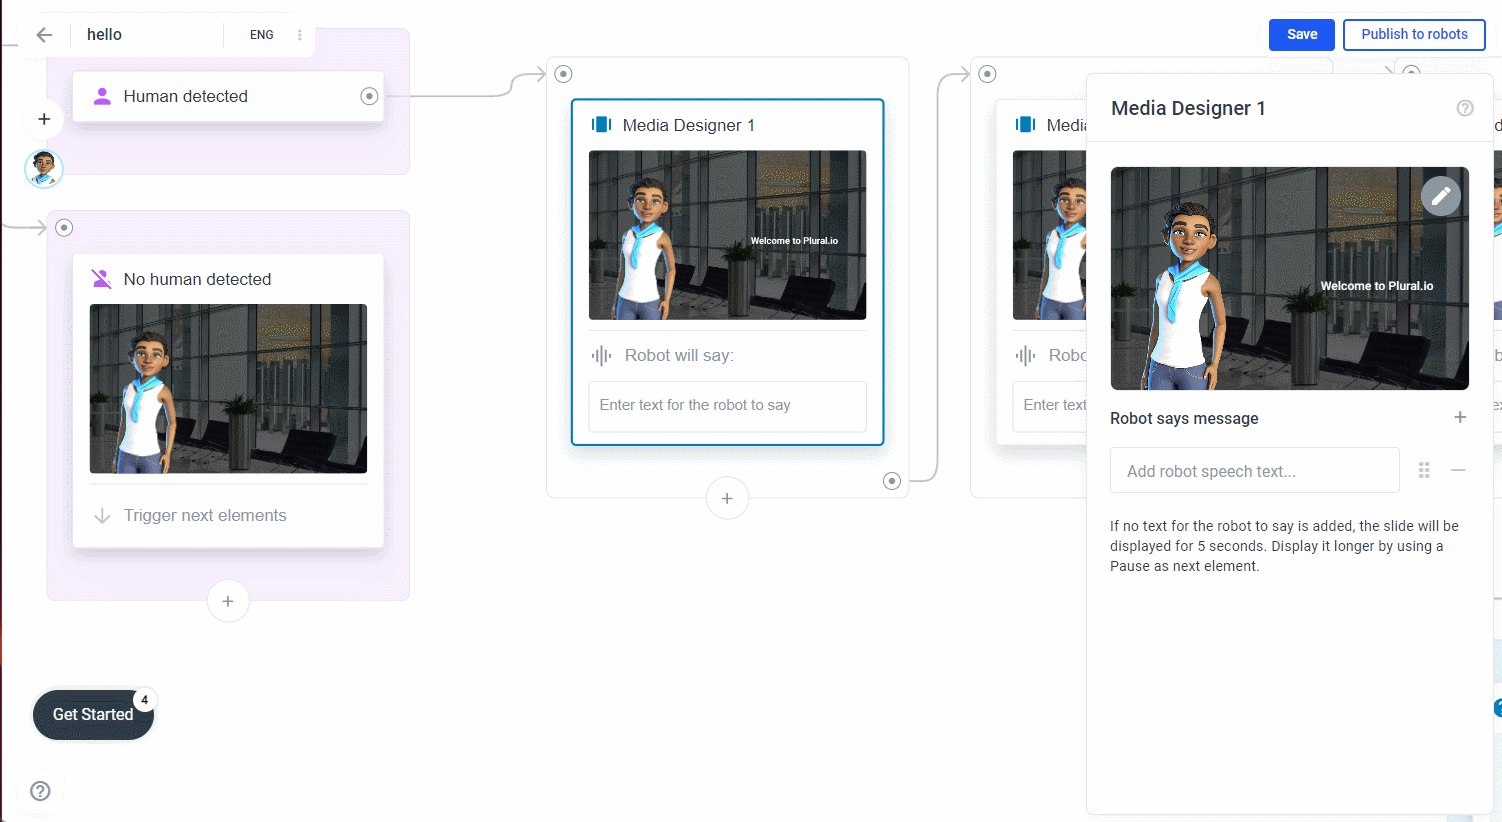
Add Robot speech
While your robot or avatar is showing the screen you just created, you want the avatar/robot to say something. For this you have the speech variants and the condition to say. Open the input field by clicking on Enter text for the robot to say:
Speech variations: Type what you want the robot/avatar to say. Remember that nobody likes to listen to a long monologue, keep the robot/avatar's speech short and simple.
After you have entered the text, press the Enter key on your keyboard. Now you can enter another speech variant. For example, if you just typed "Hello human", why not add "Hello human", "Howdy human" and "Nice to meet you, human"? More speech variations make your avatar/robot more interesting and human-like. Now, that you have some speech variations, move the mouse cursor over one of them and see that two buttons appear: a small play button (only if you create an avatar flow or a temi flow). The play button will give you an instant preview of the speech. Second, an x to delete the robot speech:
Condition to say: Imagine that you want to greet people only between 8 and 21 o clock. In this case, you can use condition to say, for example. Switch to condition to say and add time as attribute, greater than as operator and 08:00 as value, and add and time less than as operator and 21:00 o clock as value: