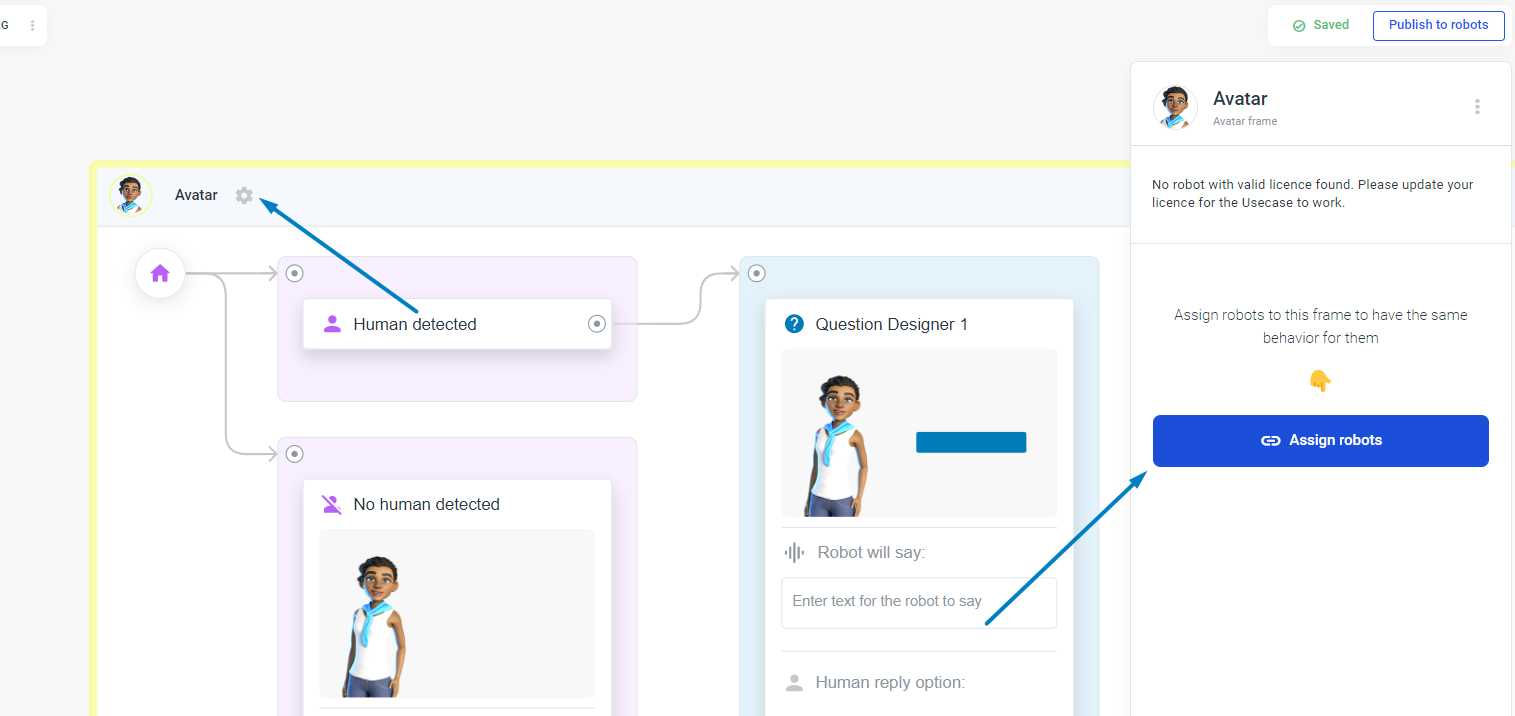
Once you have created a an avatar-project, you can assign your avatar frame to an avatar. Click the gear icon in the upper left corner of your avatar frame and then click Assign Robots. Now you should see the list of avatars (the same one you see under the My Robots section when you navigate back).
The two buttons Preview in Browser and Copy live link will appear. The Button Preview in Browser will open the Avatar in a new browser tab and is perfect for testing. You might see a watermark over your avatar. For now we can ignore that. When your avatar project goes live, click the Copy Live link to run the project without a watermark:

Once your avatar is deployed and you have made some changes, you can push your changes remotely.
Test without using GOs
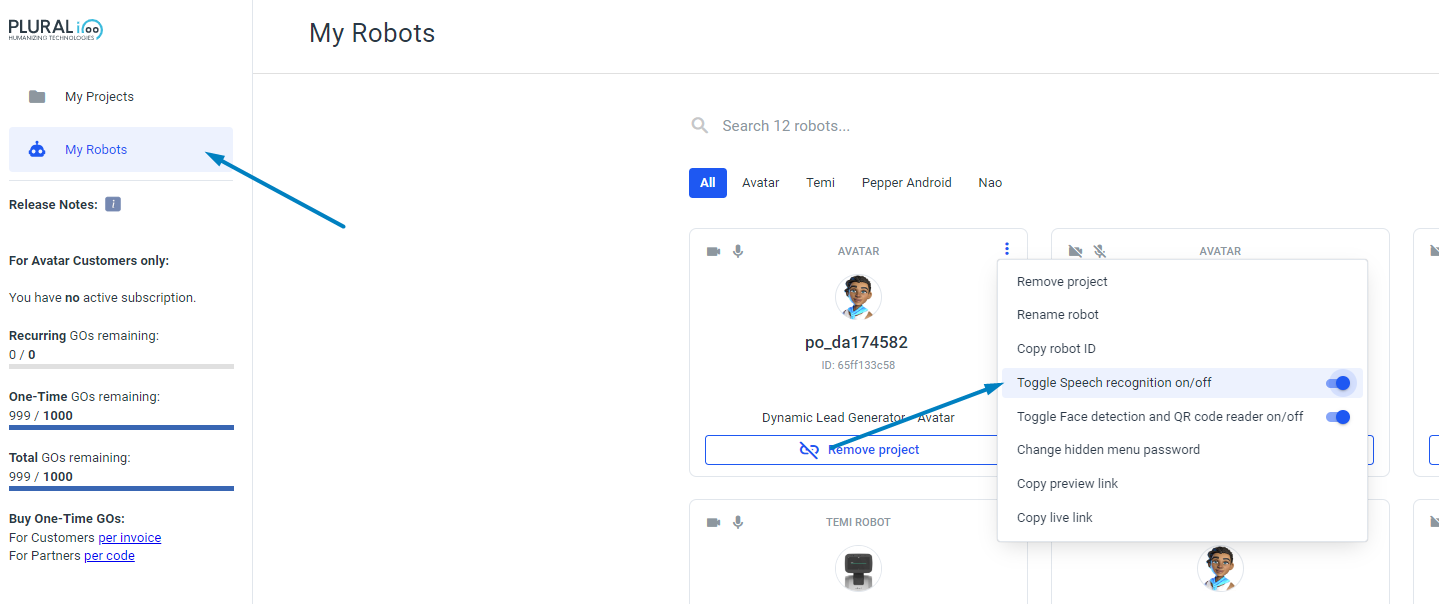
We have a payment system called GO. To ensure that your tests do not cost anything, we need to turn off TTS (Test to Speech) and you need to test in preview.
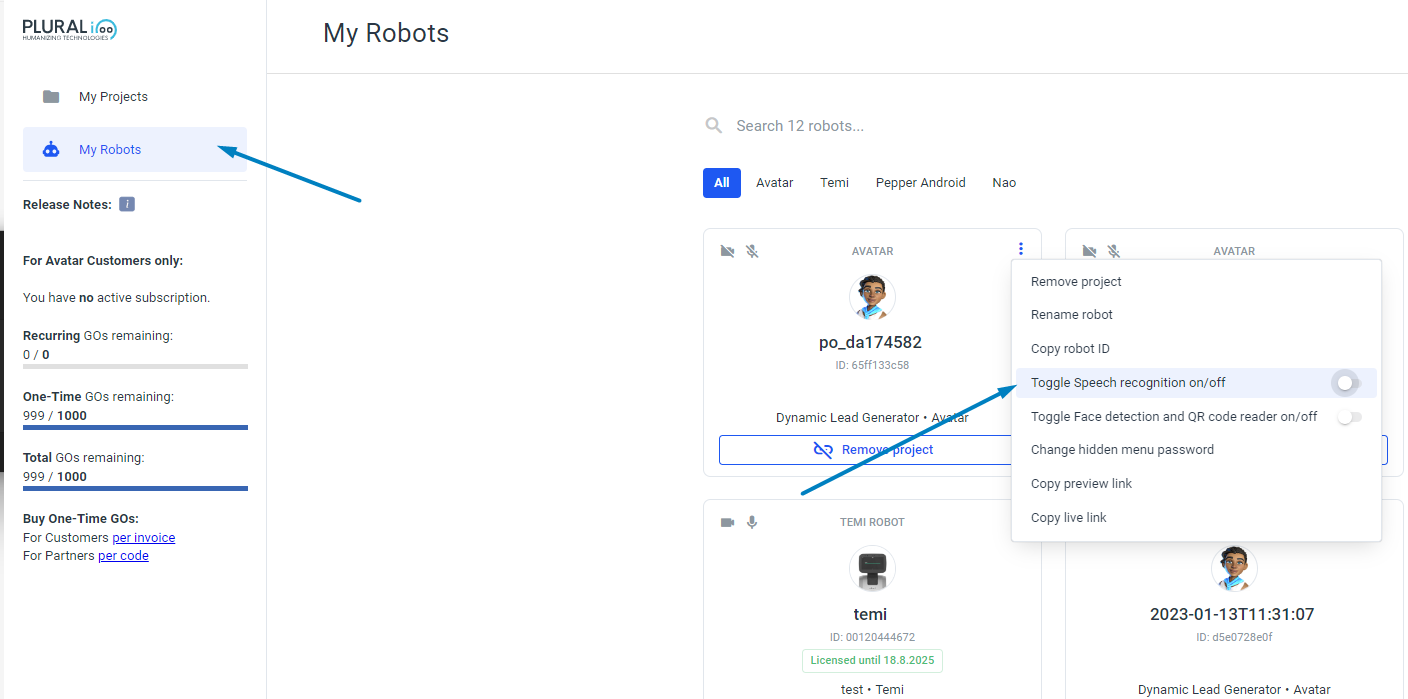
If speech recognition (TTS and STT) is turned off and you are testing in preview mode, it will not cost you any GOs.
Face Recognition in Preview Mode
You can turn on Toggle Face detection and QR code reader on/off, it will not cost you any GOs in preview mode.

Publish a project with speech recognition
If your project uses speech recognition, make sure that the toggle for speech recognition is enabled. This consumes GOs in Preview mode and also in Live mode.