> ## Documentation Index
> Fetch the complete documentation index at: https://support.humanizing.com/llms.txt
> Use this file to discover all available pages before exploring further.
# Set up the printing service from Humanizing
> This page will walk you through the setup process of our printing service.
This page is currently under construction.
This documentation page provides a step-by-step guide to setting up and utilizing the printing service from Humanizing. Learn how to install the necessary dependencies, configure the service, and integrate it into your projects for seamless printing functionality.
#### Prerequesites
These are the things you have to do at the start.
#### Install Python
* Go to: [https://www.python.org/downloads/](https://www.python.org/downloads/)
* Download the latest Python version
* Launch the installer
* Make sure to select the "Add python.exe to PATH" option
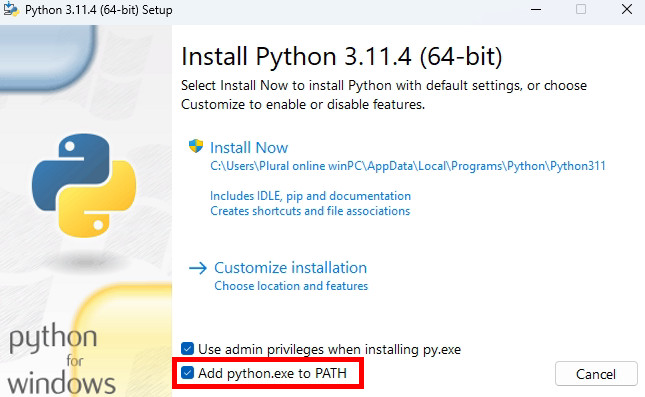
* Wait for the installation to be finished
* Open a terminal and type `python --version` to make sure that Python was installed successfully

#### Set up the printing service from Humanizing
These are the things to make our printing service working.
##### Install the printing service from Humanizing
You can get the necessary files for this step from your contact person at Humanizing. Note that this is a paid service.
* Unpack the .zip file to the following path: `C:\printing_service`
* Launch a terminal in the same folder
* Run the command `pip install -r requirements.txt` in this folder to install all dependencies
* After the installation is finished you can close the terminal
#### Create a self-signed certificate with OpenSSL
* Open a terminal in the folder of the printing service
* Enter the following command: `openssl req -x509 -newkey rsa:4096 -nodes -out cert.pem -keyout key.pem -days 365`
* Create yourself a certificate by just pressing enter until the terminal stops prompting
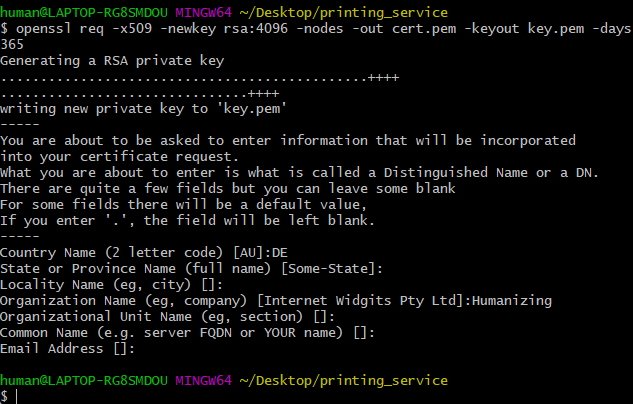
* You should be good to go
#### Add the "start\_service" file to your autostart folder
Save the following code as a batch file called "start\_service.bat":
start\_service.bat
@echo off
start "" pythonw "C:\printing\_service\printingServer.py"
exit
* Save the start\_service.bat file from above.
* Save it to your autostart folder
* Restart your PC
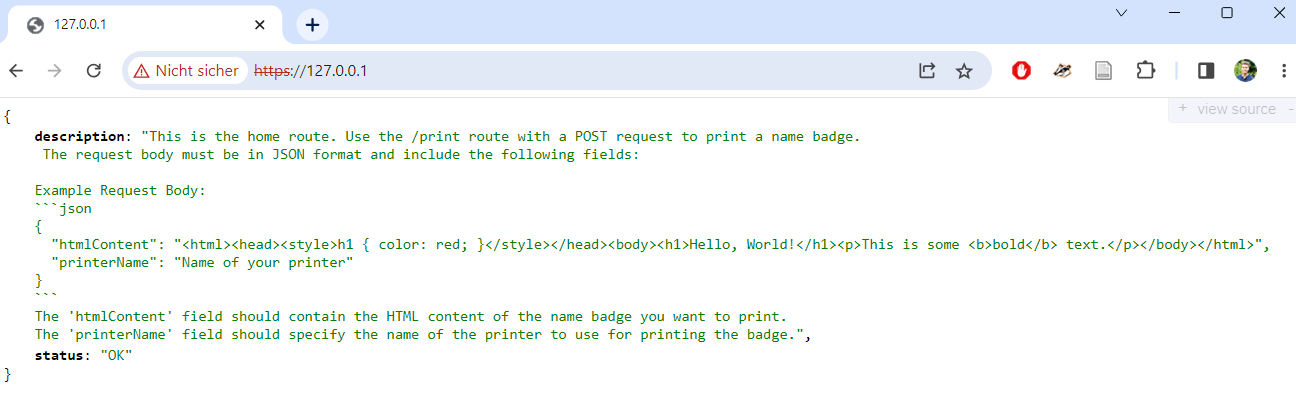
* Open the browser and go to `https://127.0.0.1/`.
* If necessary, accept the insecure connection
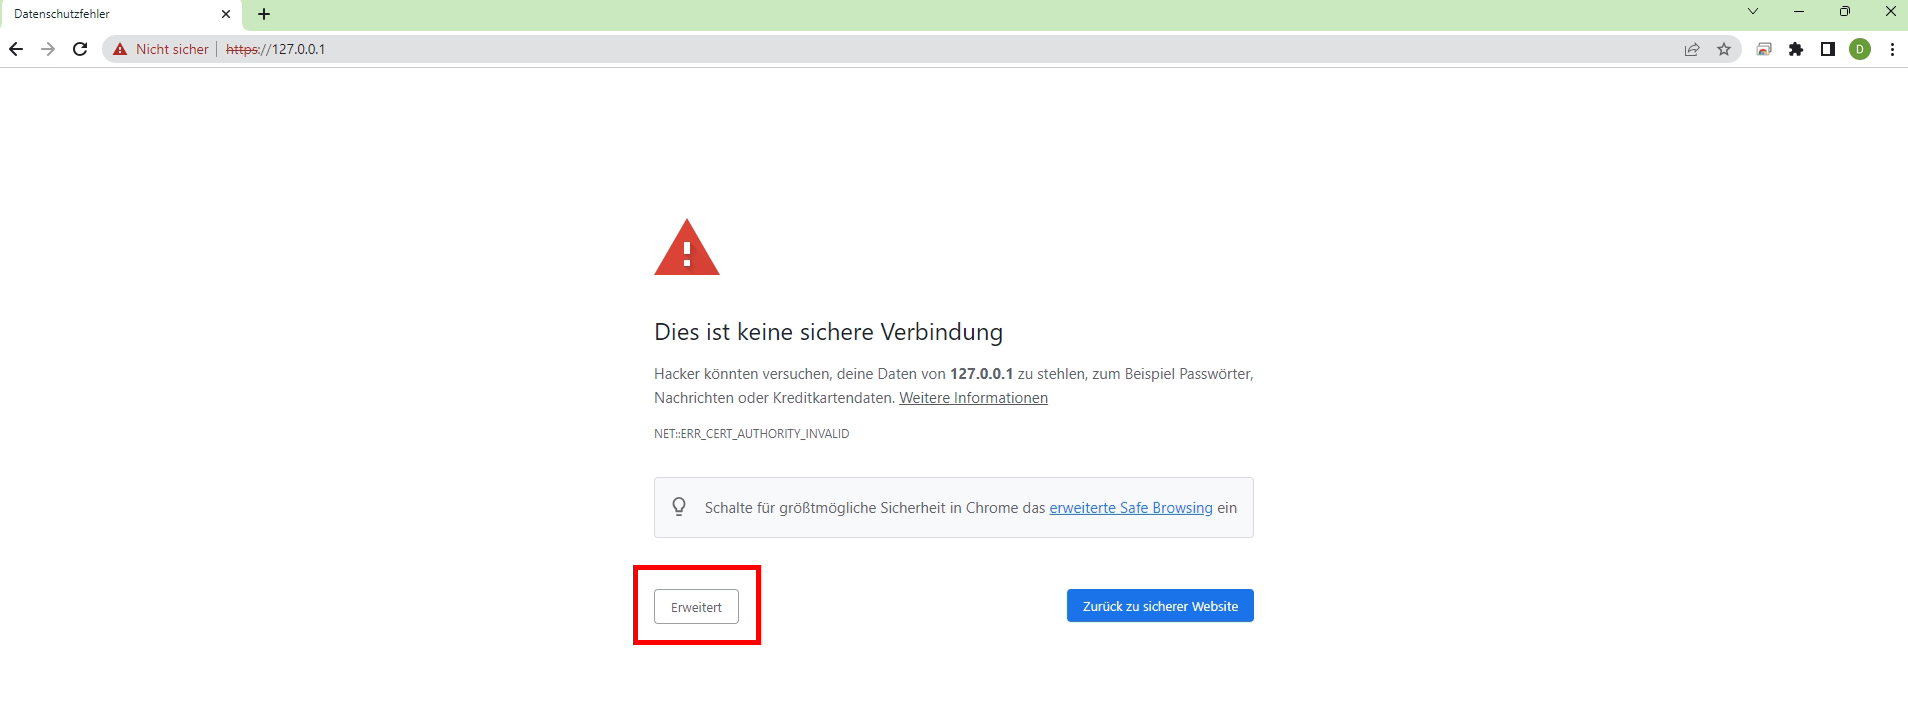
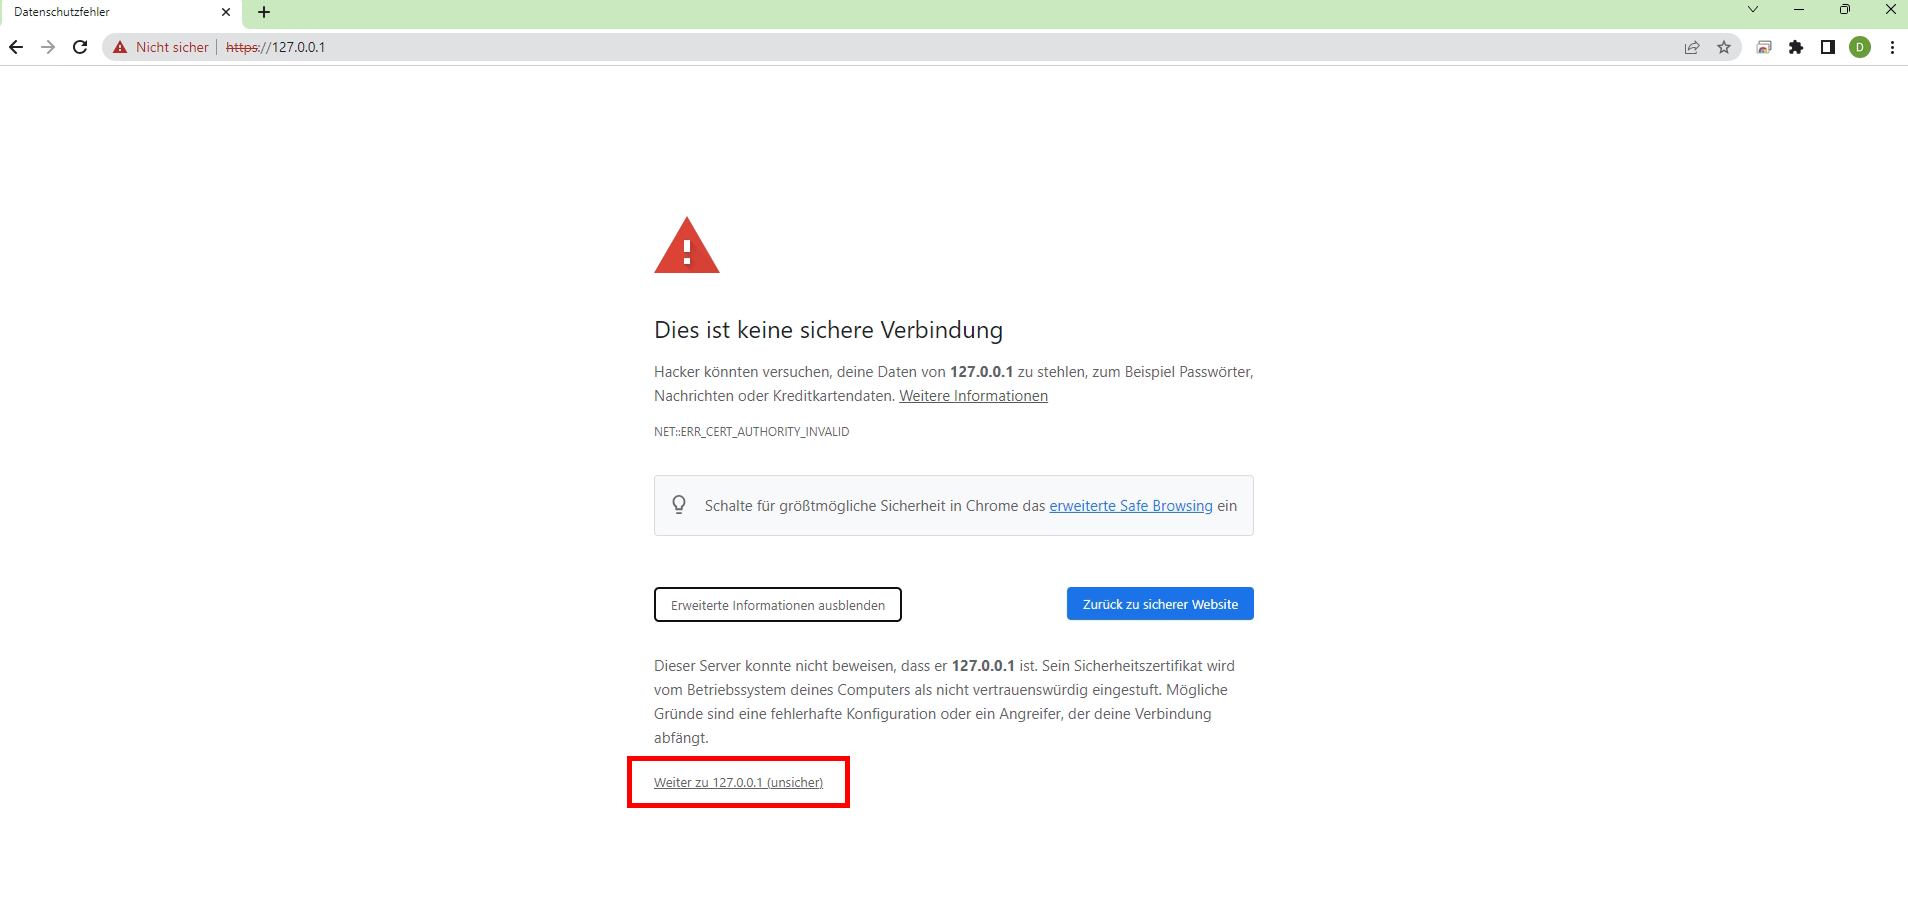
* If everything works out you should now see the following message:
#### How to find the autostart folder?
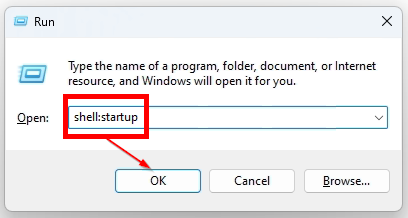
* Press the Window button + R and a dialog box will appear as shown in the image below. Enter `shell:startup` and click on “OK”.
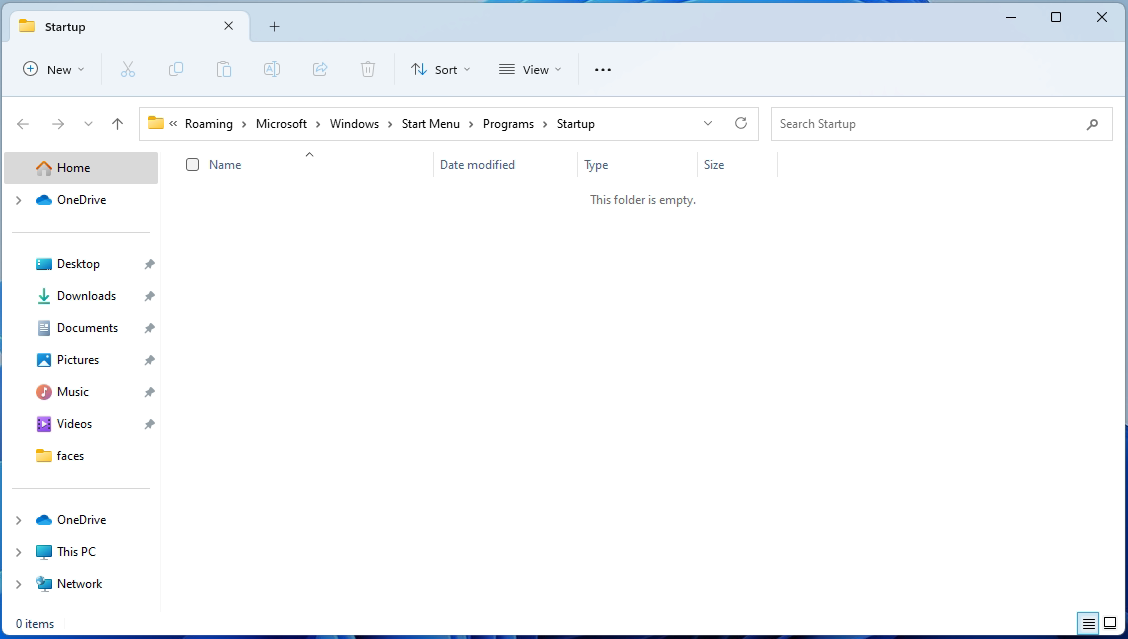
* A window will appear as shown in the image below and it will be the startup folder.
#### Use the printing service from Humanizing in Plural
This section will show you how to connect your Avatar flow with our printing service.
#### Create an API-Call inside your flow
* Let's create a new project. Something like this: (Note: we only need the API-Call actually)
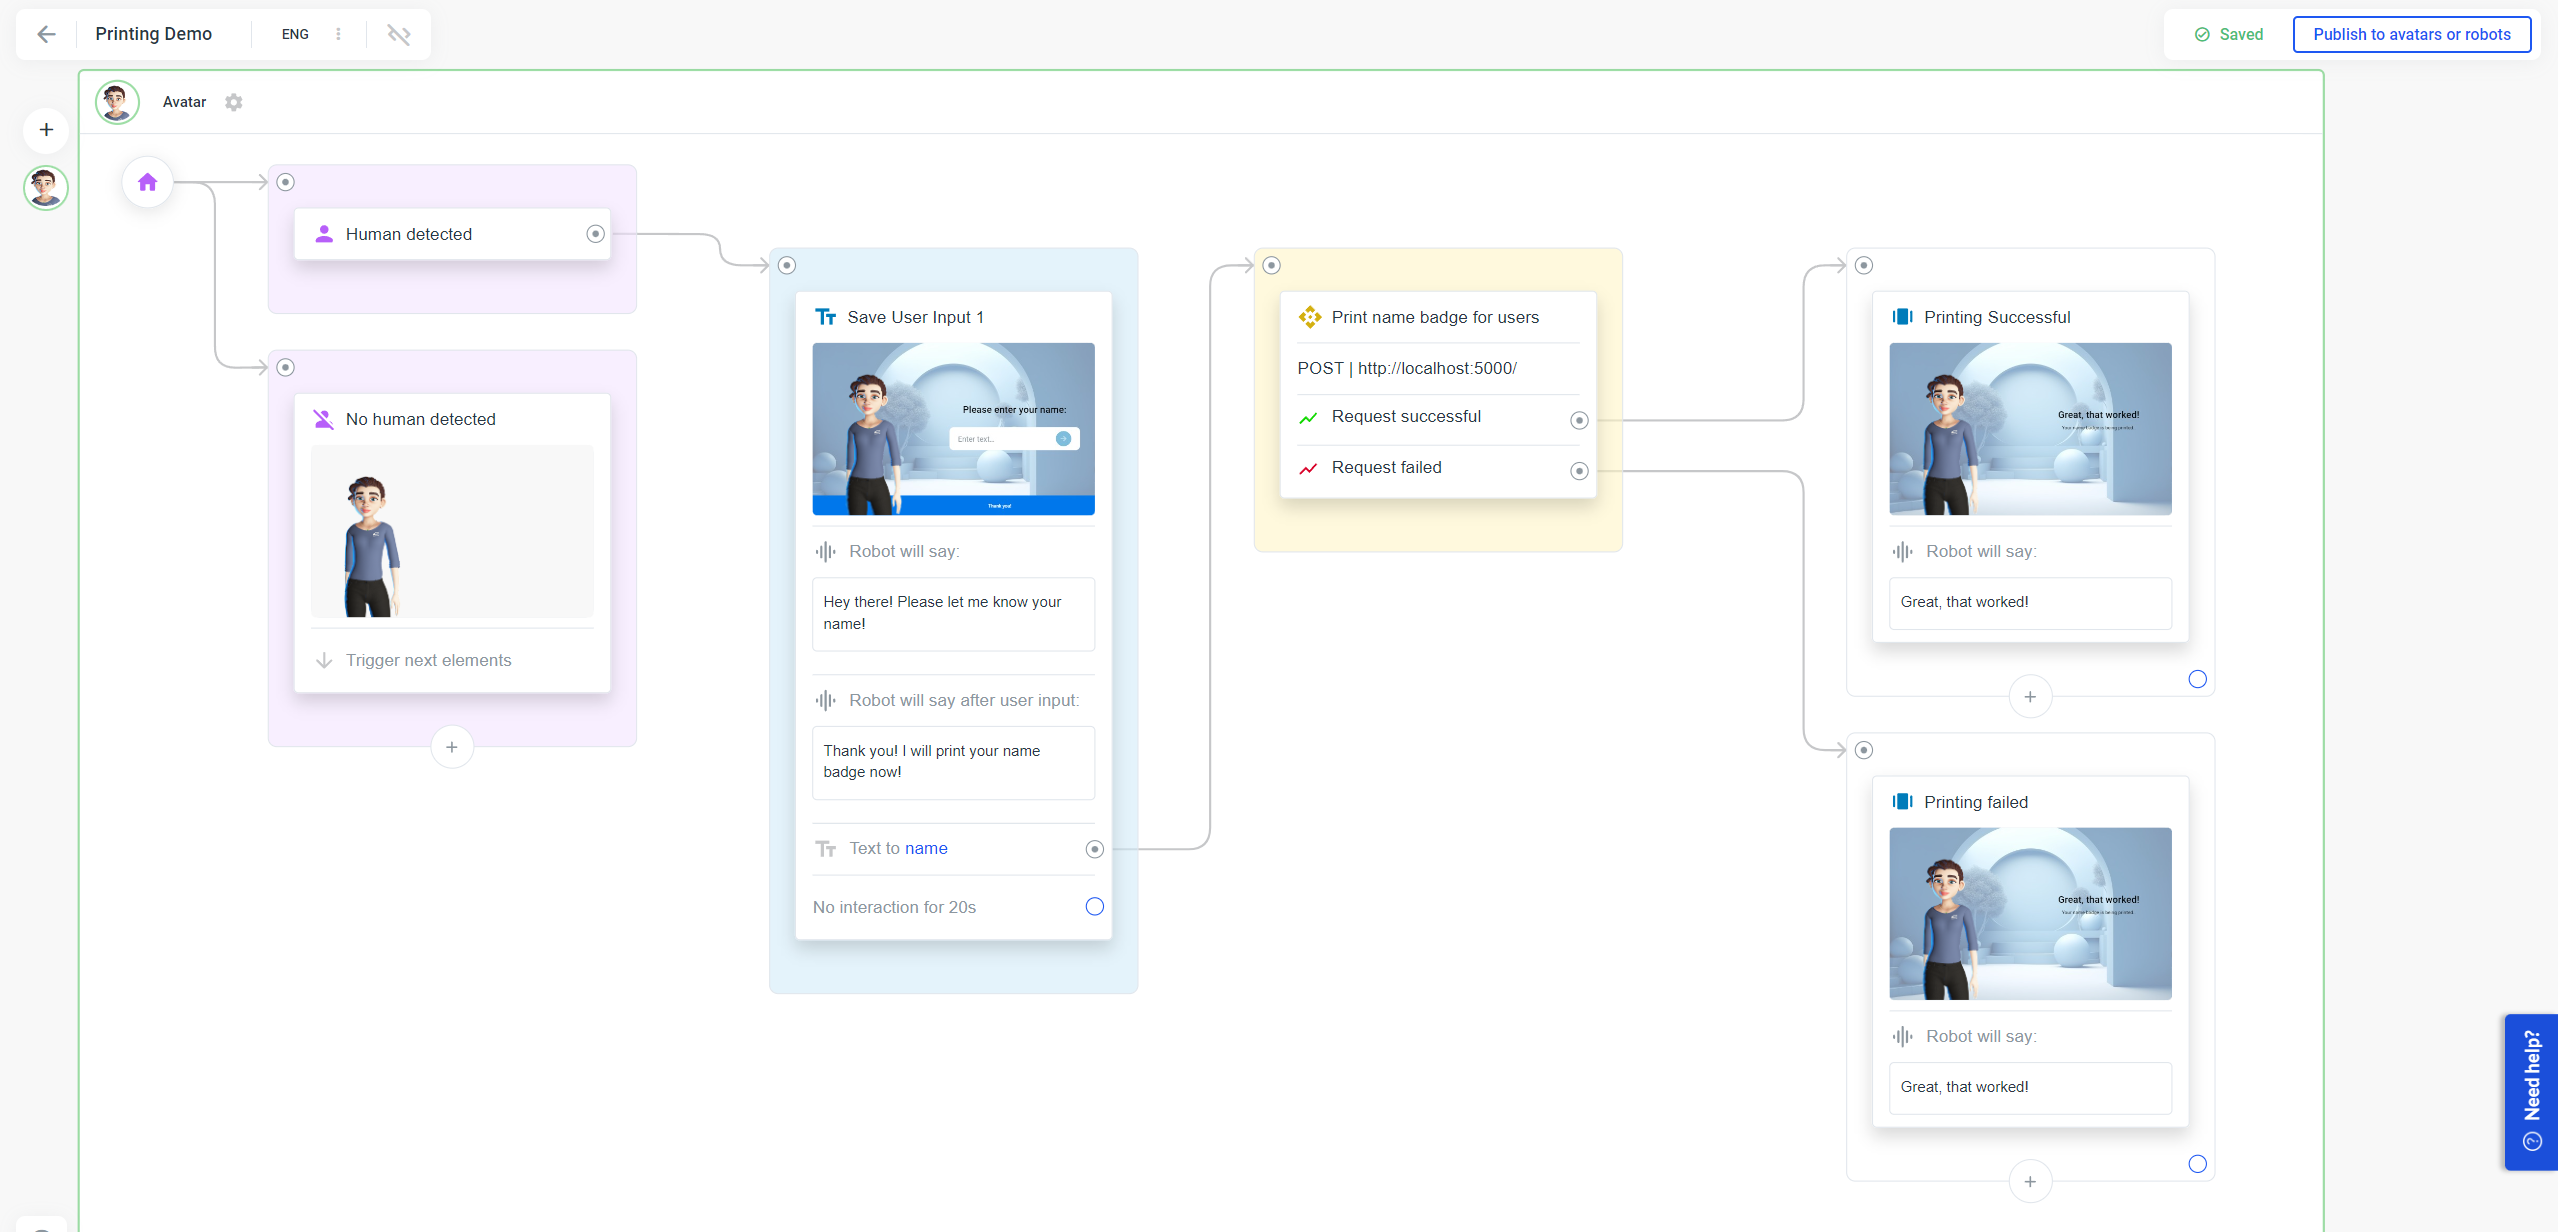
* In the API-Call Element set the Endpoint URL to `http://127.0.0.1/print` and switch it to be a `POST` request.
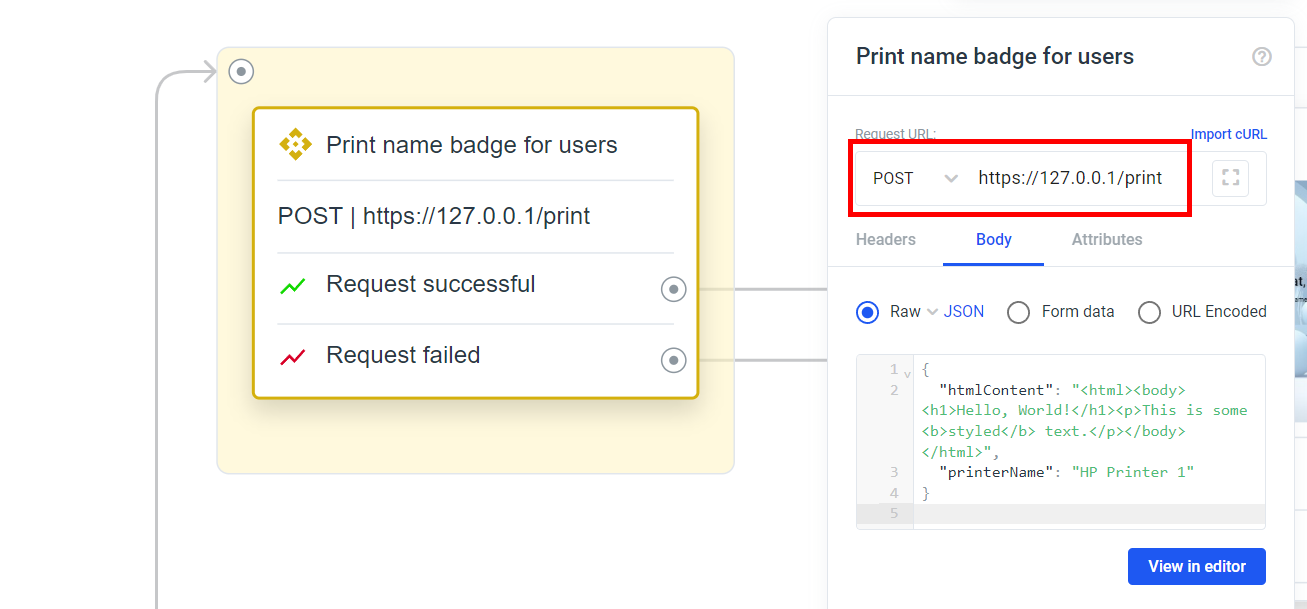
* Set the Body to Raw JSON and use the following sample payload: *(Note: you have to change the printerName to use the actual name of your printer)*
1
\{
2
"htmlContent":"\\\Hello, World!\
\This is some \styled\ text.\
\\",
3
"printerName":"HP Printer 1",
4
"width\_mm":50,
5
"height\_mm":72
6
}
* Click on Save
* Test with the Avatar
#### Adapt the payload for the printing service
The request body must be in JSON format and include the following fields:
* `htmlContent` (string): The HTML content of the name badge to be printed.
* `printerName` (string): The name of the printer to use for printing the badge.
* `width_mm`(int): The width in mm of the badge.
* `height_mm`(int): The height in mm of the badge.
#### **Example Request Body:**
jsonCopy code\{
"htmlContent":"\\\\\\Hello, World!\
\This is some \bold\ text.\
\\",
"printerName":"Name of your printer",
"width\_mm":50,
"height\_mm":72
}
#### **Response**
* Status Code: 200 (OK) if the name badge was printed successfully, or 500 (Internal Server Error) if an error occurred.
* Response Body (JSON):
* `status`: "OK" if the printing process was successful, or "Fail" if it failed.
* `message`: A message indicating the result of the printing process.
#### **Usage**
To print a name badge, follow these steps:
* Make a `POST` request to the `/print` endpoint with the required fields in the request body: `htmlContent` and `printerName`.
* Provide the HTML content of the name badge in the `htmlContent` field. Customize the HTML content according to your requirements.
* Specify the name of the printer to use in the `printerName` field.
* Upon receiving the request, the server will generate a PDF file from the HTML content and send it to the specified printer for printing.
* The server will respond with a status indicating the success or failure of the printing process.